Call your API from your bot
Add the API request power-up so your bot can call an API during a conversation, for example to look up an order, check availability or send a lead to your CRM.
For technical users
This power-up needs some knowledge of HTTP APIs and JSON. If there's a dedicated power-up for your tool (Notion, Slack, Cal.com and so on), use that instead.
How it works
You define arguments: the pieces of information the bot must collect before calling the API, such as an order number or an email address. When the bot decides to use the power-up, it fills in the arguments (usually by asking the visitor), Chat Thing puts them into the URL, headers or body you configured, makes the request, and gives the response back to the bot to write its reply.
Before you start
You need:
- Who can do this: team owners and admins.
- The API's URL and request method (GET, POST, PUT, PATCH or DELETE).
- Any authentication it needs, such as an API key or bearer token.
- An idea of which values the bot should supply, and which should be fixed.
Video walkthrough, recorded in 2024. Some screens have changed since.
Steps
- Open your bot, go to the Power-ups tab and click New power-up.
- Choose API request and click Create power-up. The Use an API settings page opens.
- Enter a Power-up name and a Description that says what the API does and when to call it, for example "Look up the status of an order. Ask the user for their order number first."
- Define your Arguments (see below).
- Under Request settings, enter the URL and choose the Request method.
- Add any Request Headers, including authentication.
- For POST, PUT and PATCH requests, write the Request Body.
- Optionally add a Response prompt and a Display mode.
- Click Save.
Arguments
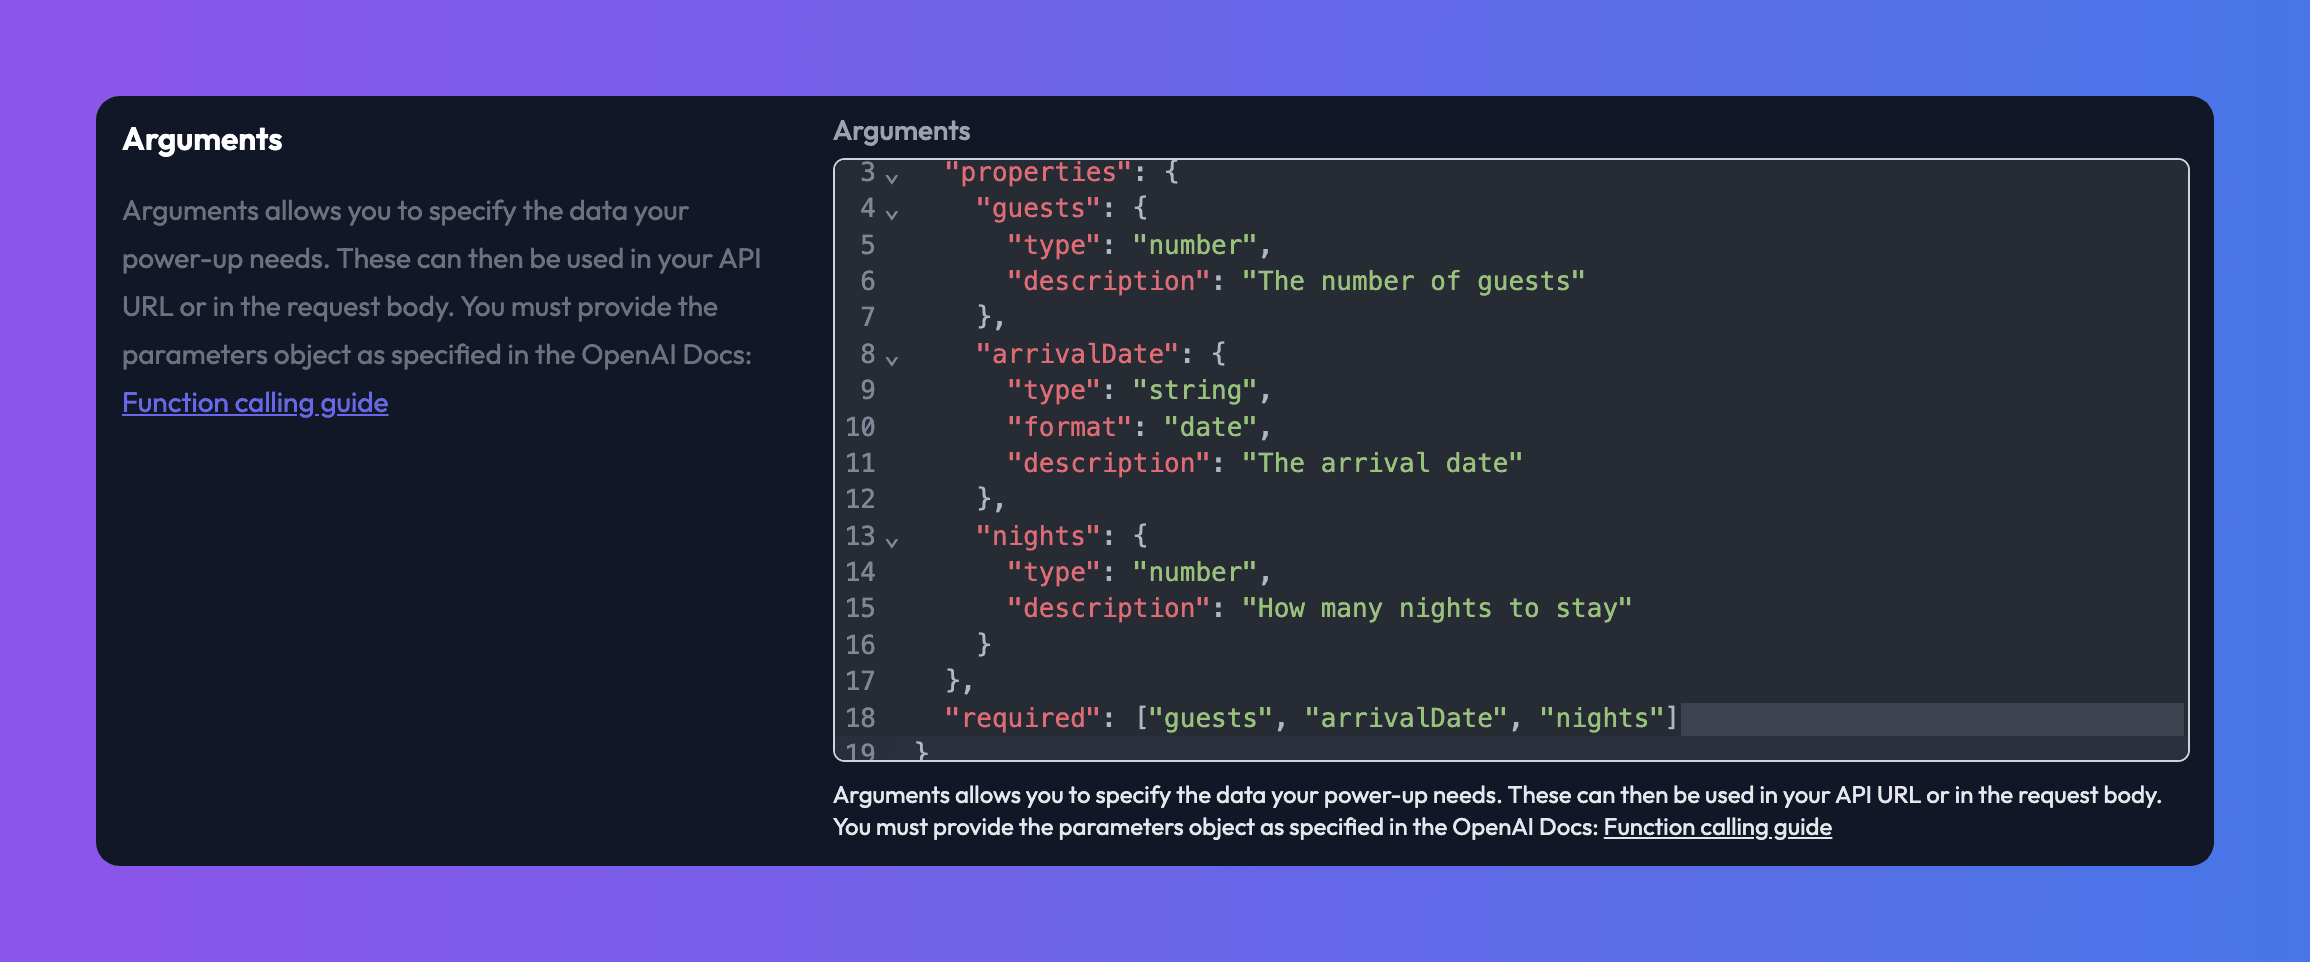
Arguments are written as a JSON Schema object. The top level must have "type": "object" and a properties object. Each property needs a type and a description. The description tells the bot what the value is and where to get it. List the arguments the bot must always provide in a required array.
{
  "type": "object",
  "properties": {
    "orderNumber": {
      "type": "string",
      "description": "The customer's order number, for example A-12345. Ask the user for it."
    },
    "email": {
      "type": "string",
      "description": "The email address the order was placed with."
    }
  },
  "required": ["orderNumber", "email"]
}
Depending on how you describe an argument, the bot will either ask the visitor for it or work it out from the conversation.
Use arguments in the request
Put an argument's name in angle brackets, like <orderNumber>, to insert its value. You can use placeholders in the URL, Request Headers and Request Body. Under each field there's a button for every argument that inserts its placeholder for you.
URL
https://api.example.com/orders/<orderNumber>?email=<email>
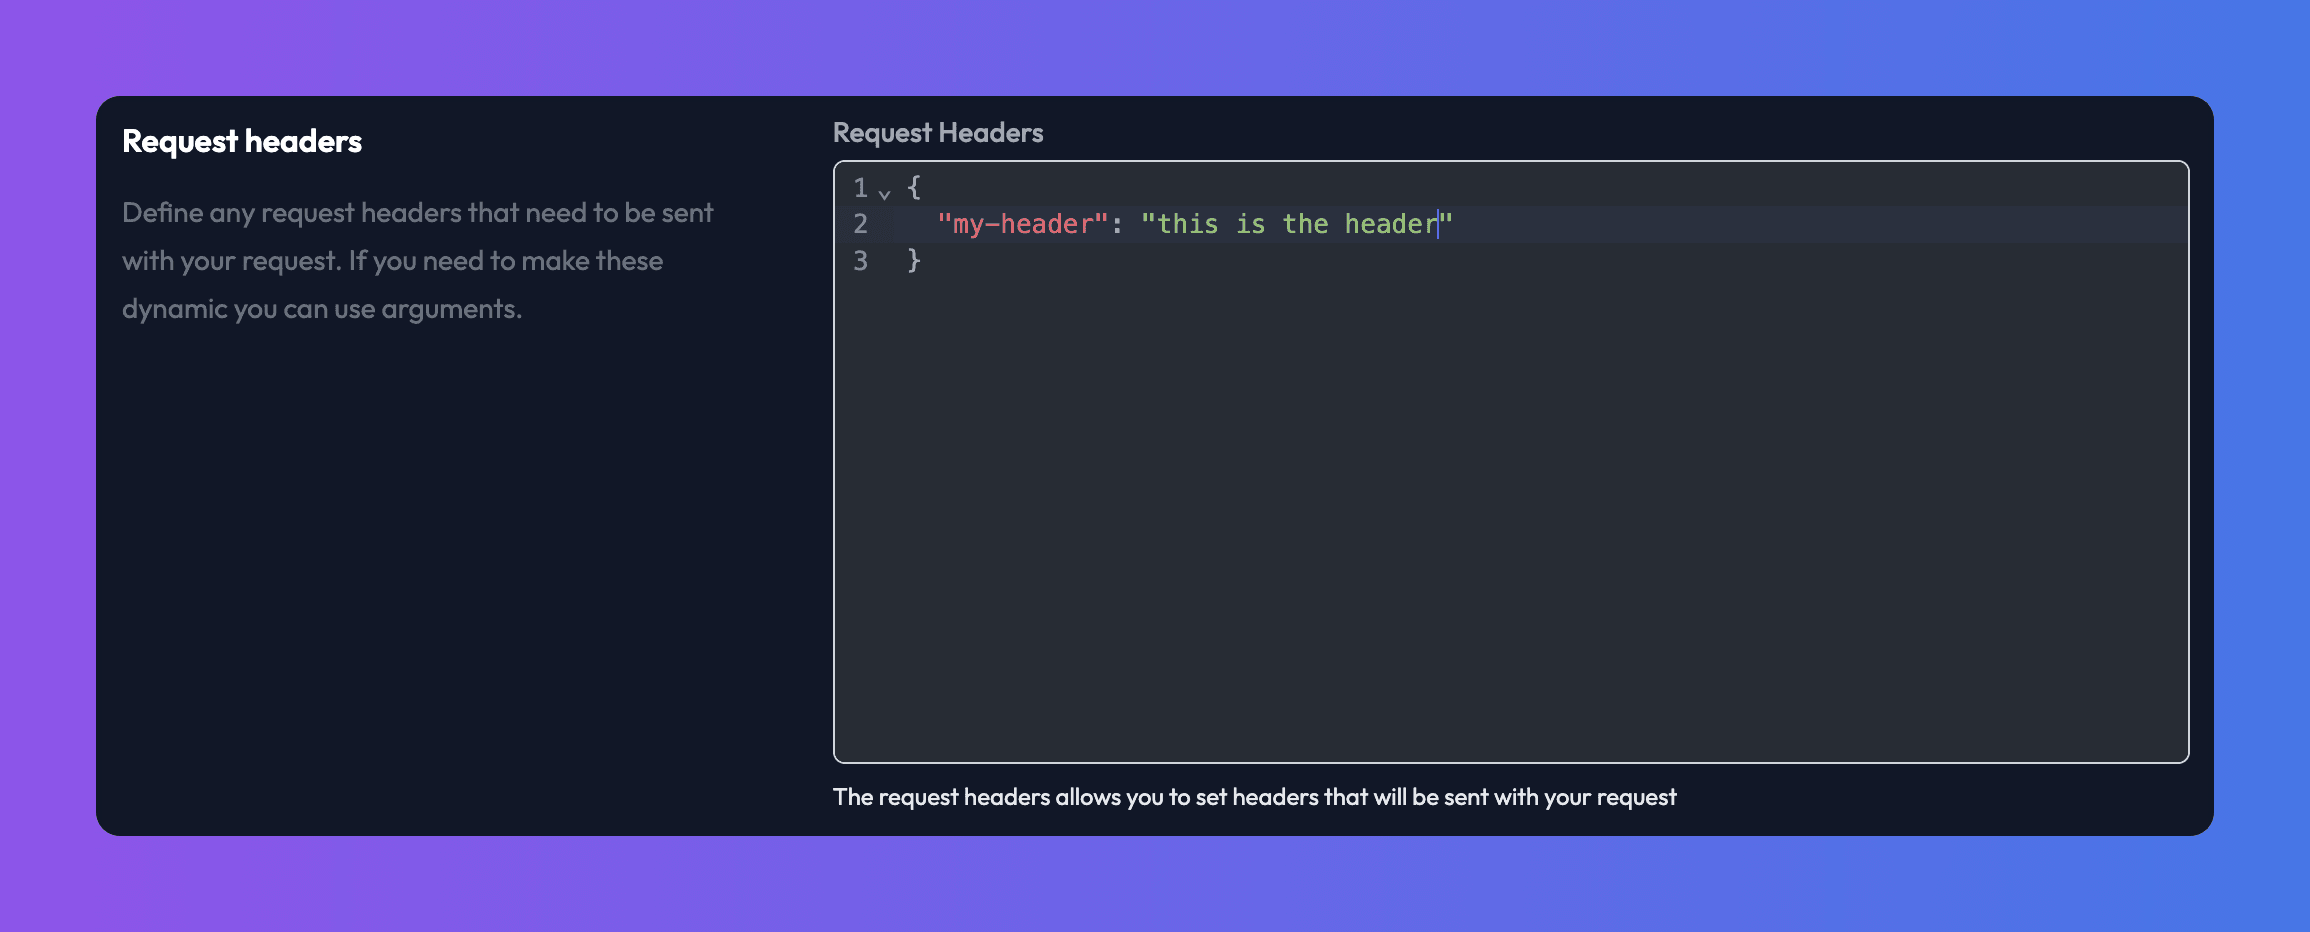
Request Headers are a JSON object whose keys and values are all strings. Use them for authentication and content type:
{
  "Content-Type": "application/json",
  "Authorization": "Bearer your-api-key-here"
}
Headers are stored with the power-up and are never shown to people chatting with your bot.
Request Body is JSON, sent with POST, PUT and PATCH requests (the field is hidden for GET). Values are inserted exactly as the bot provides them, so put quotes around text placeholders and leave numbers and true/false values unquoted:
{
  "orderNumber": "<orderNumber>",
  "email": "<email>",
  "includeItems": true
}
The settings page checks your JSON and warns you if a placeholder doesn't match an argument.
Response prompt
The API's response is given to the bot as JSON. If it's large or awkward to read, add a Response prompt to transform it first, for example "Return only the order status, delivery date and tracking link" or "Convert the available properties into a short markdown list".
If a response is too large for your bot's model, Chat Thing summarises it automatically before the bot sees it, which can lose detail. It's better to request only the fields you need, or trim the response with a response prompt.
To show the response as cards, a chart, a table or a map instead of text, set a Display mode. See Show a power-up's results visually.
Check it works
- Chat with your bot while signed in and ask something that should trigger the power-up.
- Click the power-up label above the reply, then View details.
- Check the Power-up call shows the arguments you expected and the Power-up result shows
"success": trueand your data.
Troubleshooting
The result shows an error from the API
The Power-up result includes the error message. Check the URL, method and authentication headers. A 401 or 403 usually means the API key or token is wrong or missing.
The bot calls the API with the wrong values
Improve the argument descriptions, including the format you expect (for example "ISO date, like 2026-03-01"). If the bot guesses values instead of asking, say "Ask the user for this" in the description.
"The URL contains arguments that don't exist in your power-up arguments"
A placeholder in the URL or body doesn't match an argument name. Placeholders are case-sensitive.
The API receives invalid JSON
Check that text placeholders in the Request Body are wrapped in quotes, and add a Content-Type: application/json header if your API needs it.
The bot's answers leave out details from the response
The response was probably too large and got summarised. Ask the API for fewer fields or results, or use a Response prompt to pick out what matters.
Related
- Show a power-up's results visually
Turn on a display mode so a power-up's results, such as an API response or search results, appear as cards, a chart, a table, a map or a diagram.
- How power-ups work
What power-ups are, how to add, edit, turn off and delete them, how your bot decides to use one, and what visitors see in the chat.
- Developers
Build on Chat Thing with the REST API, webhooks, the JavaScript SDK for the website widget, and WebMCP.
Last updated