Build your first bot
Create a bot that answers questions from your own content, ready to test and add to your website.
Before you start
You need a Chat Thing account. Sign up for free with your email, Google or GitHub.
Who can do this: team owners and admins.
There are two ways to build a bot. Both end in the same place, and you can switch between them at any time.
- Let Otto set it up. Describe your business or give it your website, and Chat Thing's assistant researches your site, writes the bot's instructions, adds your pages as knowledge and matches your branding.
- Set it up yourself. Fill in a short step-by-step form: name and welcome message, then your first data source.
Option 1: let Otto set it up
- Go to My Bots and click New bot.
- If you see Set up your agent with AI, tell the assistant about your business and what the bot should do, or paste your website address. You can also pick a starting point such as Answer customer questions on my site or Capture and qualify leads.
- Answer any questions the assistant asks. As it works, the Your agent panel fills in: Personality & voice, Knowledge, Power-ups and Branding.
- Try the bot in the Live preview. Answers may be incomplete until your knowledge has finished syncing.
- When you're happy, click Open dashboard.
If you see the step-by-step New Bot form instead, you can still have Otto do the work: enter just a Bot name, click Next: Add data source, then Skip: I don’t need a data source and Finish: Go to bot dashboard. Click Ask Otto and ask it to set up the bot from your website, for example "Set this bot up to answer customer questions from example.com". See Otto for what it can and can't do.
To switch from the assistant to the form at any point, click Set up manually.
Option 2: set it up yourself
Video walkthrough, recorded in 2024. Some screens have changed since.
- Go to My Bots and click New bot. If the AI setup opens, click Set up manually.
- In General settings, enter a Bot name. Optionally add:
- Welcome message: the first thing the bot says, such as "Hi! How can I help?"
- Example questions: suggested questions shown in the chat so visitors can start with one click.
- Prompt: instructions for how the bot should behave. Leave it blank to use Chat Thing's default, or see Write your bot's instructions.
- Click Next: Add data source.
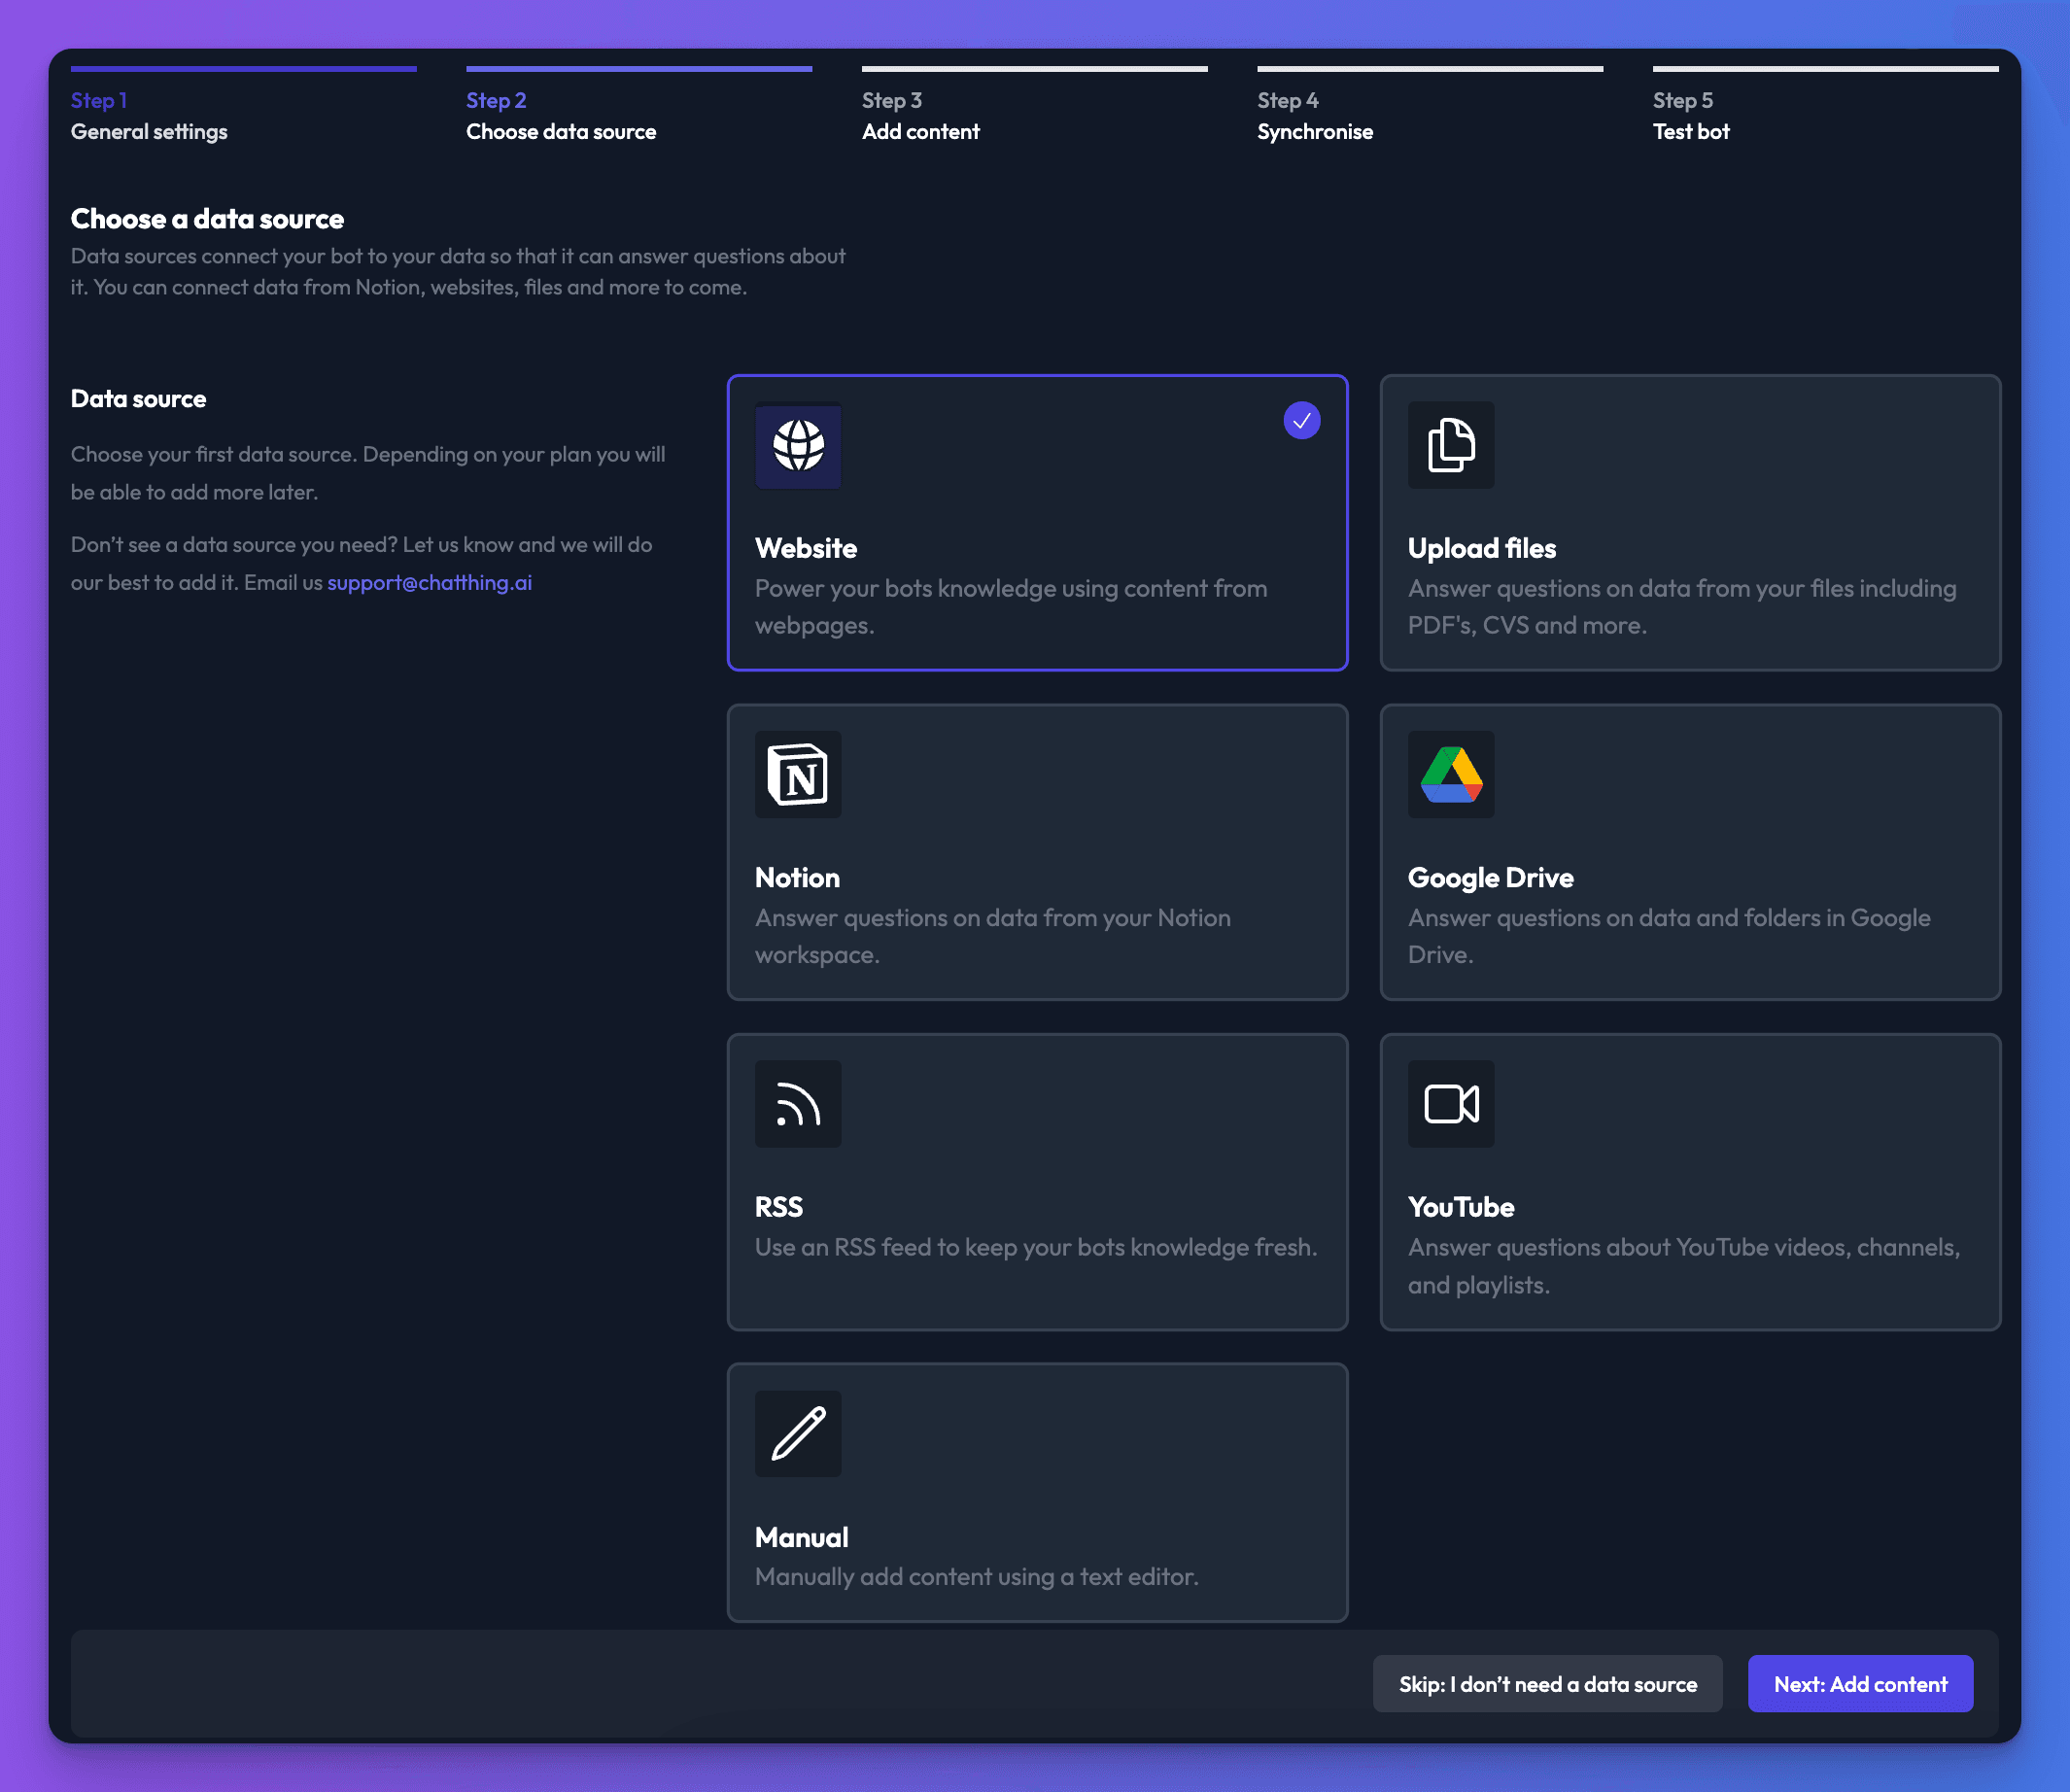
- Choose the type of content to add, for example Website, then click Next: Add content. To add knowledge later, click Skip: I don’t need a data source.
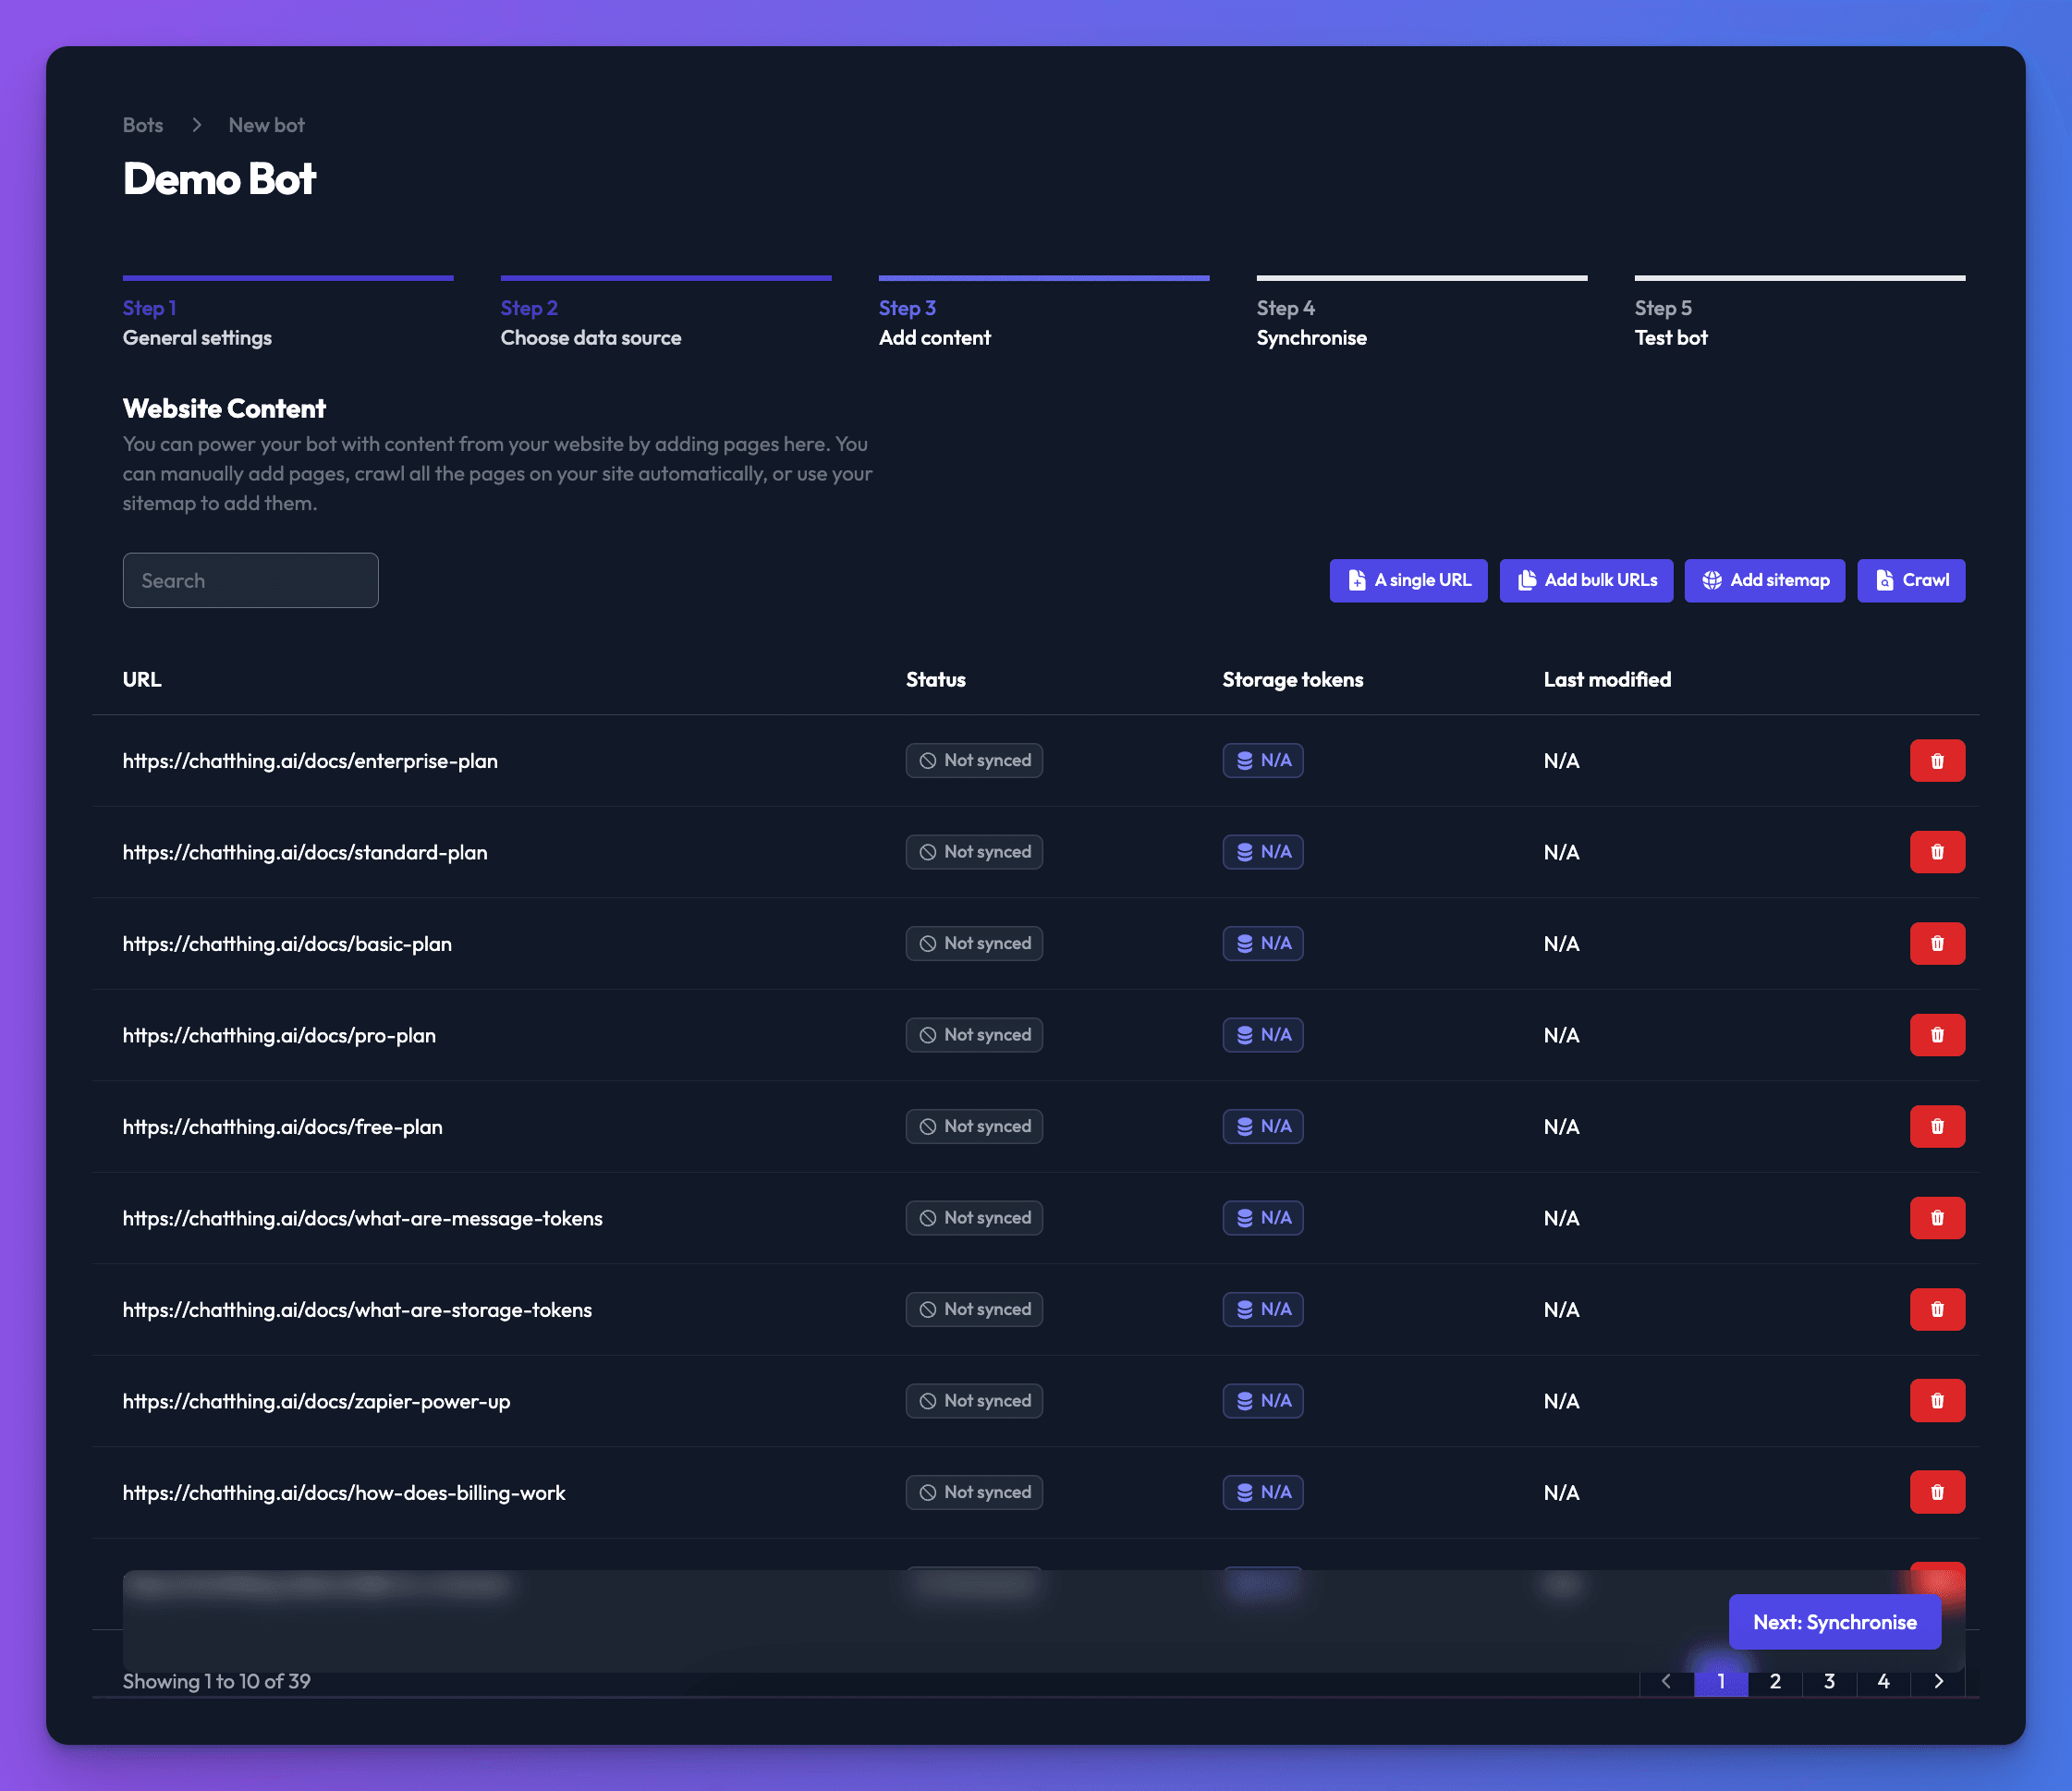
- Add your content, such as the pages of your website, then click Next: Synchronise. Adding a website explains the options.
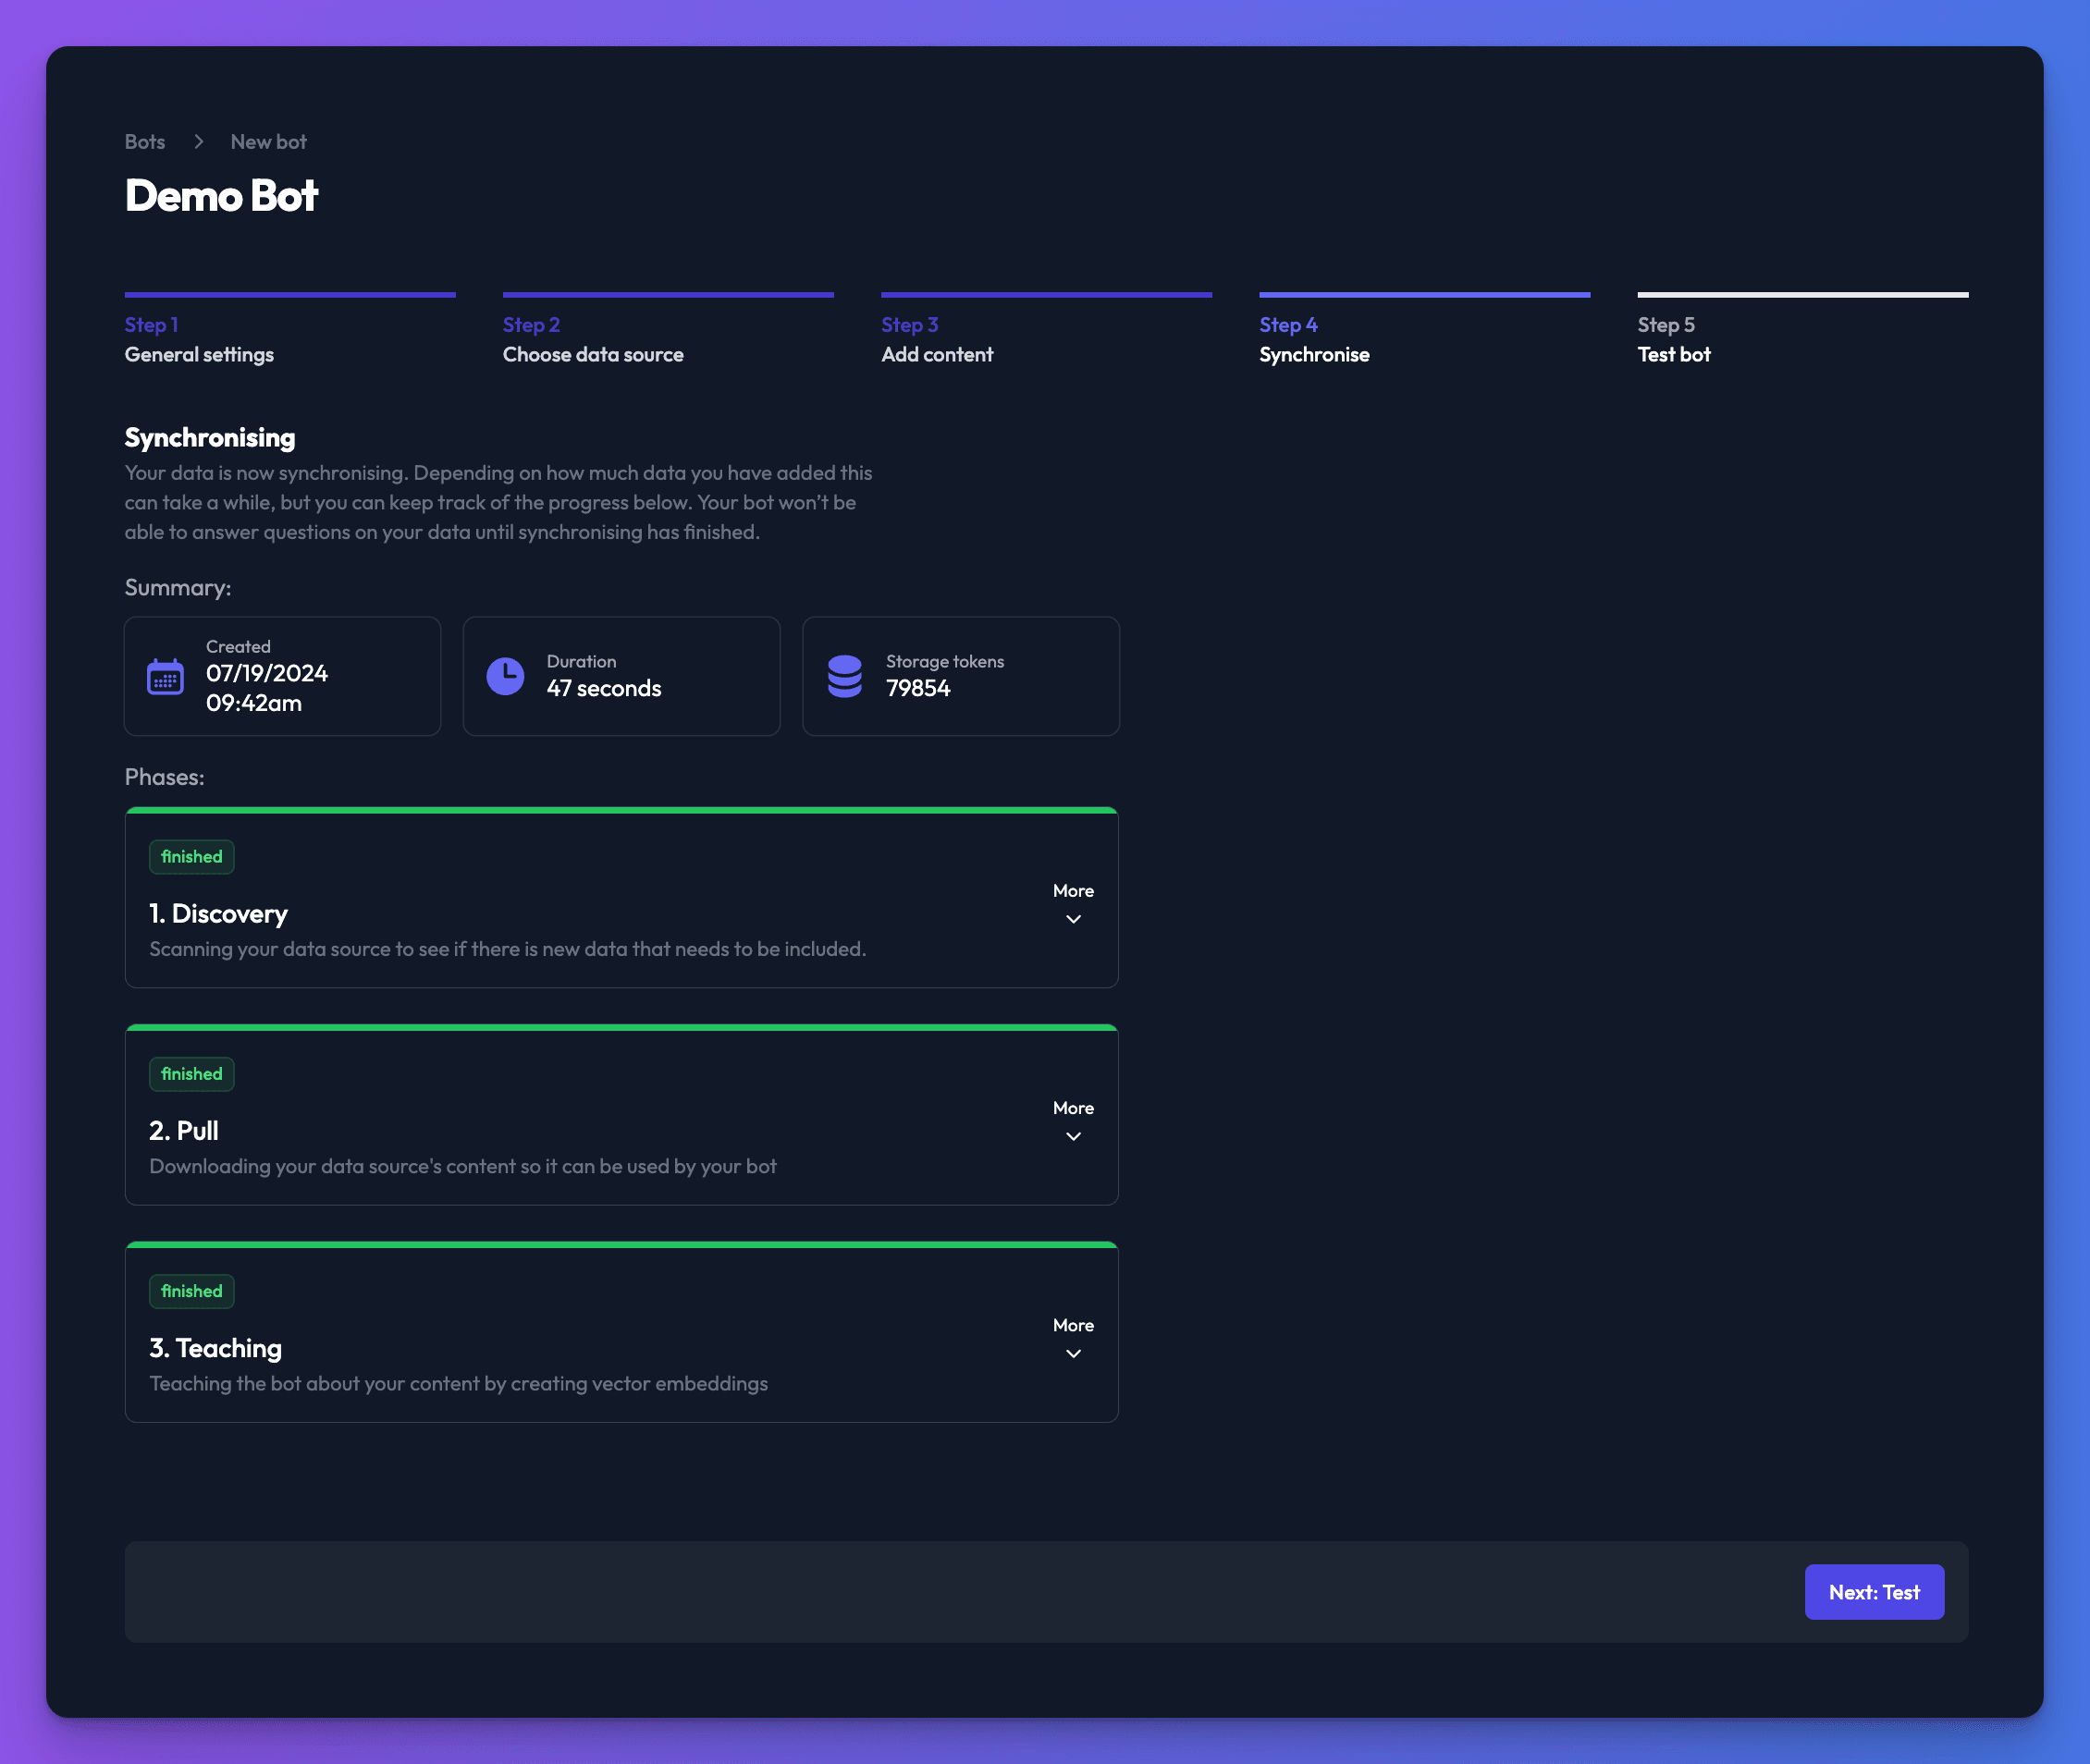
- Wait while Chat Thing syncs your content. Small sources take seconds; large websites can take several minutes. Click Next: Test.
- On Say hello to your new bot!, ask the bot a few questions you know the answers to.
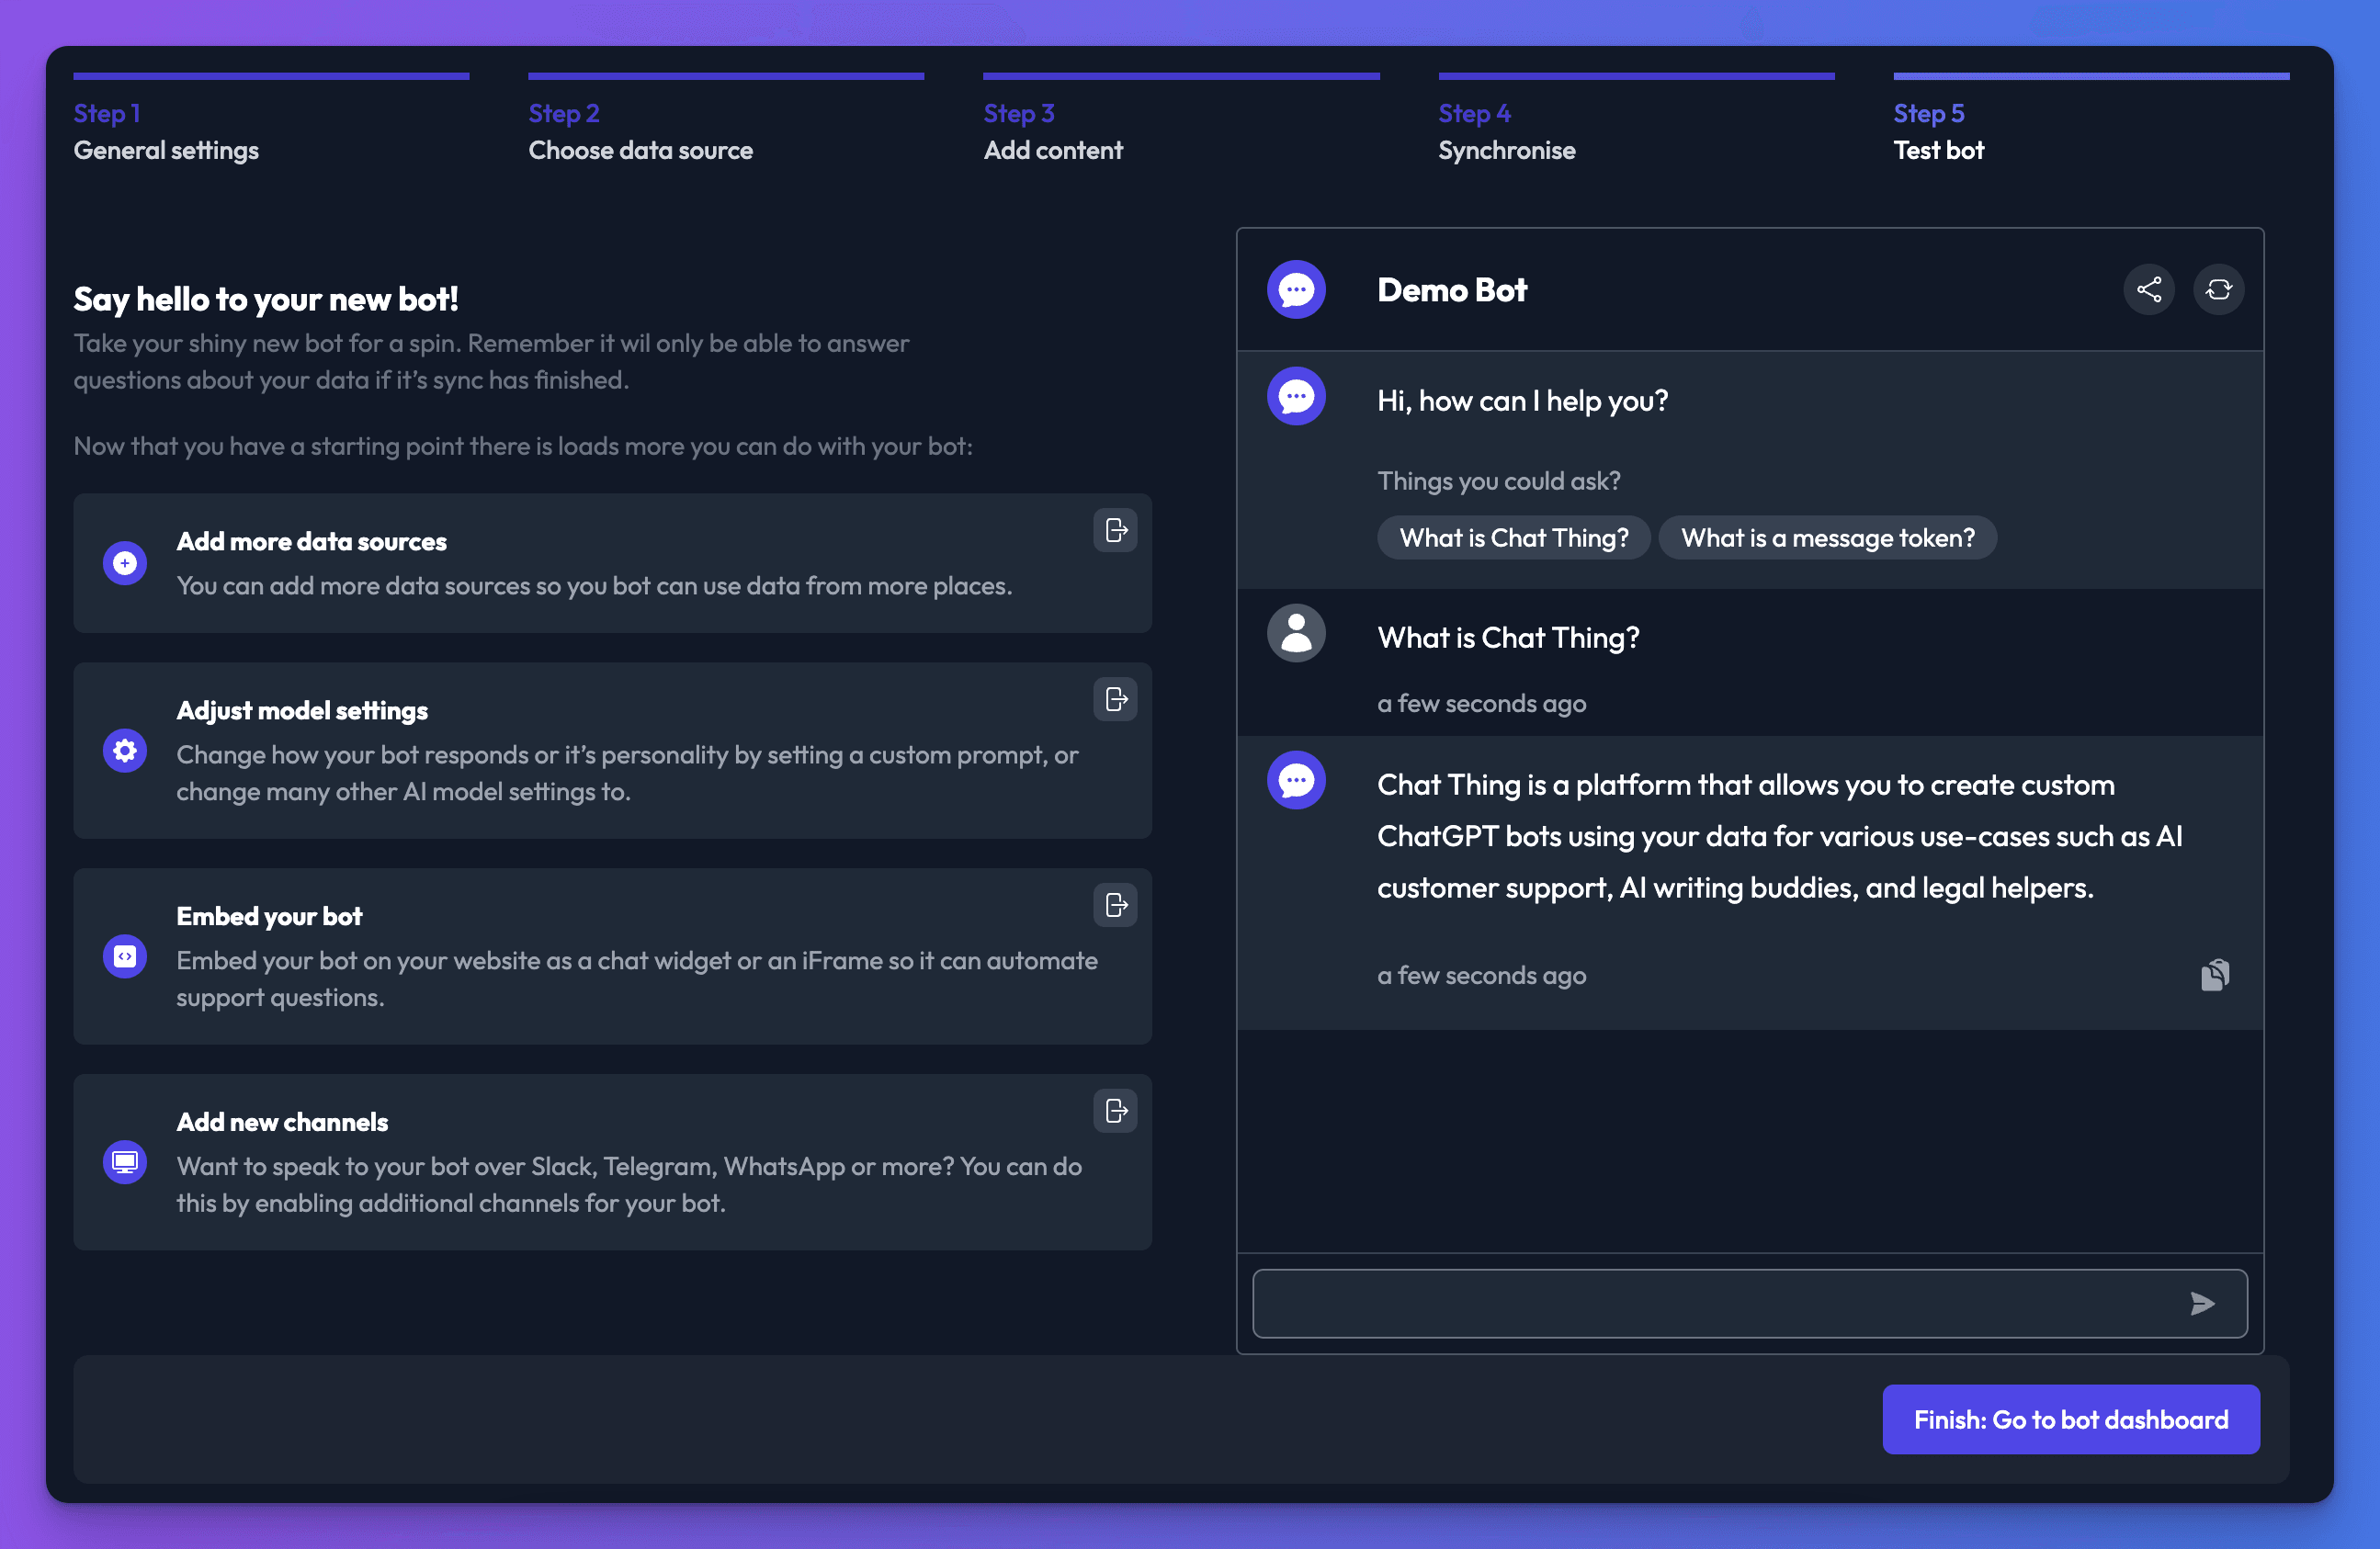
- Click Finish: Go to bot dashboard.
Check it works
On your bot's page, click Test and ask questions that your content answers. A good answer uses your wording and facts, not general knowledge. If you turned on Include sources for responses in General settings, the answer shows which pages it used.
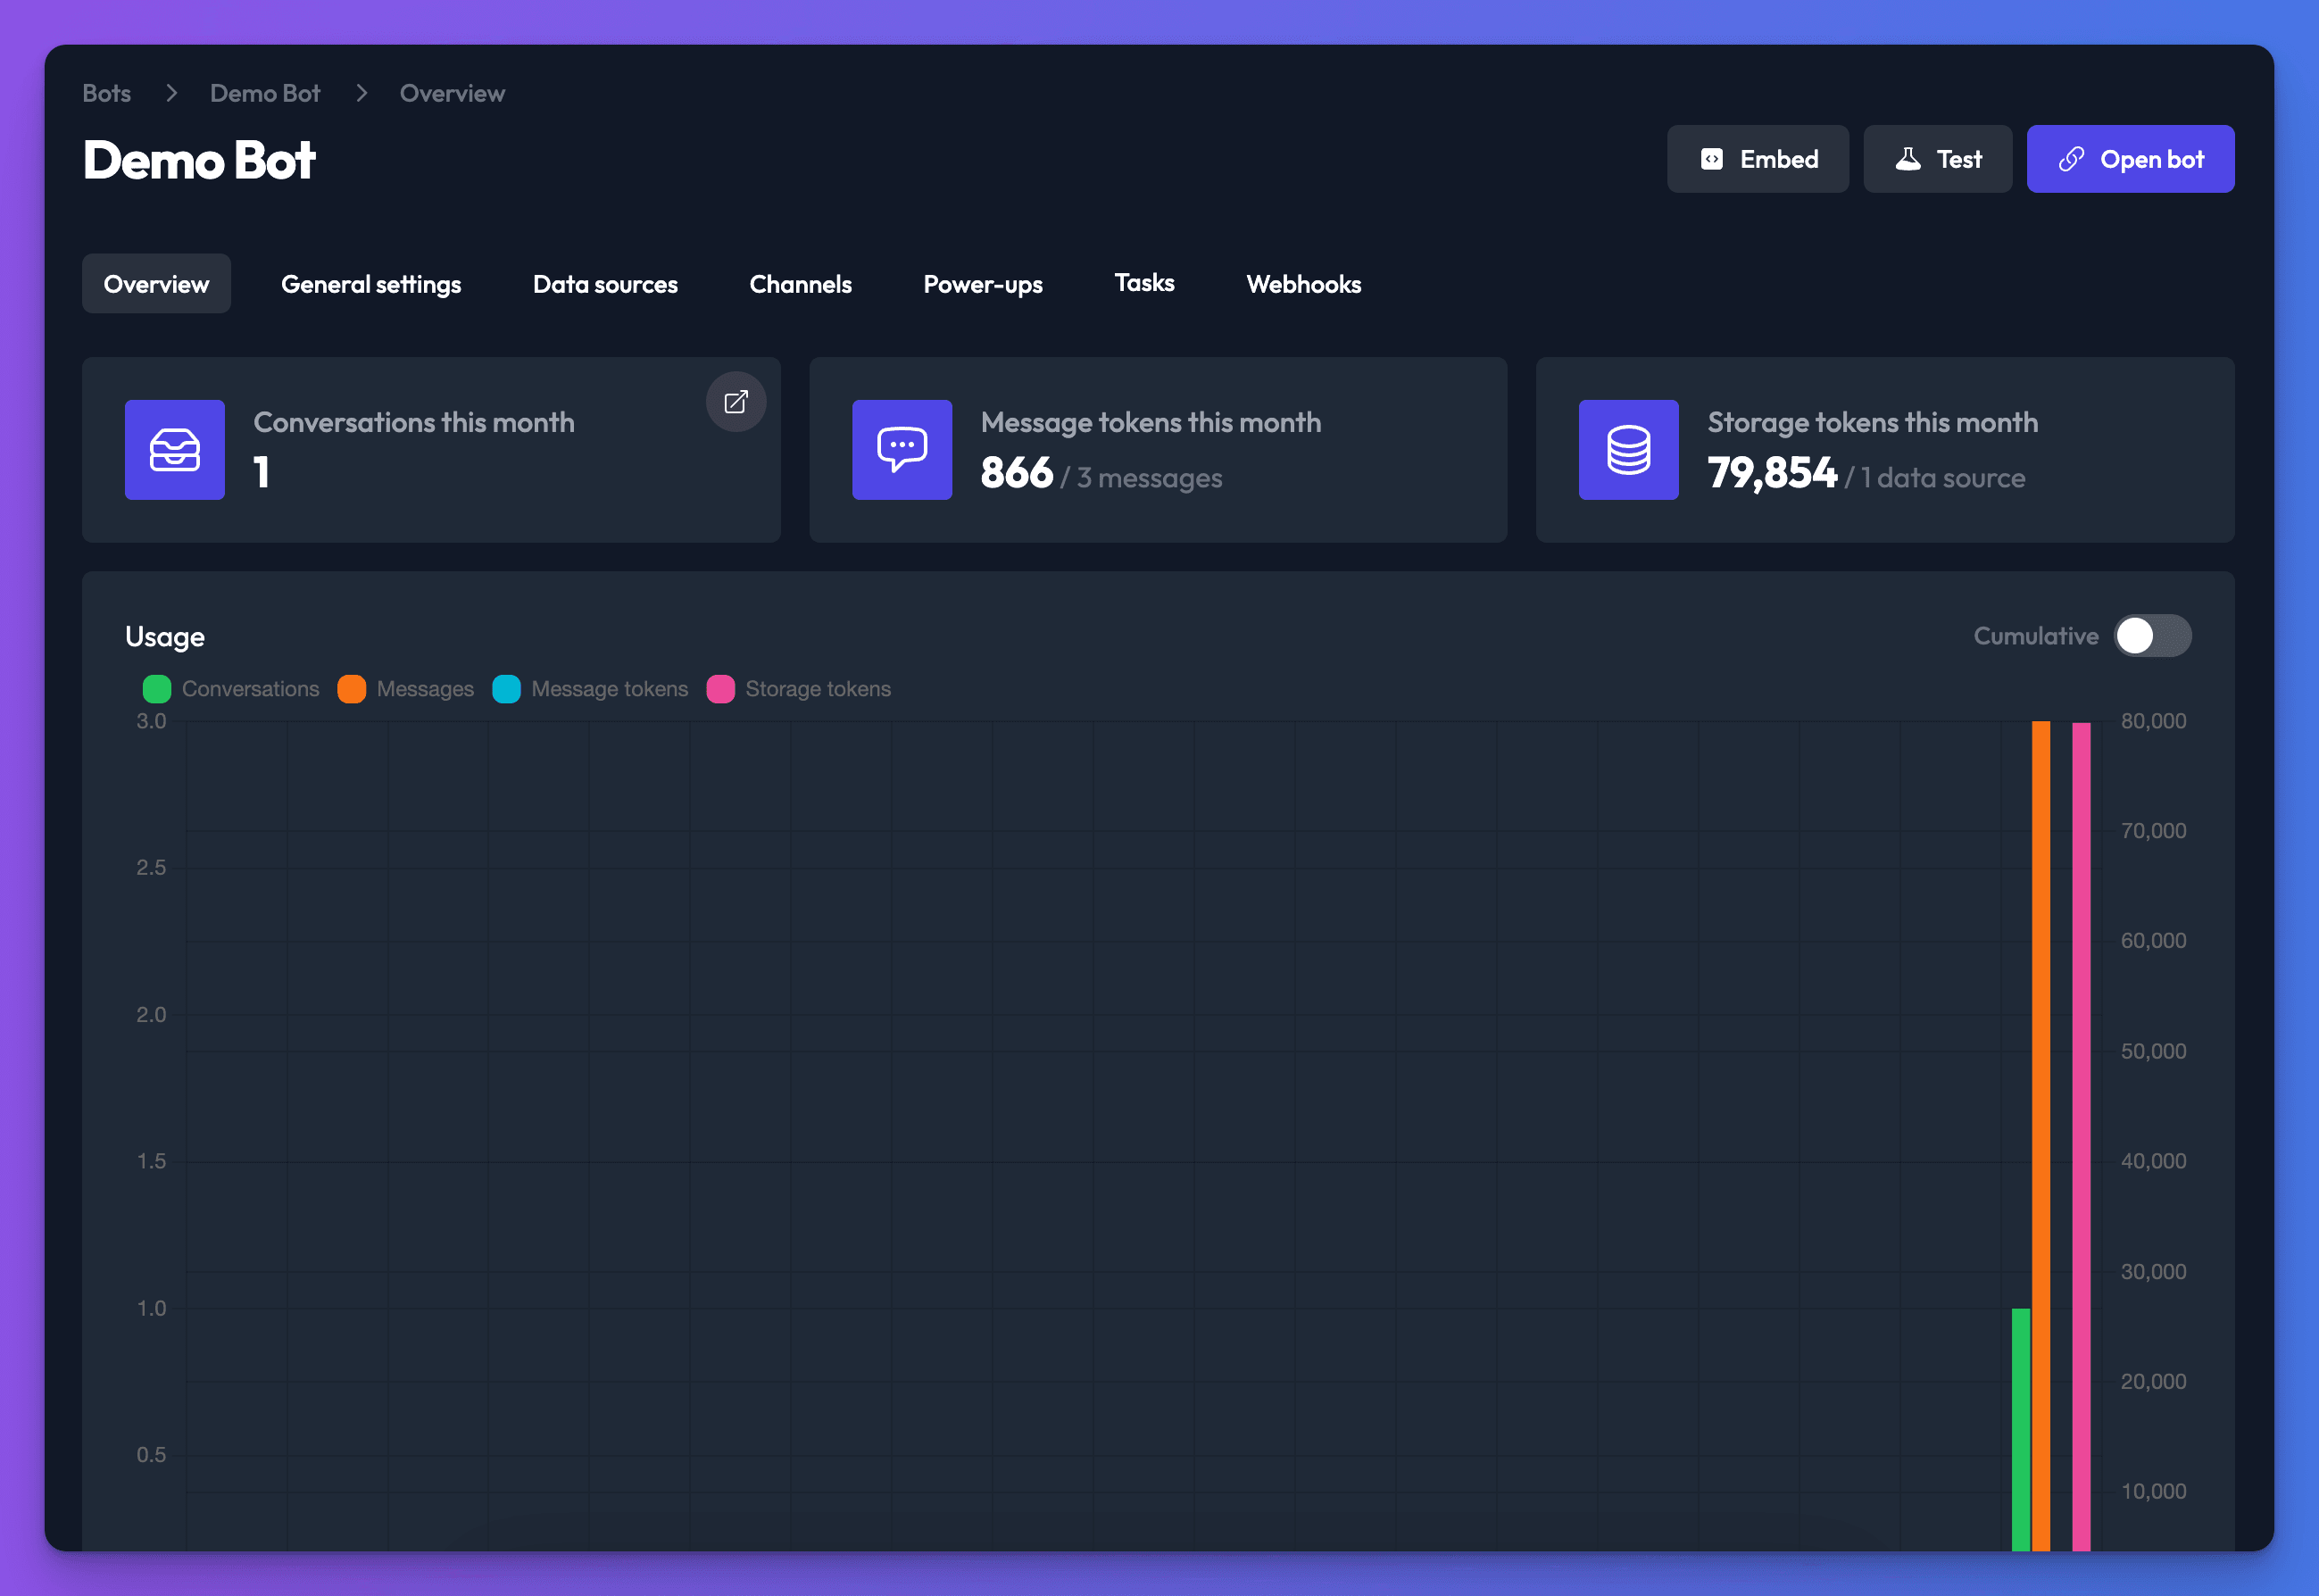
If answers are wrong or the bot says it doesn't know, see Improve your bot's answers.
Troubleshooting
My data source is still syncing
Syncing continues in the background, so you can leave the page. The bot can only answer from content that has finished syncing. Check progress on the Data sources tab.
I don't see the New bot button
Only team owners and admins can create bots. Ask an owner or admin of your team to change your role, or create your own team.
Next steps
Related
- How Chat Thing works
The building blocks of Chat Thing (bots, knowledge, power-ups, channels, conversations and Otto) and how they fit together.
- Build and manage bots with Otto
Otto is Chat Thing's built-in assistant. Ask it to explain, change and test a bot, or to work out why an answer went wrong.
- Add the chat widget to your website
Copy your bot's embed code and paste it into your site as a chat widget or embedded chat, with steps for WordPress, Shopify, Webflow, Wix and more.
Last updated