Connect your bot to WhatsApp
Connect your bot to WhatsApp so it answers messages sent to your WhatsApp Business number.
Standard, Pro and Enterprise
The WhatsApp channel is included on the Standard, Pro and Enterprise plans.
Who can do this: team owners and admins.
Setup has three stages: create a Meta app with WhatsApp, connect it to Chat Thing, then prepare it for production with a permanent access token. Meta's screens change often, so the Meta steps below describe what to look for rather than exact button positions.
Video walkthrough, recorded in 2024. Some screens have changed since.
Before you start
- A Meta business account (Business Manager). You'll need a personal Facebook profile to confirm your identity. Meta's help centre explains how to create a business account.
- A phone number you can use for testing, with WhatsApp installed.
Create a Meta app with WhatsApp
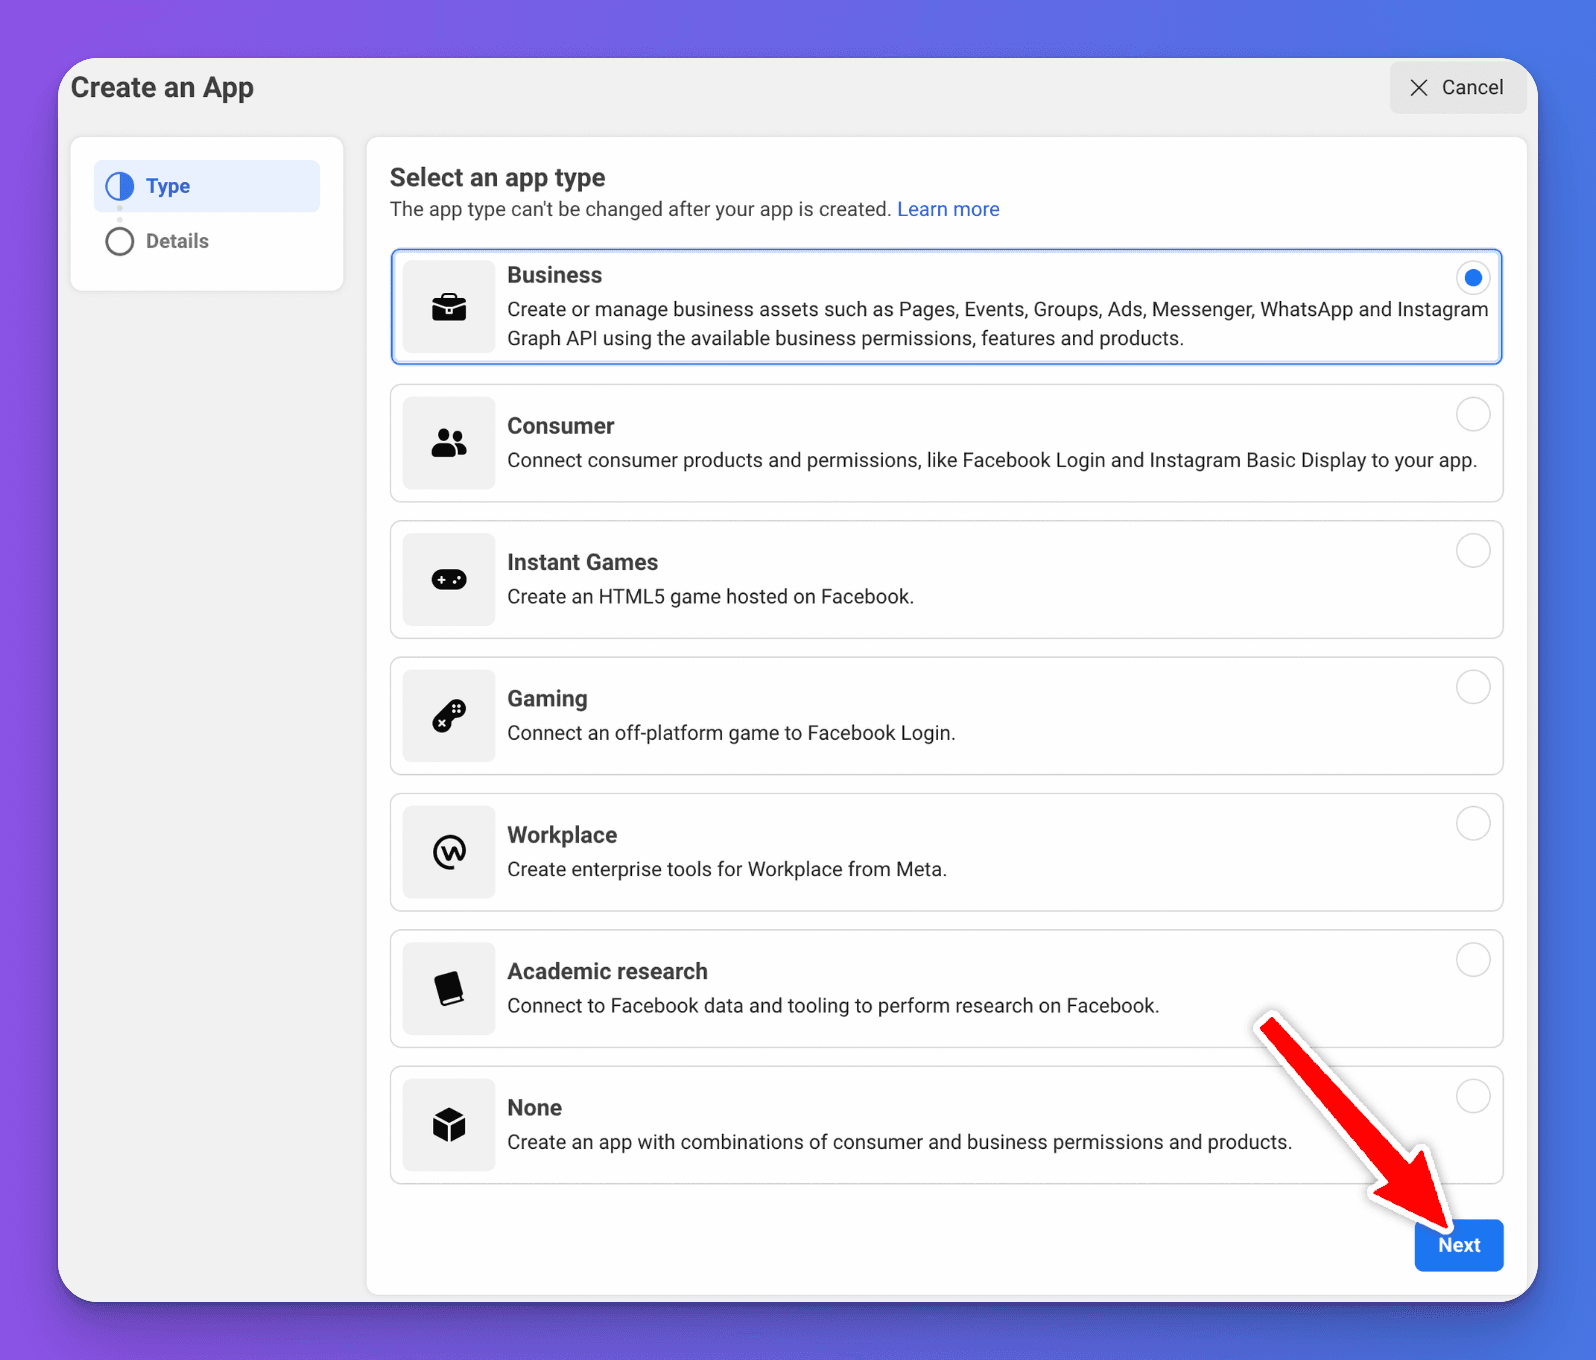
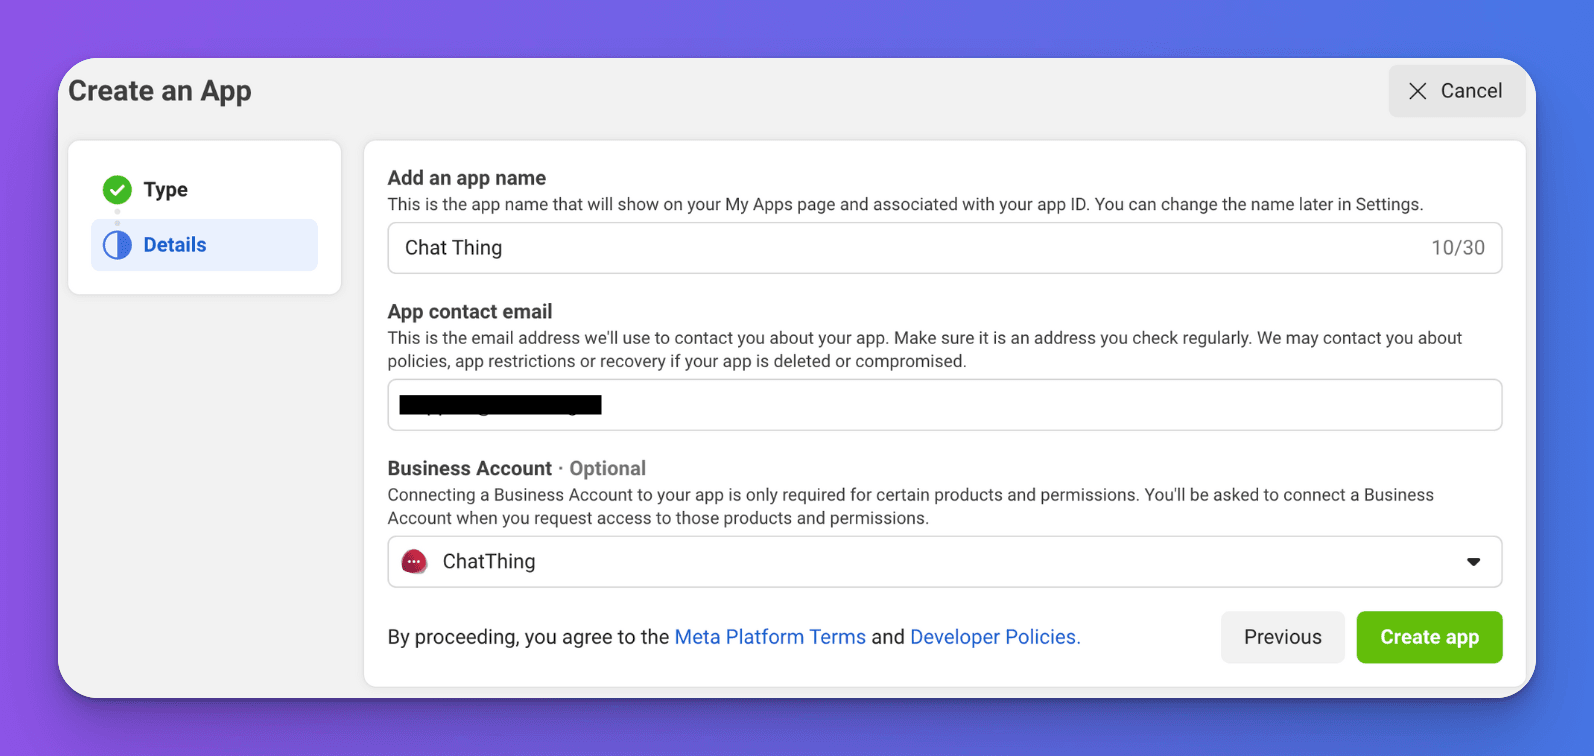
- Go to Meta for Developers and create an app. Choose the options for a Business app and connect it to your business account.
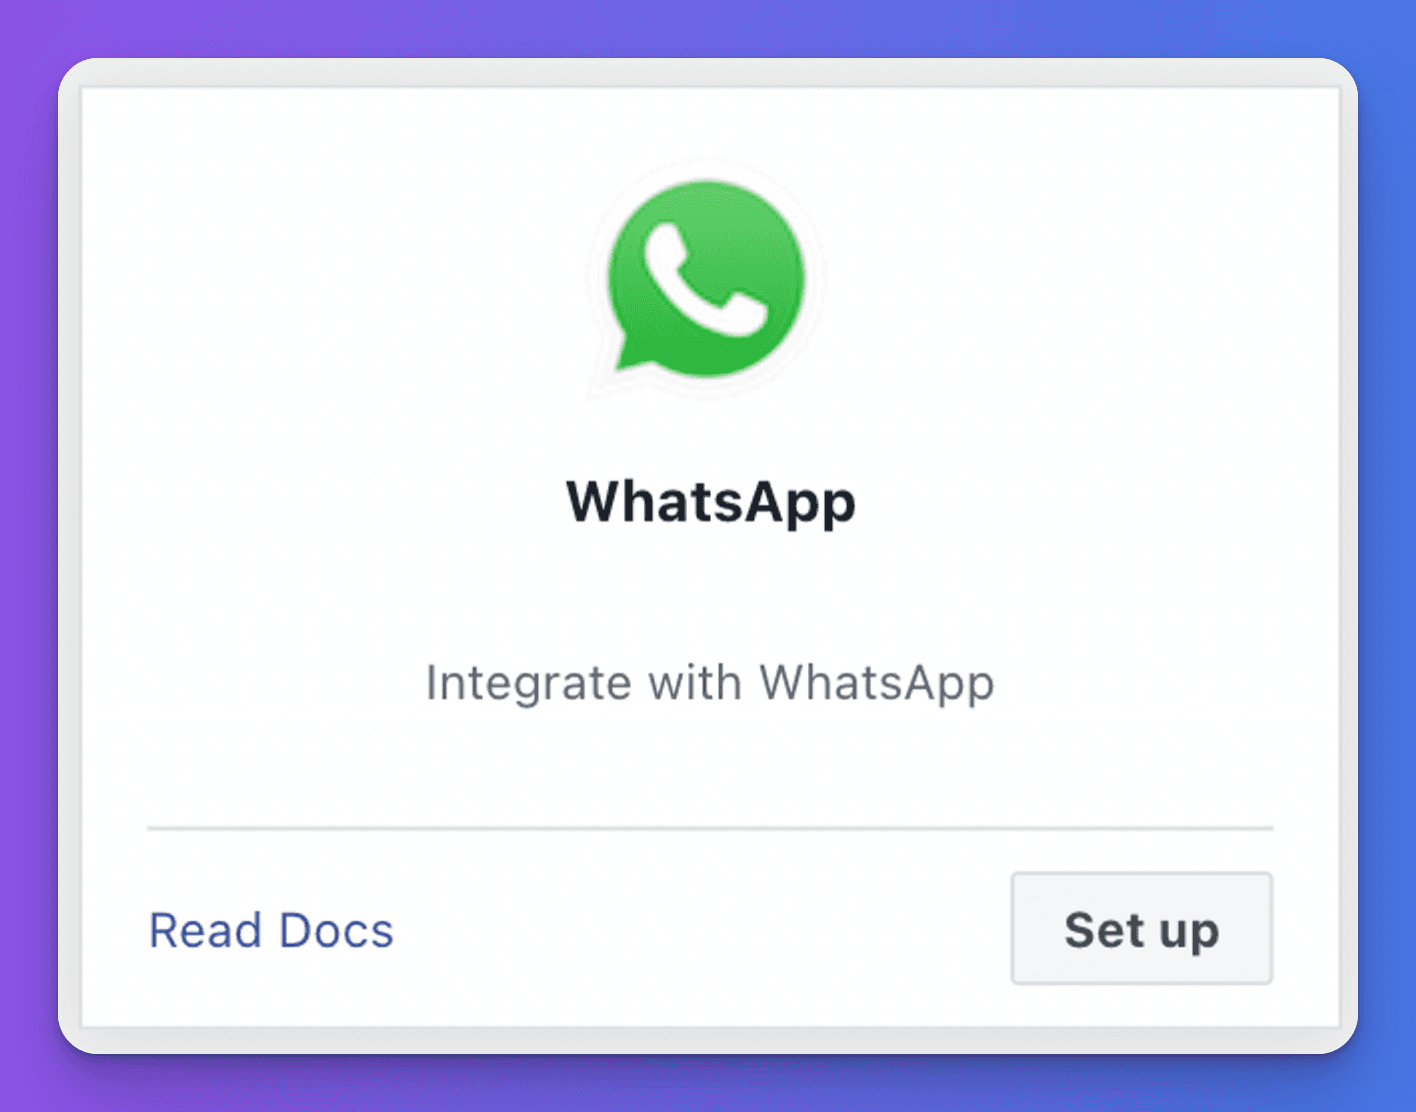
- In the app dashboard, add the WhatsApp product.
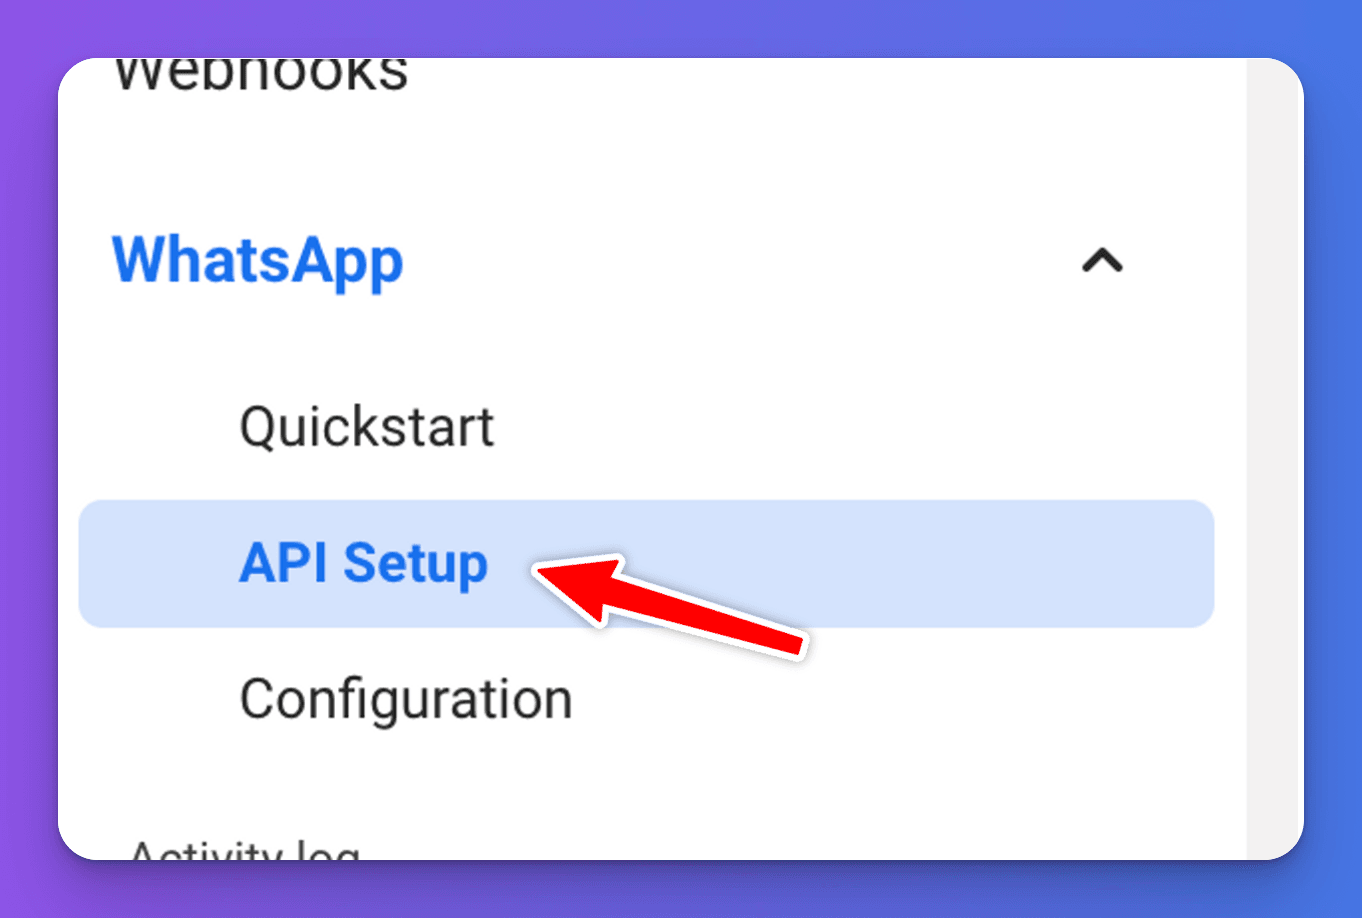
- Open WhatsApp > API Setup and copy the temporary access token. It lasts 24 hours - you'll replace it with a permanent token later.
Keep this page open; you'll come back to it.
Connect the app to Chat Thing
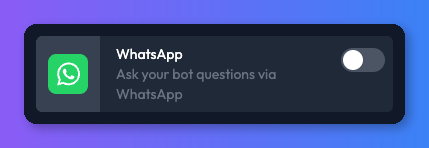
- In Chat Thing, open your bot, select the Channels tab and turn on the WhatsApp card. The WhatsApp channel settings page opens.
- Under Verify token, click Generate secret. Copy the token now and keep it somewhere safe. After you save, only a masked version is shown.
- Paste the token from Meta into Access token.
- Click Save. The Webhook URL section appears.
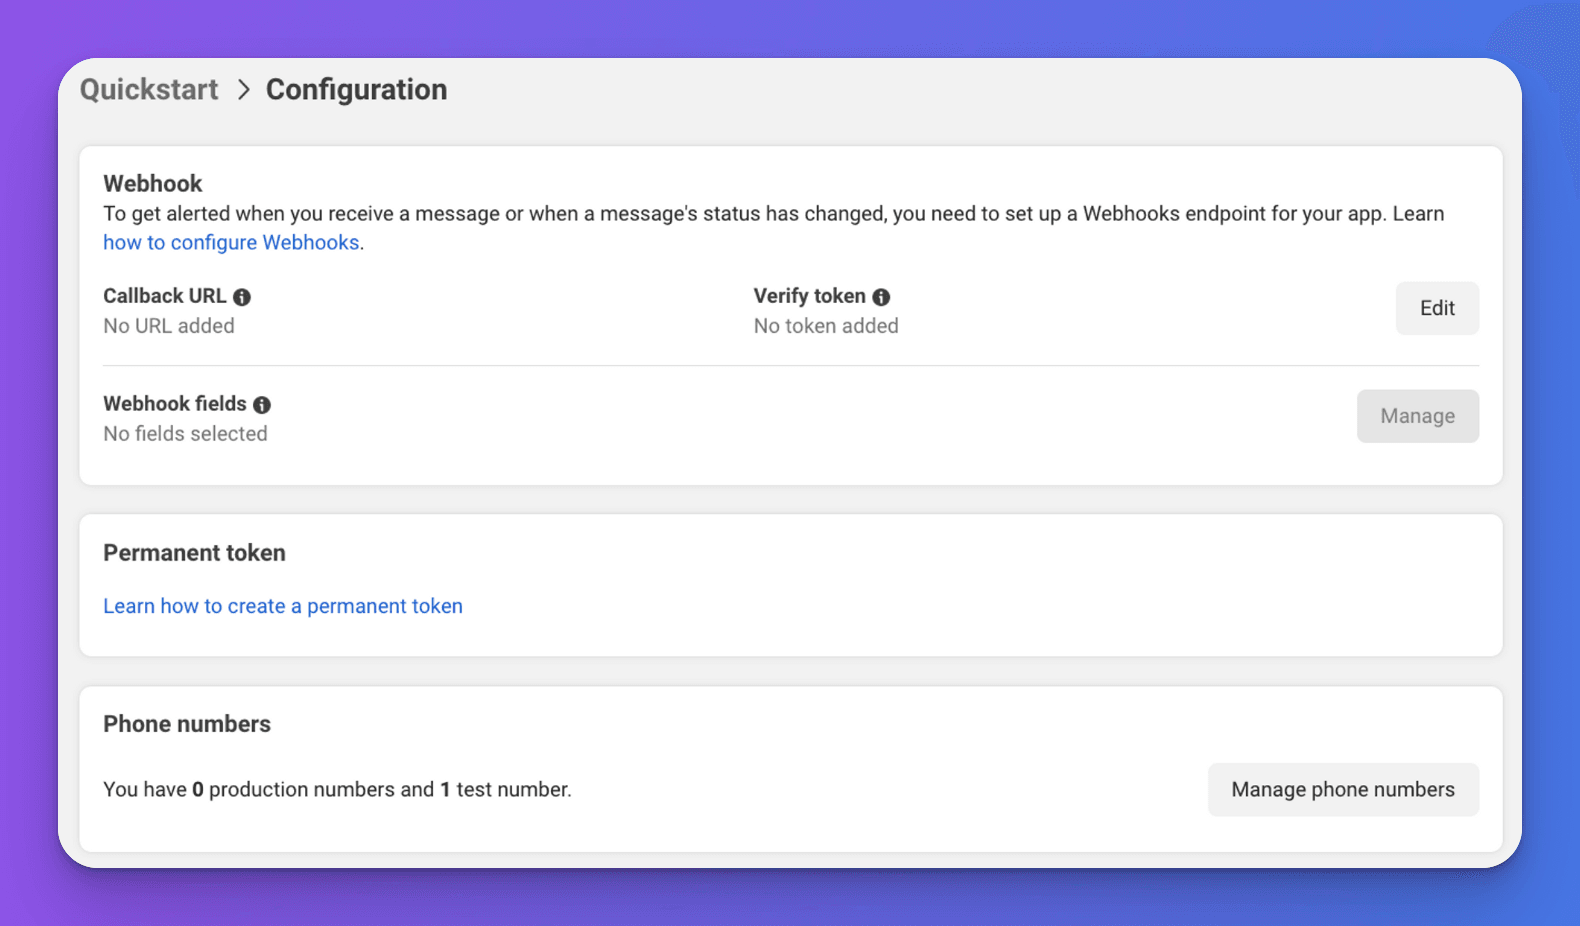
- In Meta, open WhatsApp > Configuration and edit the webhook. Paste the Webhook URL from Chat Thing as the callback URL and the verify token from step 2 as the verify token. Verify and save.
- Still in the webhook configuration, manage the webhook fields and subscribe to
messages. Without this, your bot never receives messages.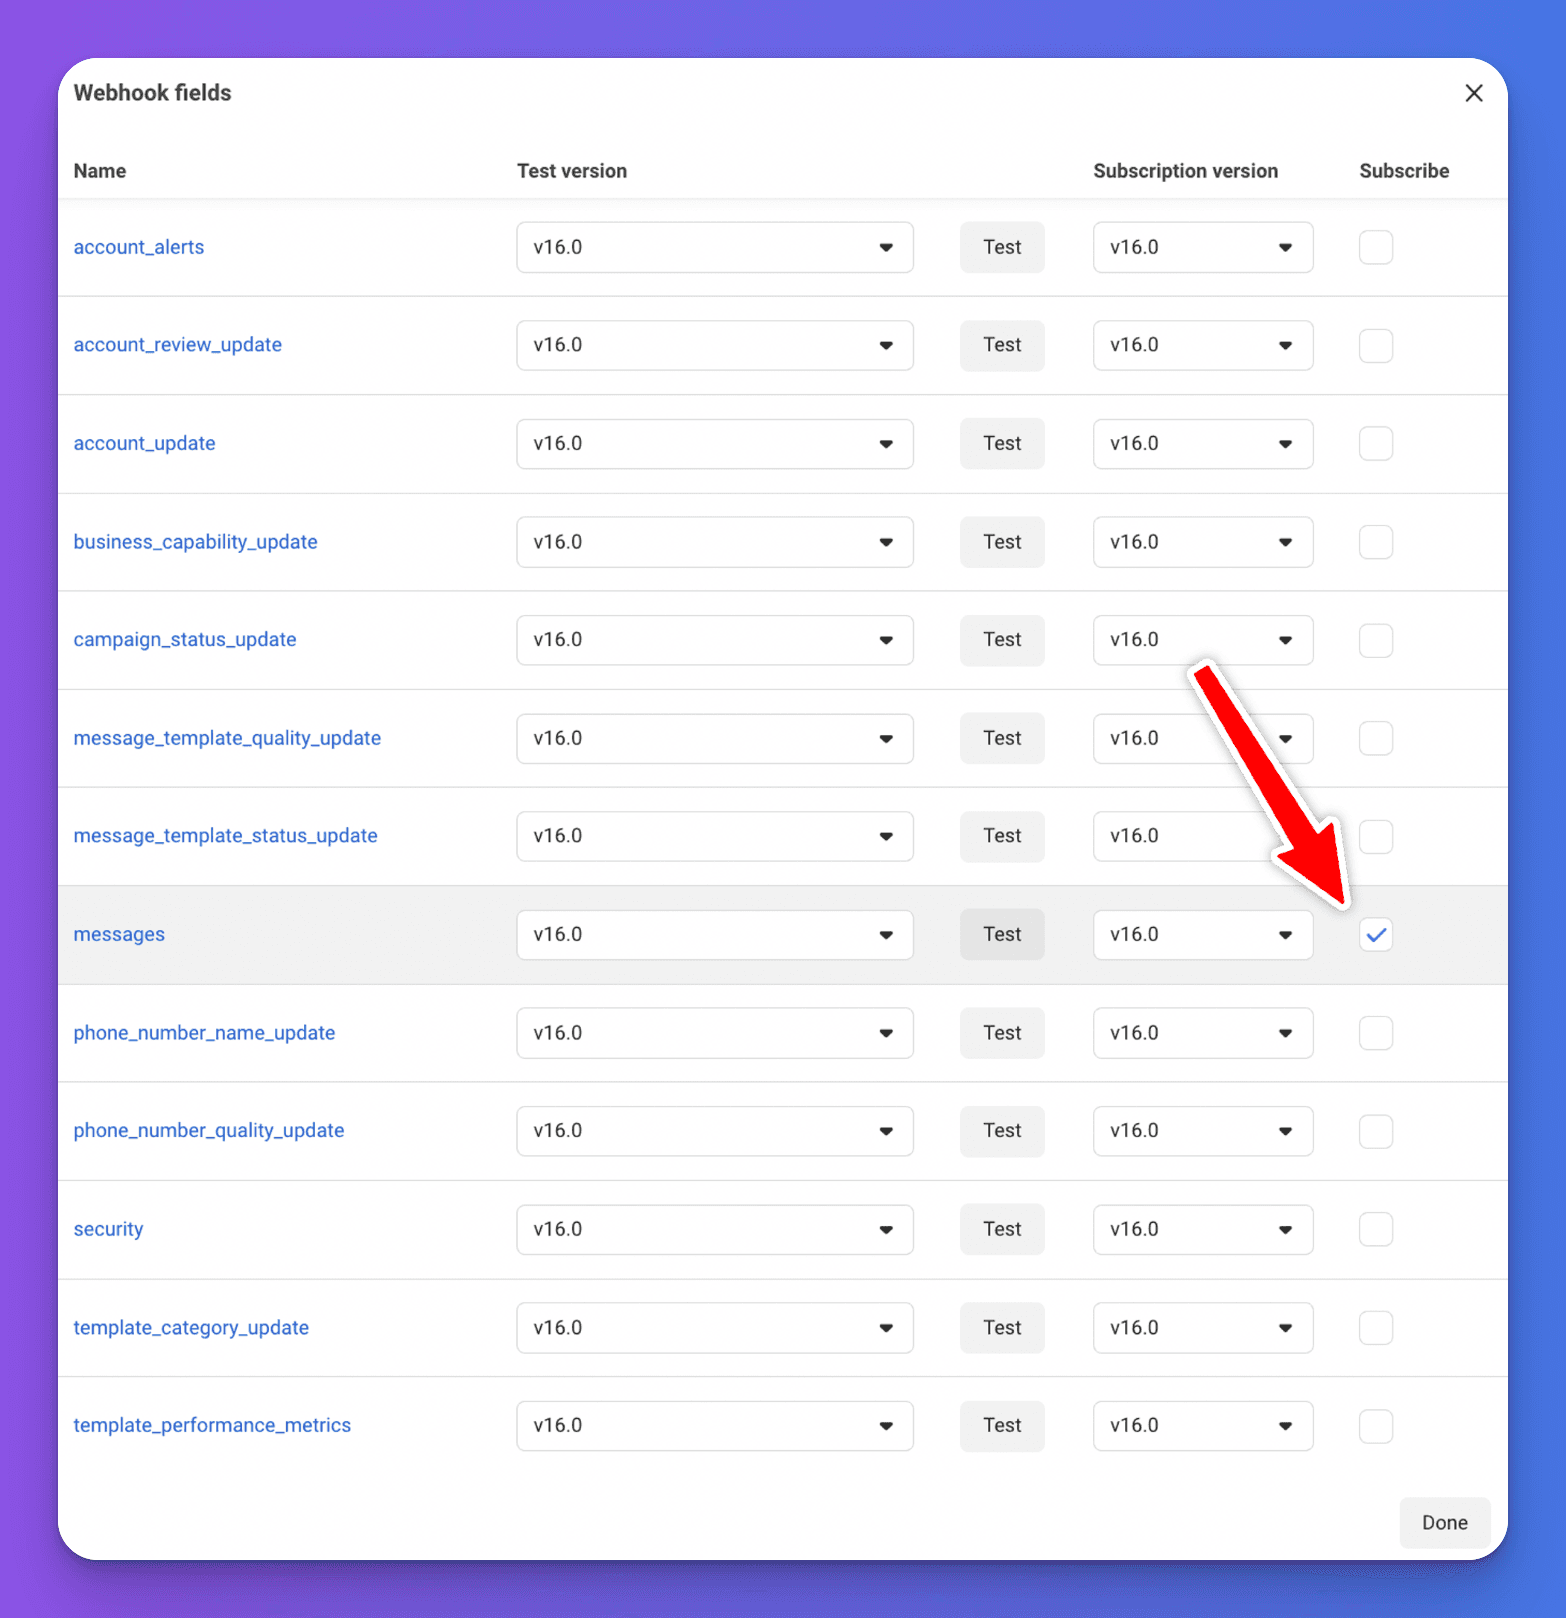
Send a test message
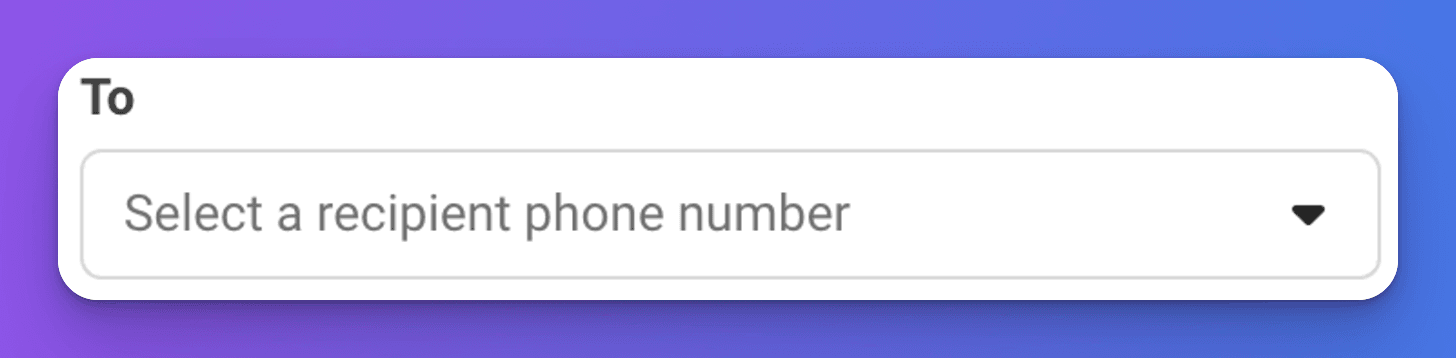
- In Meta, on WhatsApp > API Setup, add your own phone number as a recipient number. WhatsApp sends you a code to confirm it.
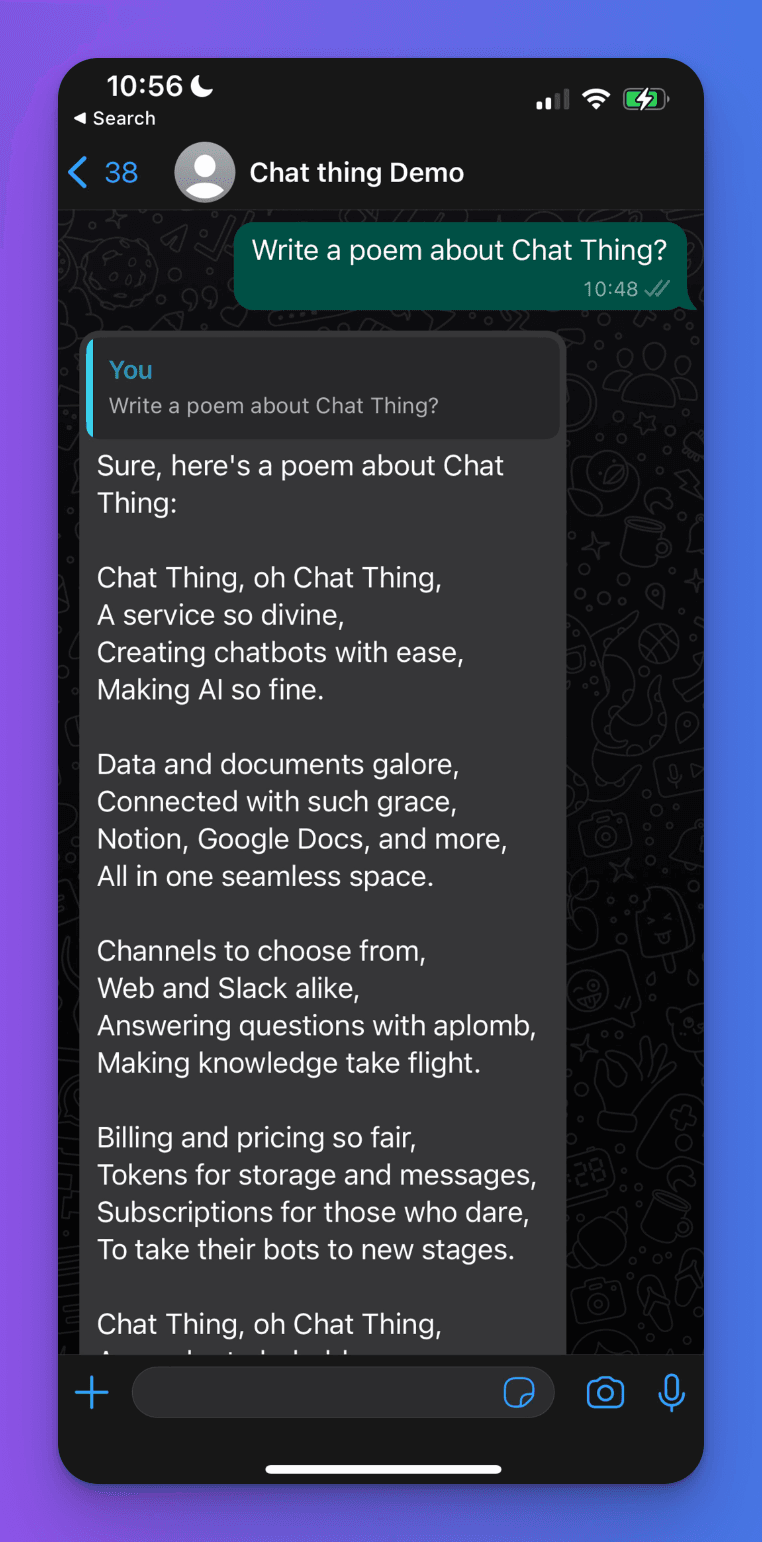
- From that phone, send a WhatsApp message to the test business number shown on the same page.
- After a short pause, your bot should reply. The conversation also appears in Conversations.
Go live
Before real customers can use the bot, Meta requires:
- A business phone number dedicated to the WhatsApp bot.
- Business verification of your Meta business account.
- App review, and your app set to live, following Meta's policies.
- A permanent access token, because the temporary token expires after 24 hours.
Create a permanent access token
Meta's guide to system user access tokens has the full details. In short:
- In Meta Business Suite, open Business settings > Users > System users.
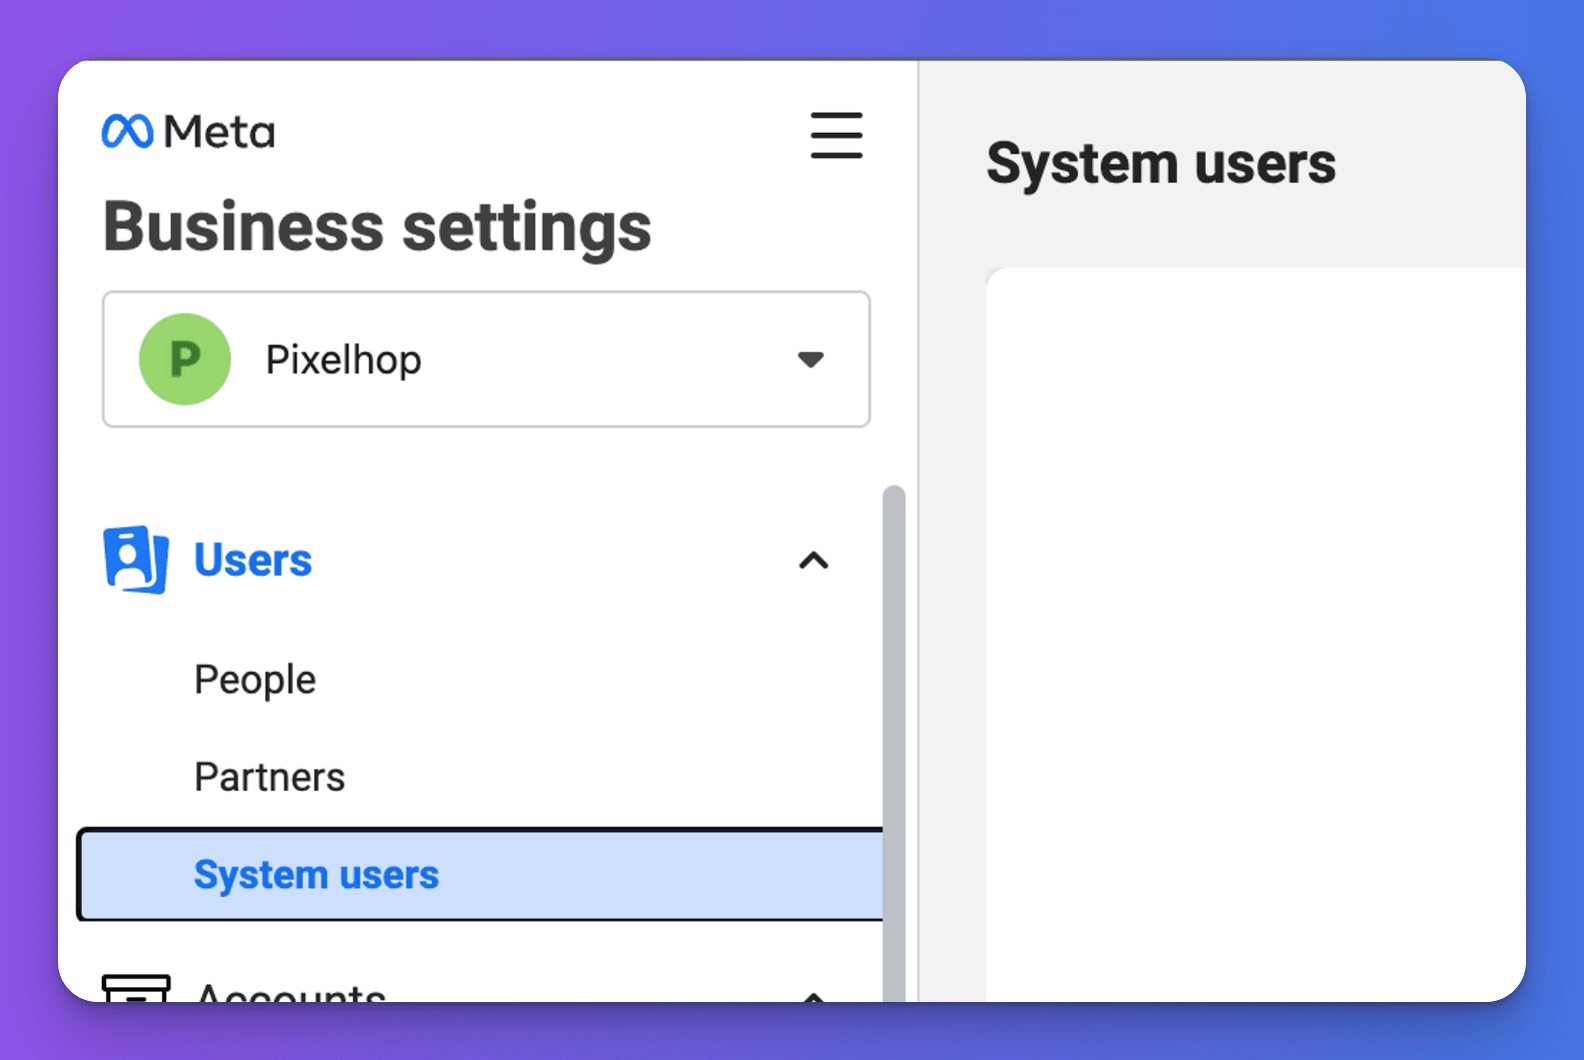
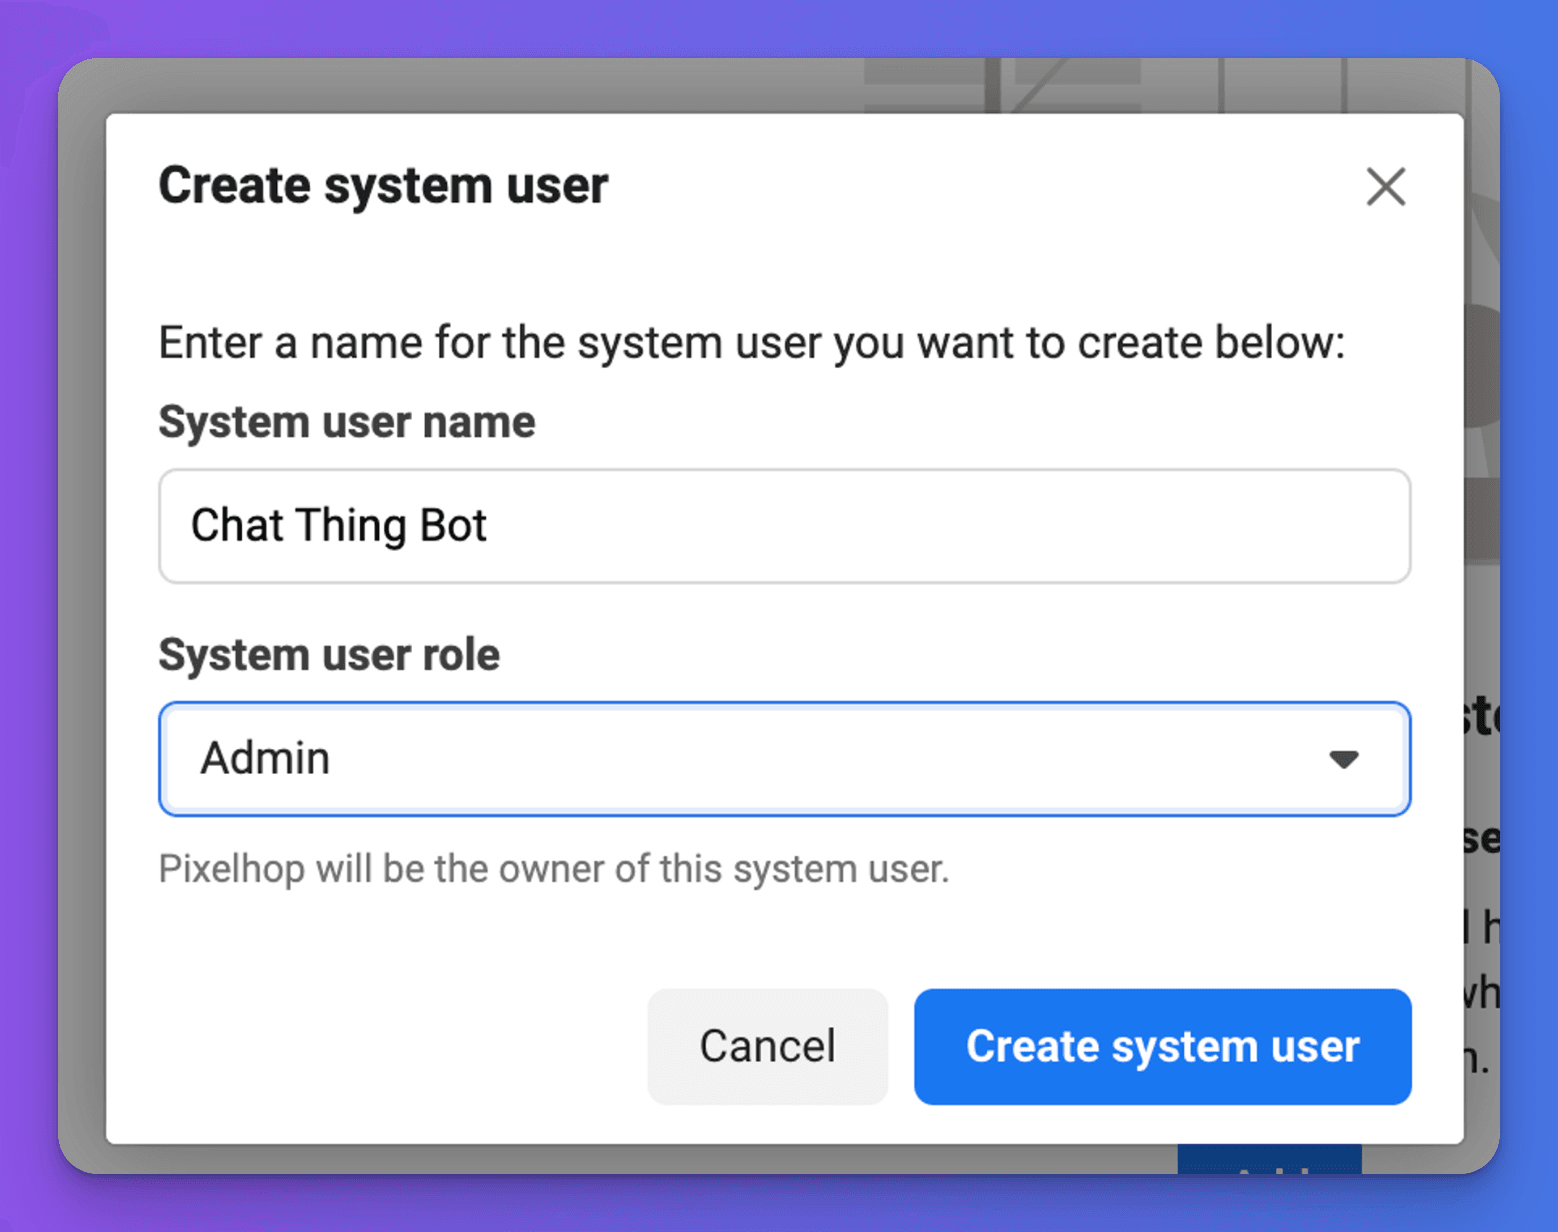
- Add a system user with the Admin role if you don't have one.
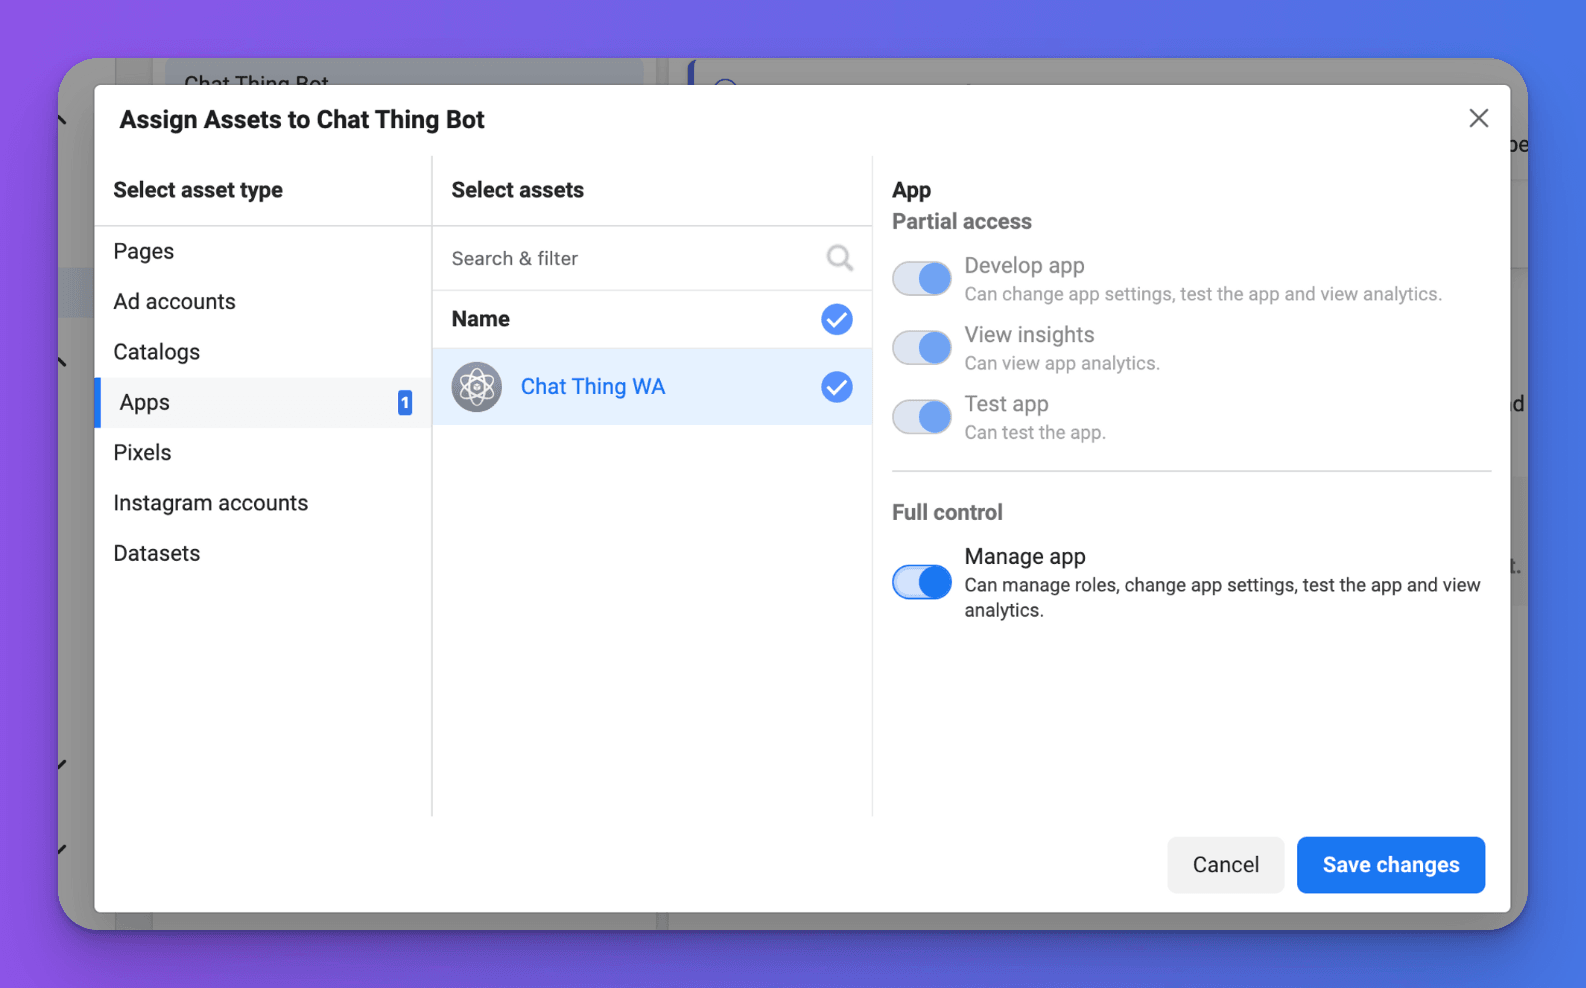
- Click Add assets, choose Apps, select your WhatsApp app and give the system user full control (Manage app). Save.
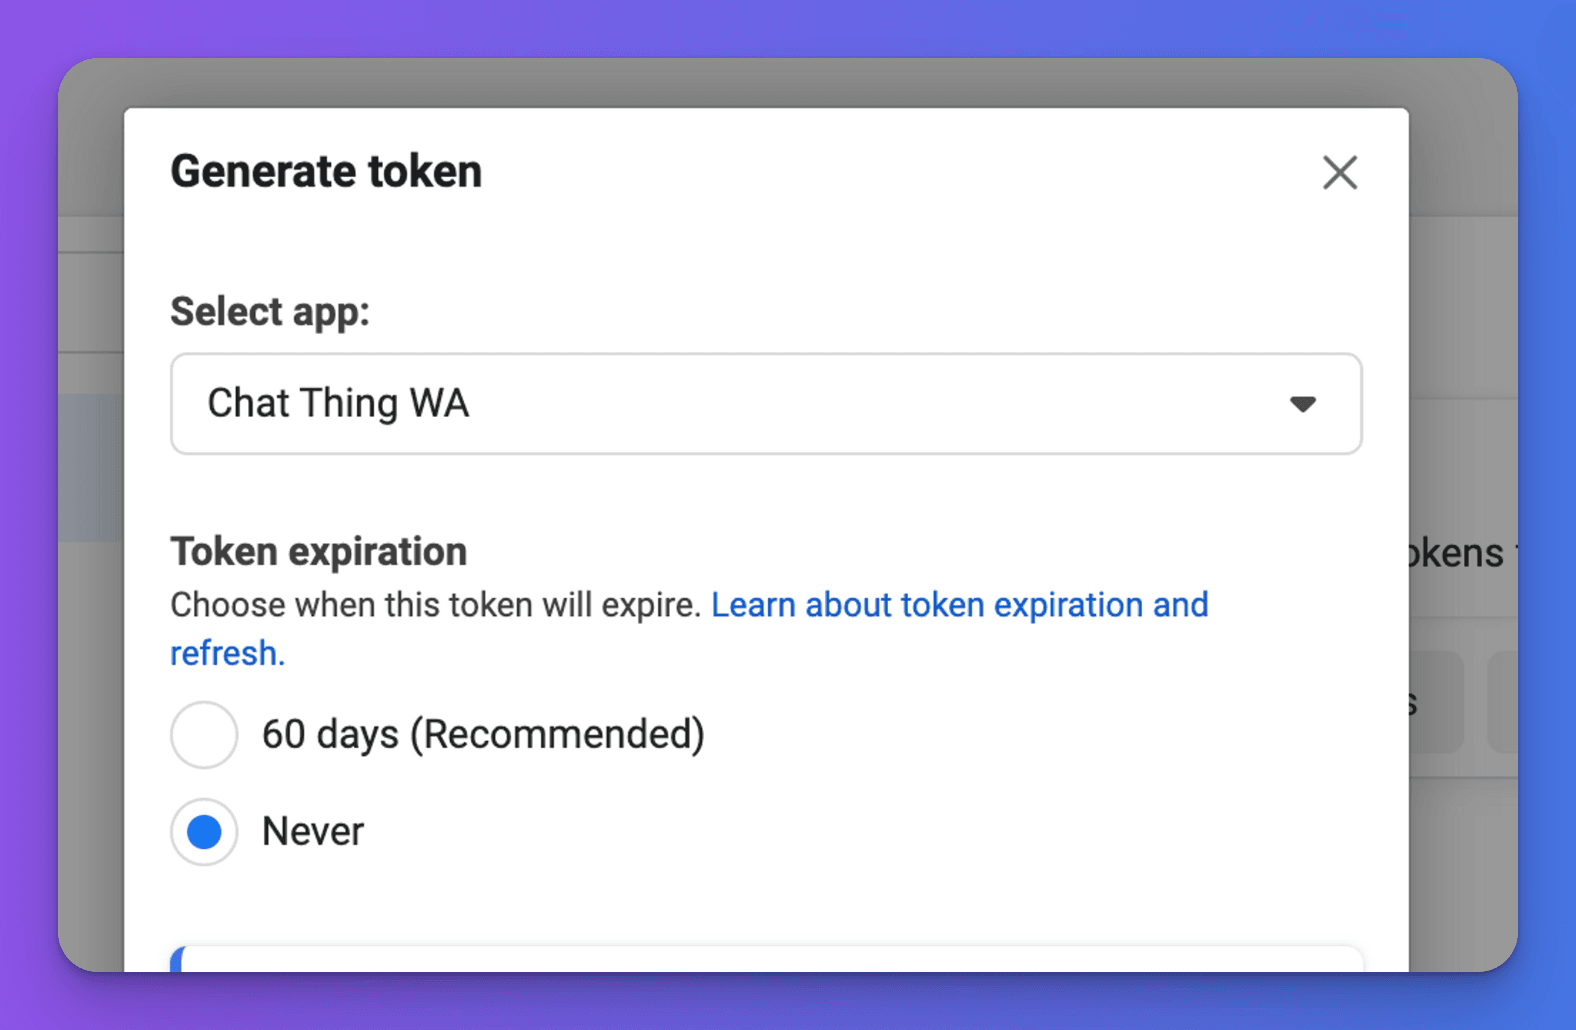
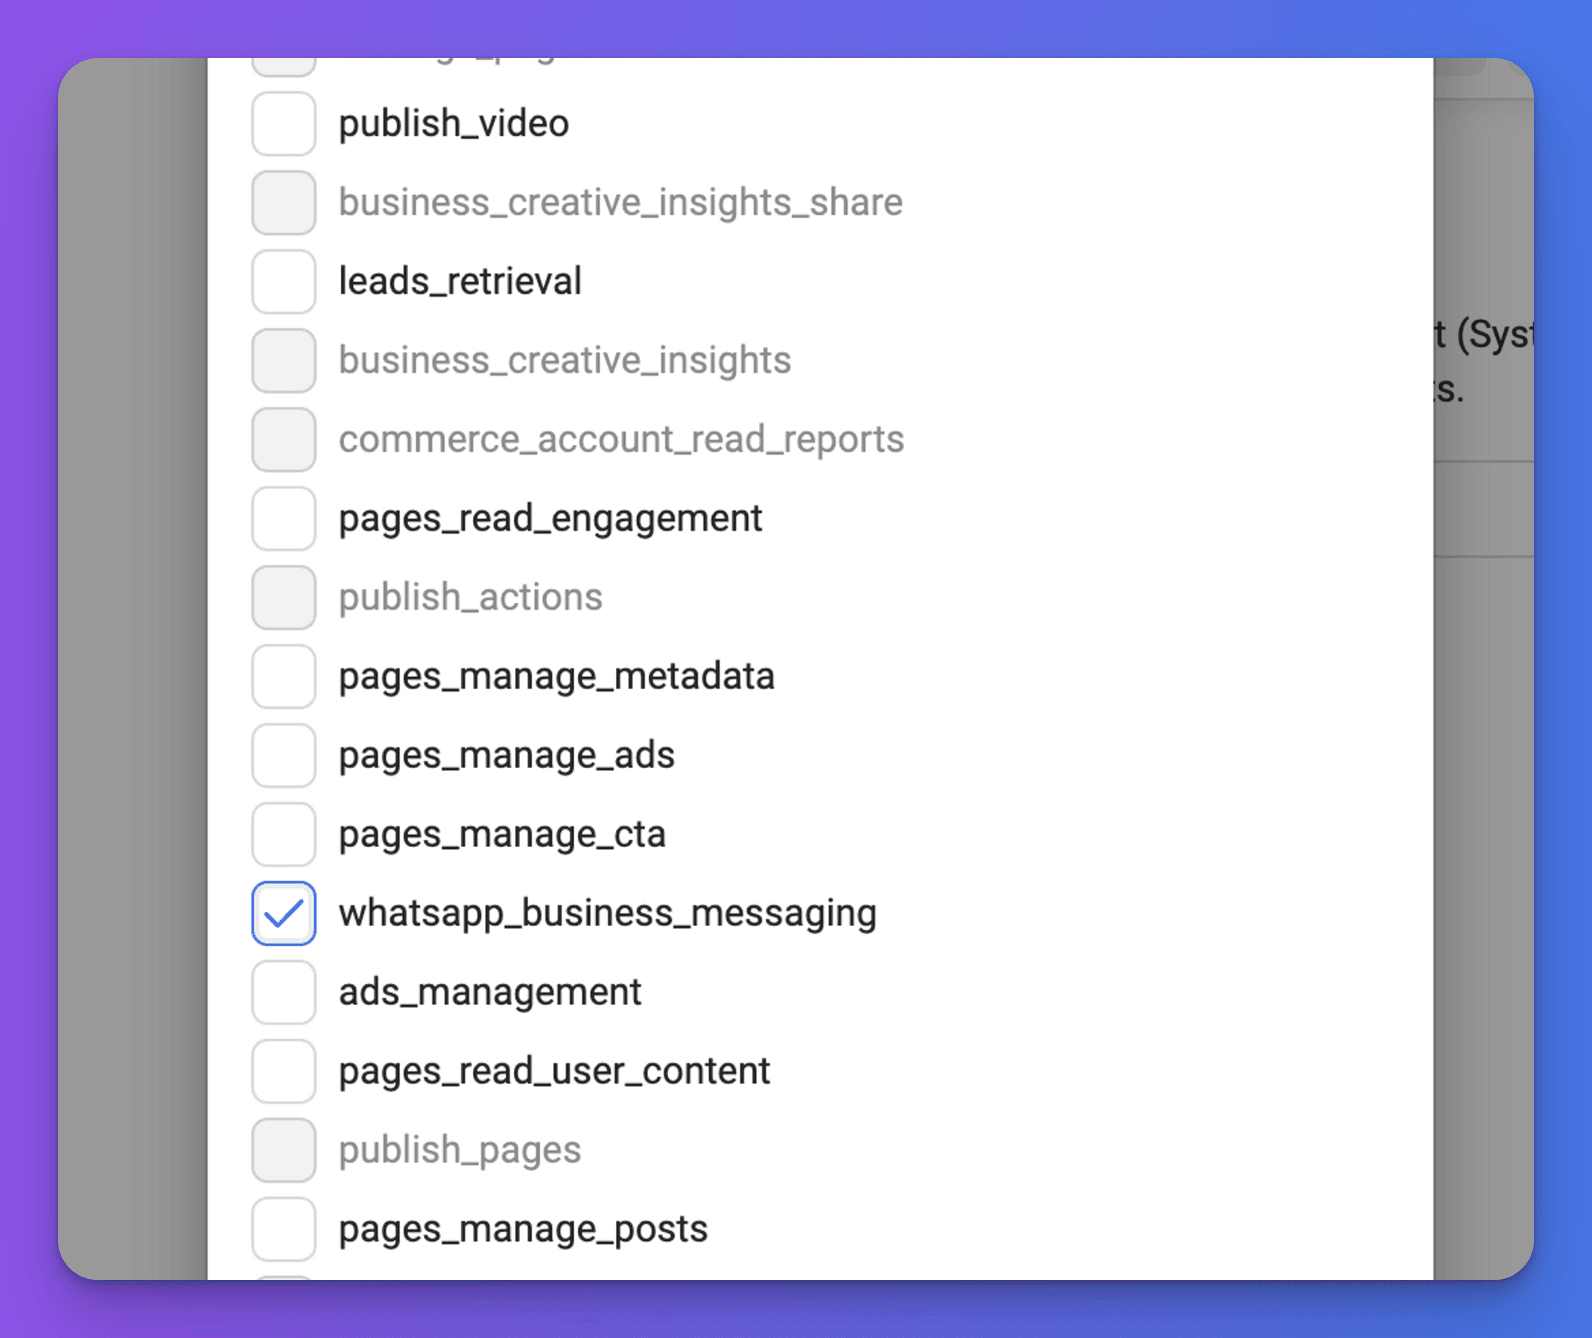
- Click Generate new token, choose your app, set the token to never expire, and select the whatsapp_business_messaging permission. Generate the token and copy it.
- In Chat Thing, open the WhatsApp channel settings, replace the old token in Access token and click Save.
Send another test message to confirm the bot still replies.
Check it works
Message your WhatsApp Business number from a phone that isn't on your team. The bot should reply, and the conversation should appear in Conversations.
Troubleshooting
The bot stopped replying after a day
You're still using the temporary access token, which expires after 24 hours. Create a permanent access token and paste it into Access token.
Meta won't verify the webhook
Check you pasted the Webhook URL and verify token from Chat Thing exactly, and that you saved the WhatsApp settings in Chat Thing first. If you've lost the verify token, click Generate new secret, save, and enter the new token in Meta.
Messages arrive but the bot never replies
Check the webhook is subscribed to the messages field, and that the access token has the whatsapp_business_messaging permission.
The bot replies "This bot is currently unavailable"
The WhatsApp channel is turned off. Turn the WhatsApp card back on in the Channels tab.
Related
- Channels
Where your bot talks to people - your website, WhatsApp, Slack, Discord, Telegram, email and the API - and which plans include each channel.
- Review customer conversations
Find, filter and read every conversation your bots have with customers, see AI summaries and user details, and share or download transcripts.
Last updated