Channels
Create AI Slack Bots
Deprecated intergration
These docs are for our V1 Slack integration. All new Slack channels will use our much more powerful V2 integration. Find out more here
The Slack channel allows you to interact with your bot right in your Slack workspace!
Slack quick start
If you want to get set up with Slack quickly, check out the video below:
Connecting your bot to Slack
Before you start
The Slack integration is only available on Standard, Pro and Enterprise plans.
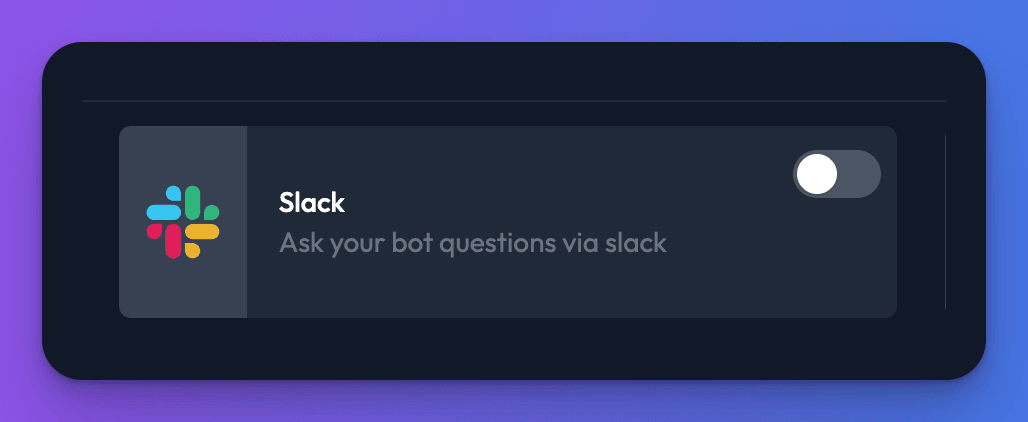
- From your bot dashboard, go to the Channels tab and enable the Slack channel by clicking its toggle switch.
- Choose the bot’s display name, and the / command you would like to use in the settings window that appears. By default these are set to “Chat Thing” and “/chatthing”. If you change these click “Update settings”
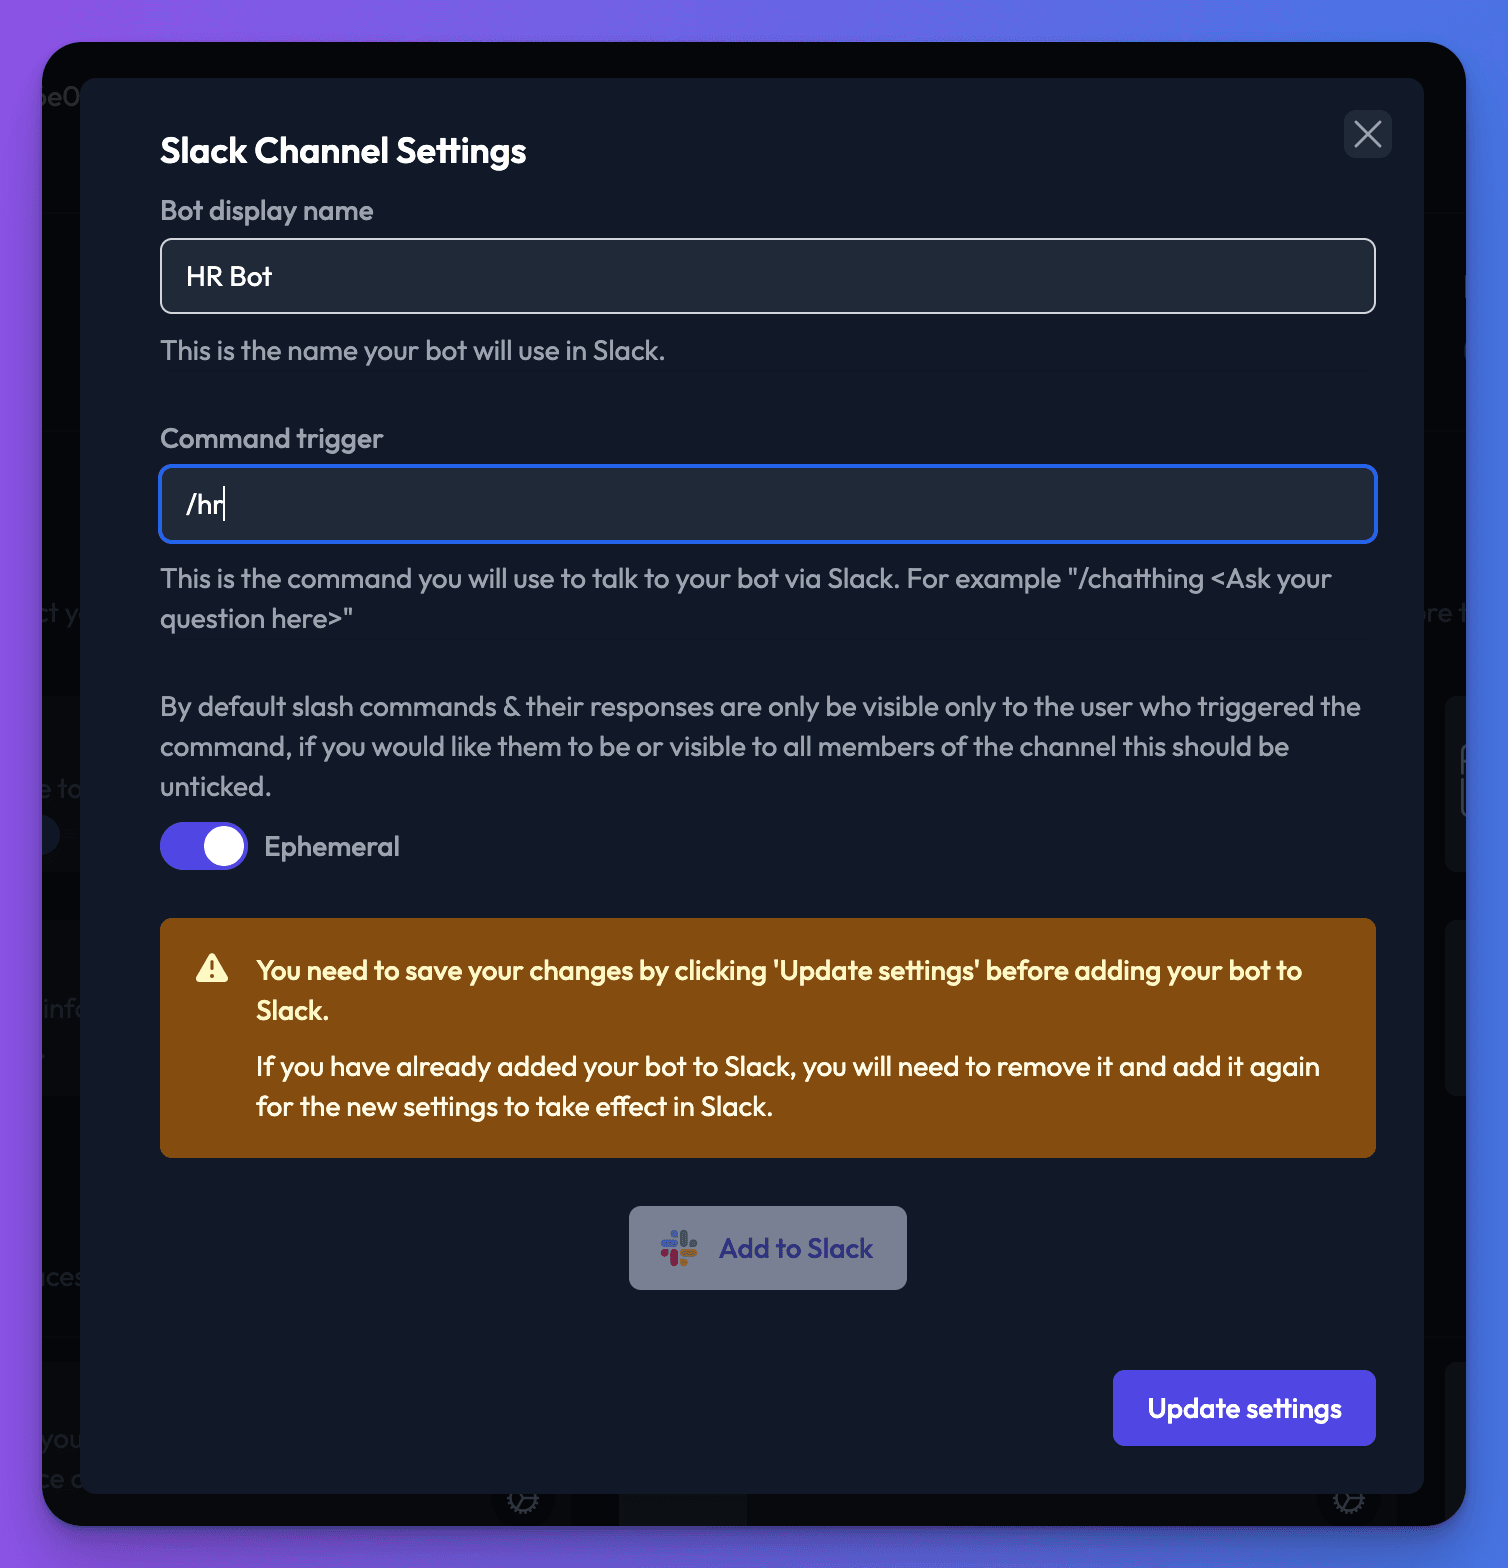
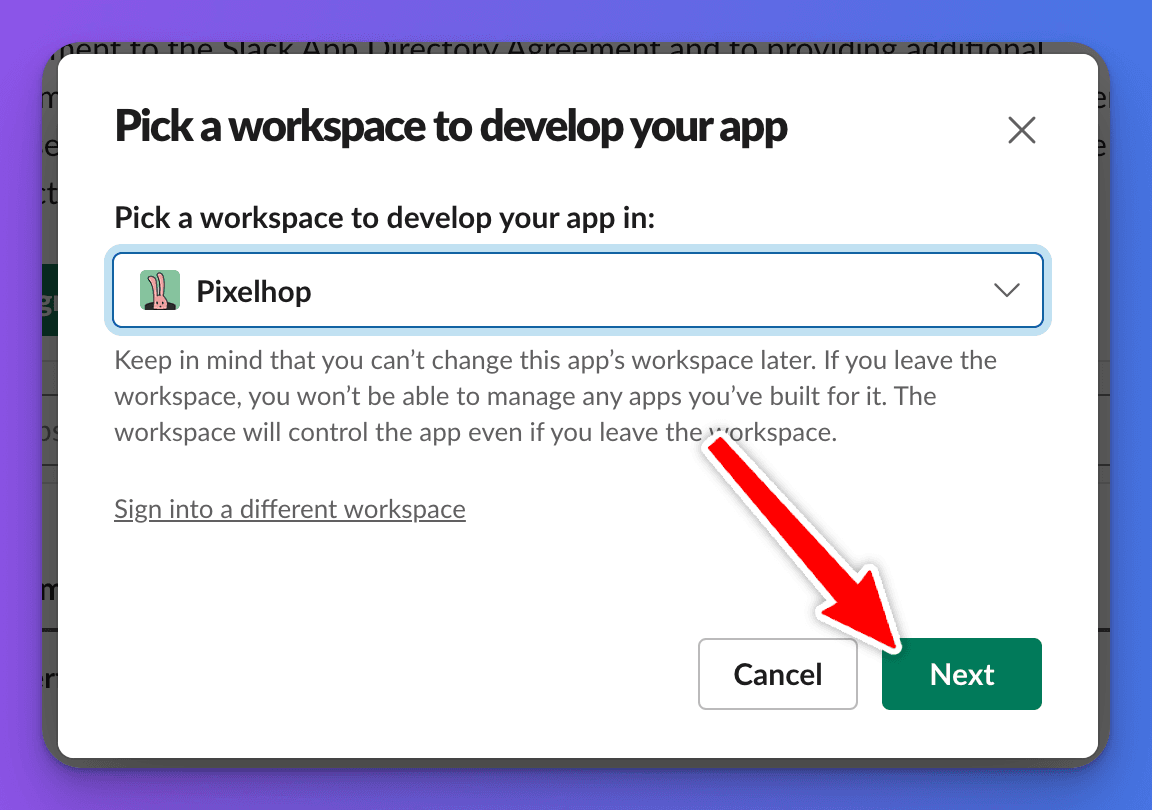
- Once you are happy with your display name and command trigger, click “Add to Slack”. This will open the Slack website in a new window. You will then be asked to select a Slack work space to add the bot to. Choose a workspace from the dropdown menu, and click “Next”.
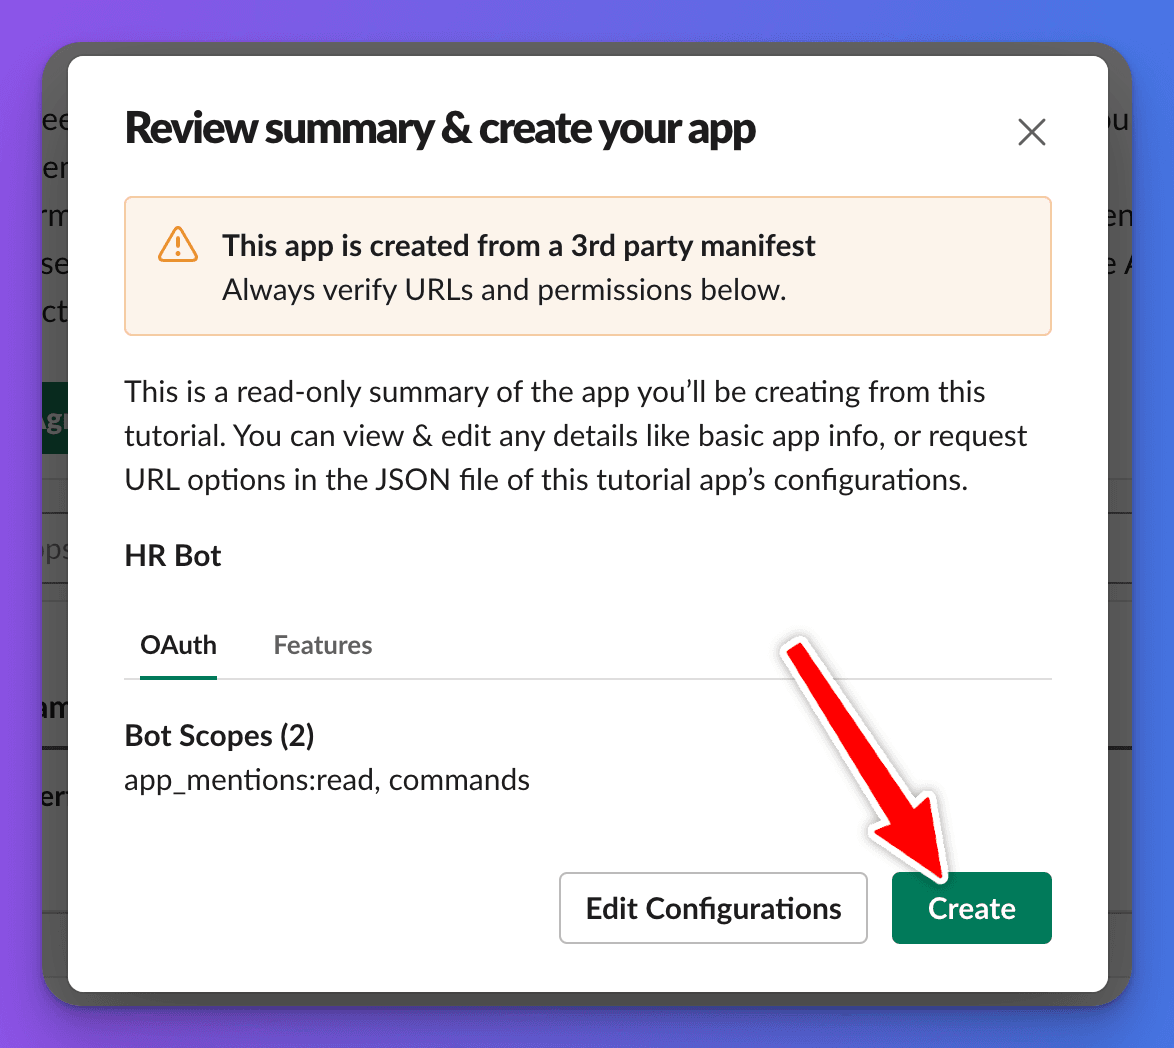
- Review the bots permissions, and if you are happy click “Create”.
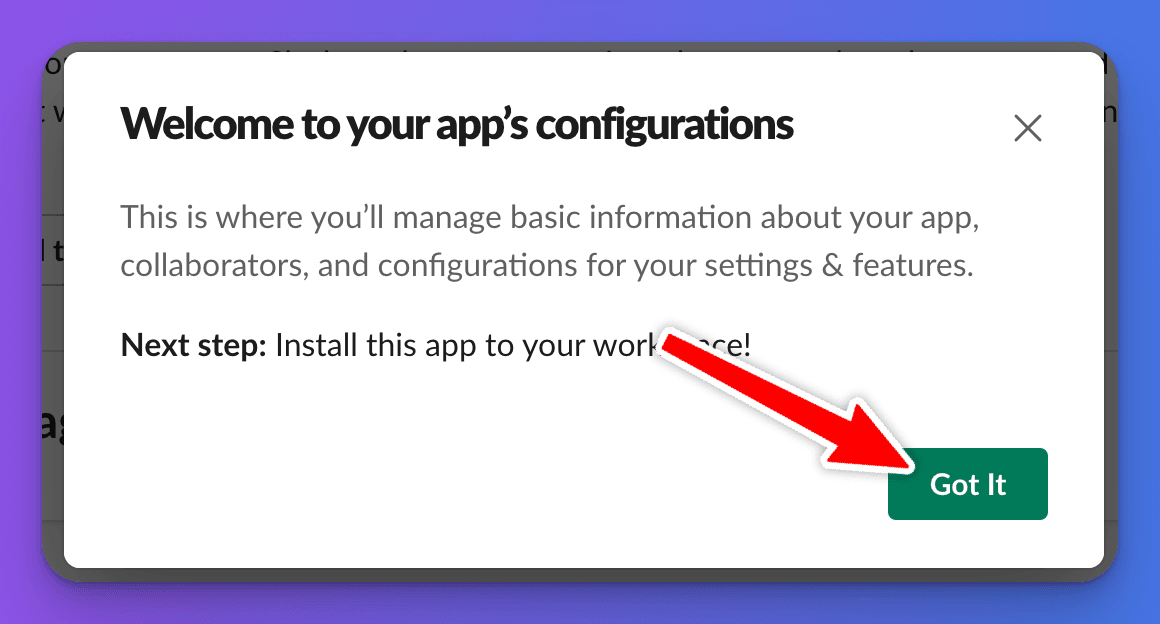
Your bot will be created, and you will see a popup welcoming you to your Slack apps settings. Click “Got It” to close the window.
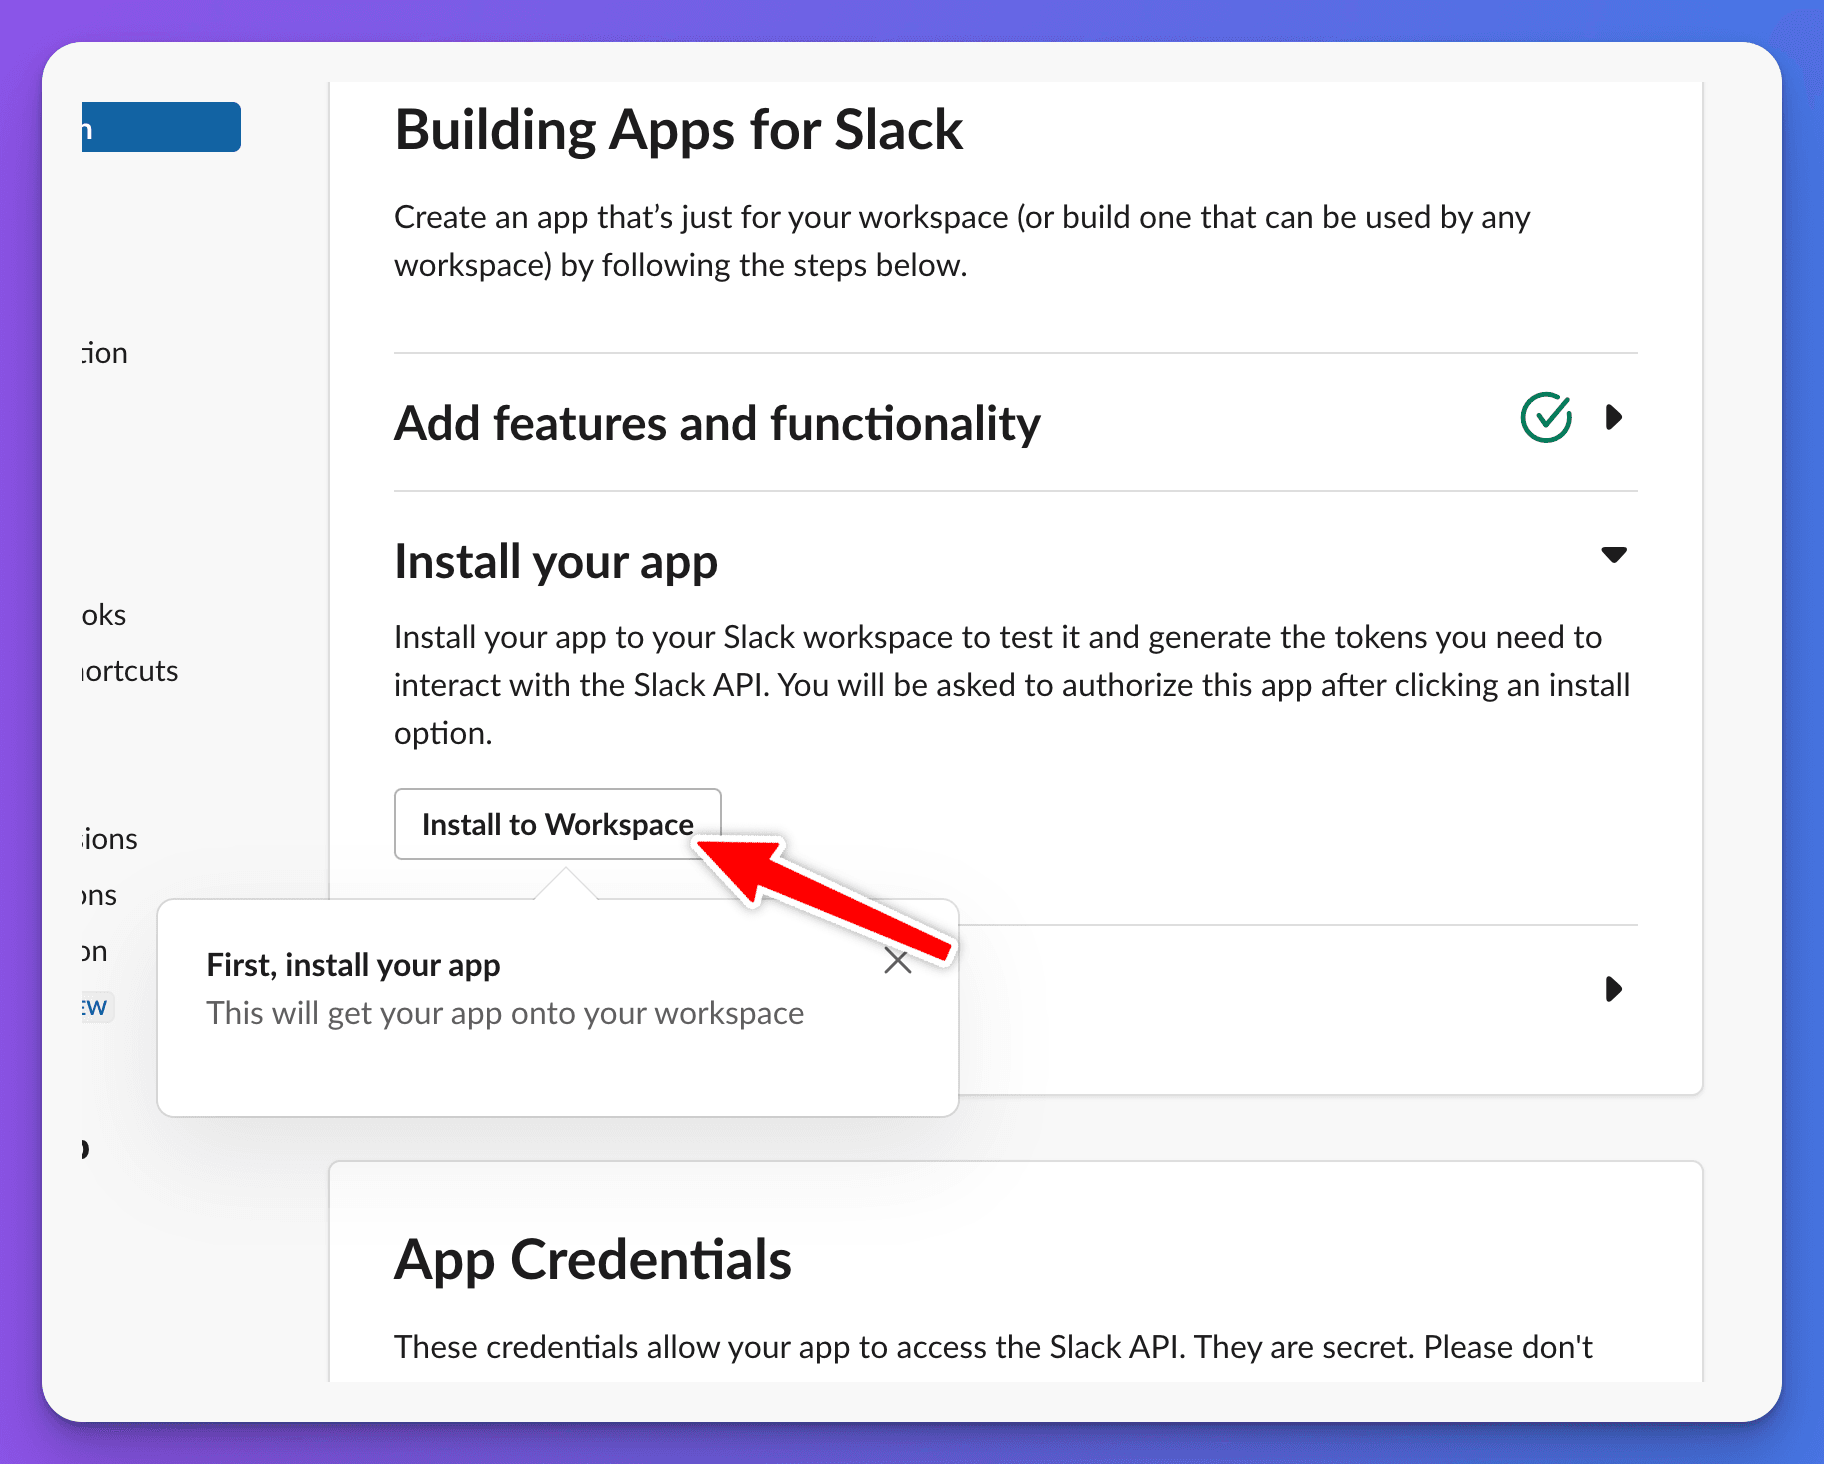
Install the app! This is the most important part! Click the “Install to Workspace” button. This will open a new window asking you to allow the bot access to your Slack workspace.
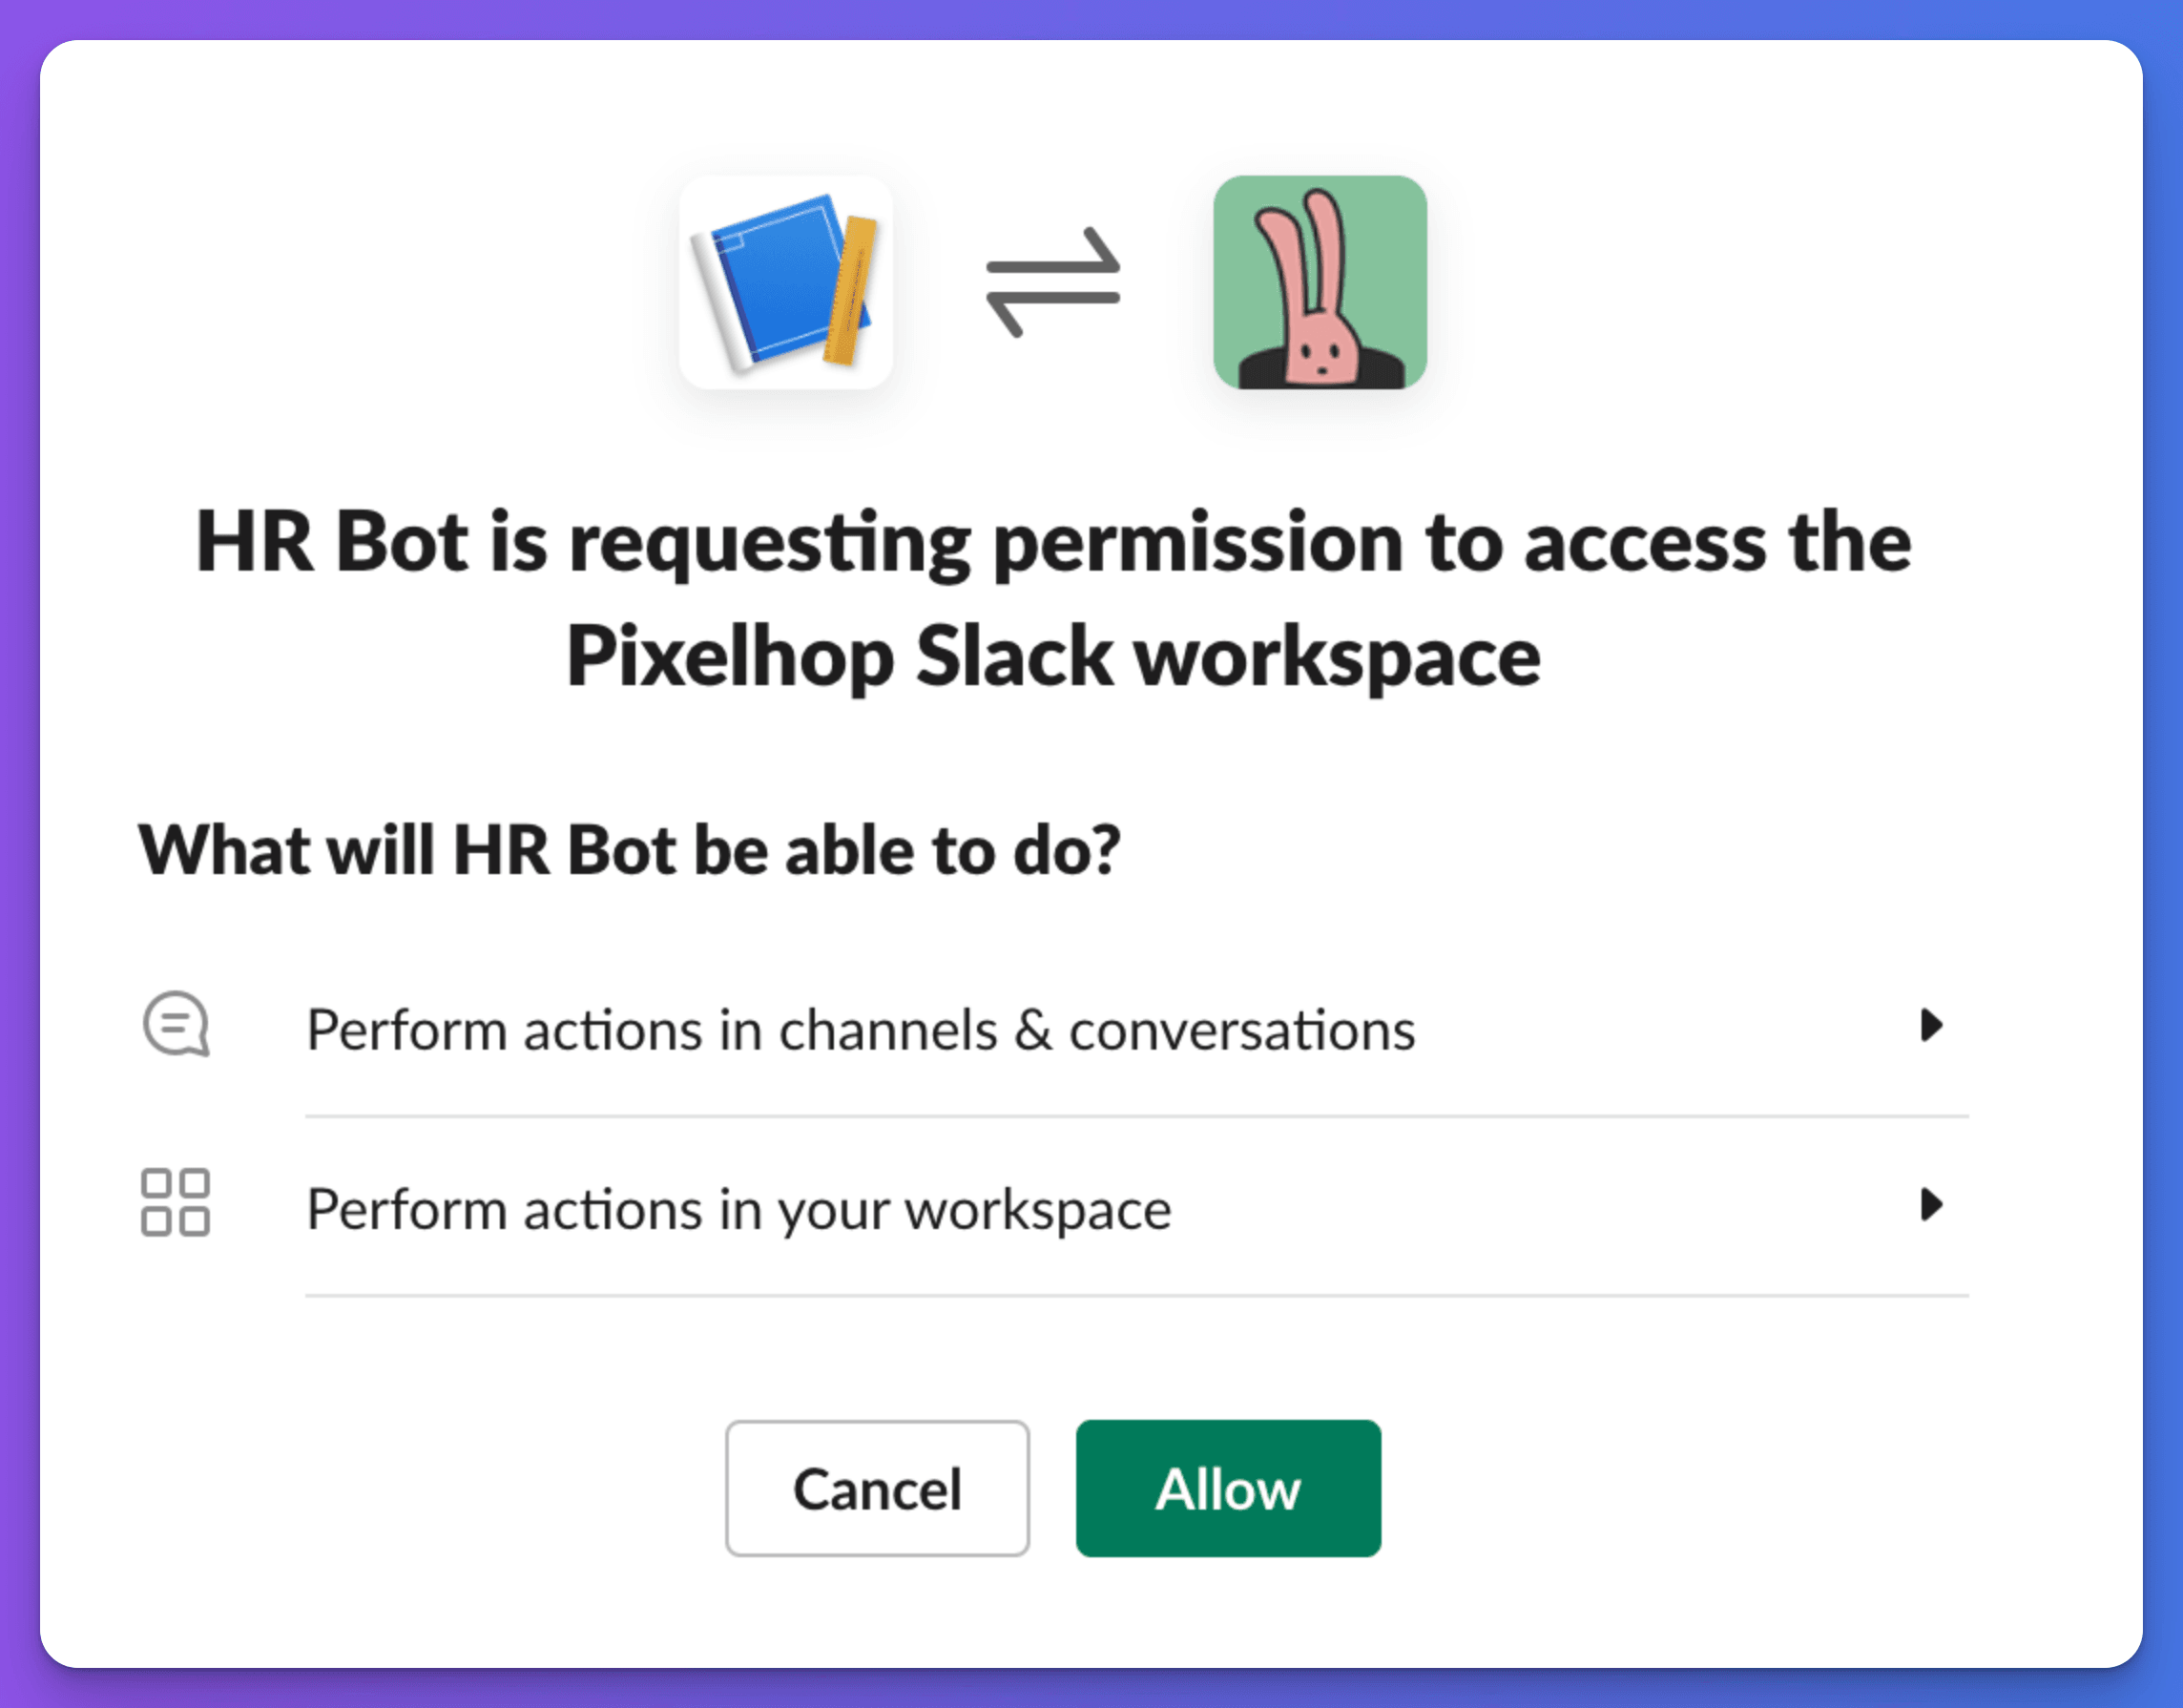
Click “Allow”, to finish installing your bot!
Talk to your bot in Slack. You will now be able to ask your bot questions by using the slash command you in the channel settings. For example
/chatthing Hi how do I book holiday?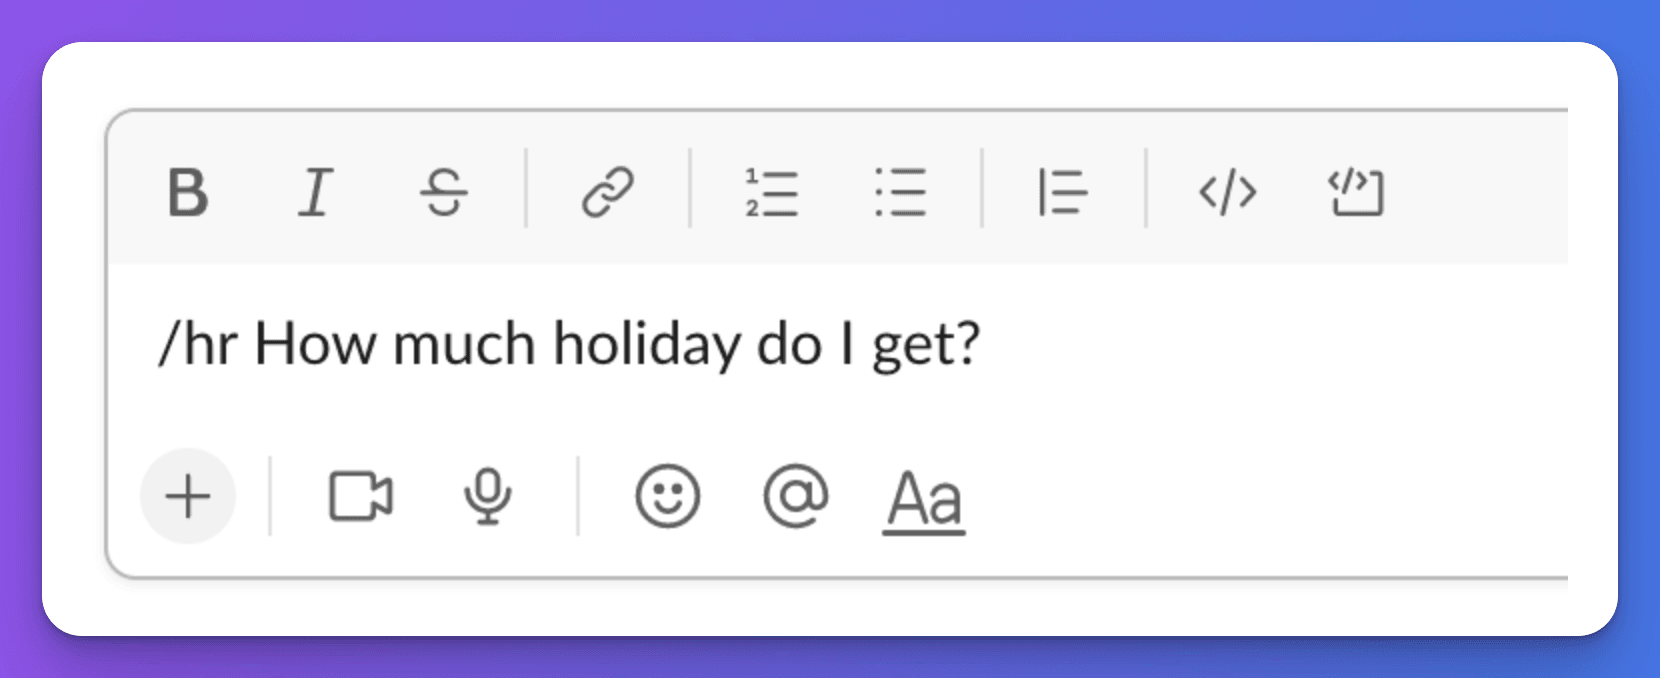
Changing Slack bot settings
If you have already installed the Slack bot and want to change the settings via the channel settings in Chat Thing, you will need to remove the bot from Slack, and then re-add it.
From your bot’s management page in Slack, scroll down and click “Delete App”
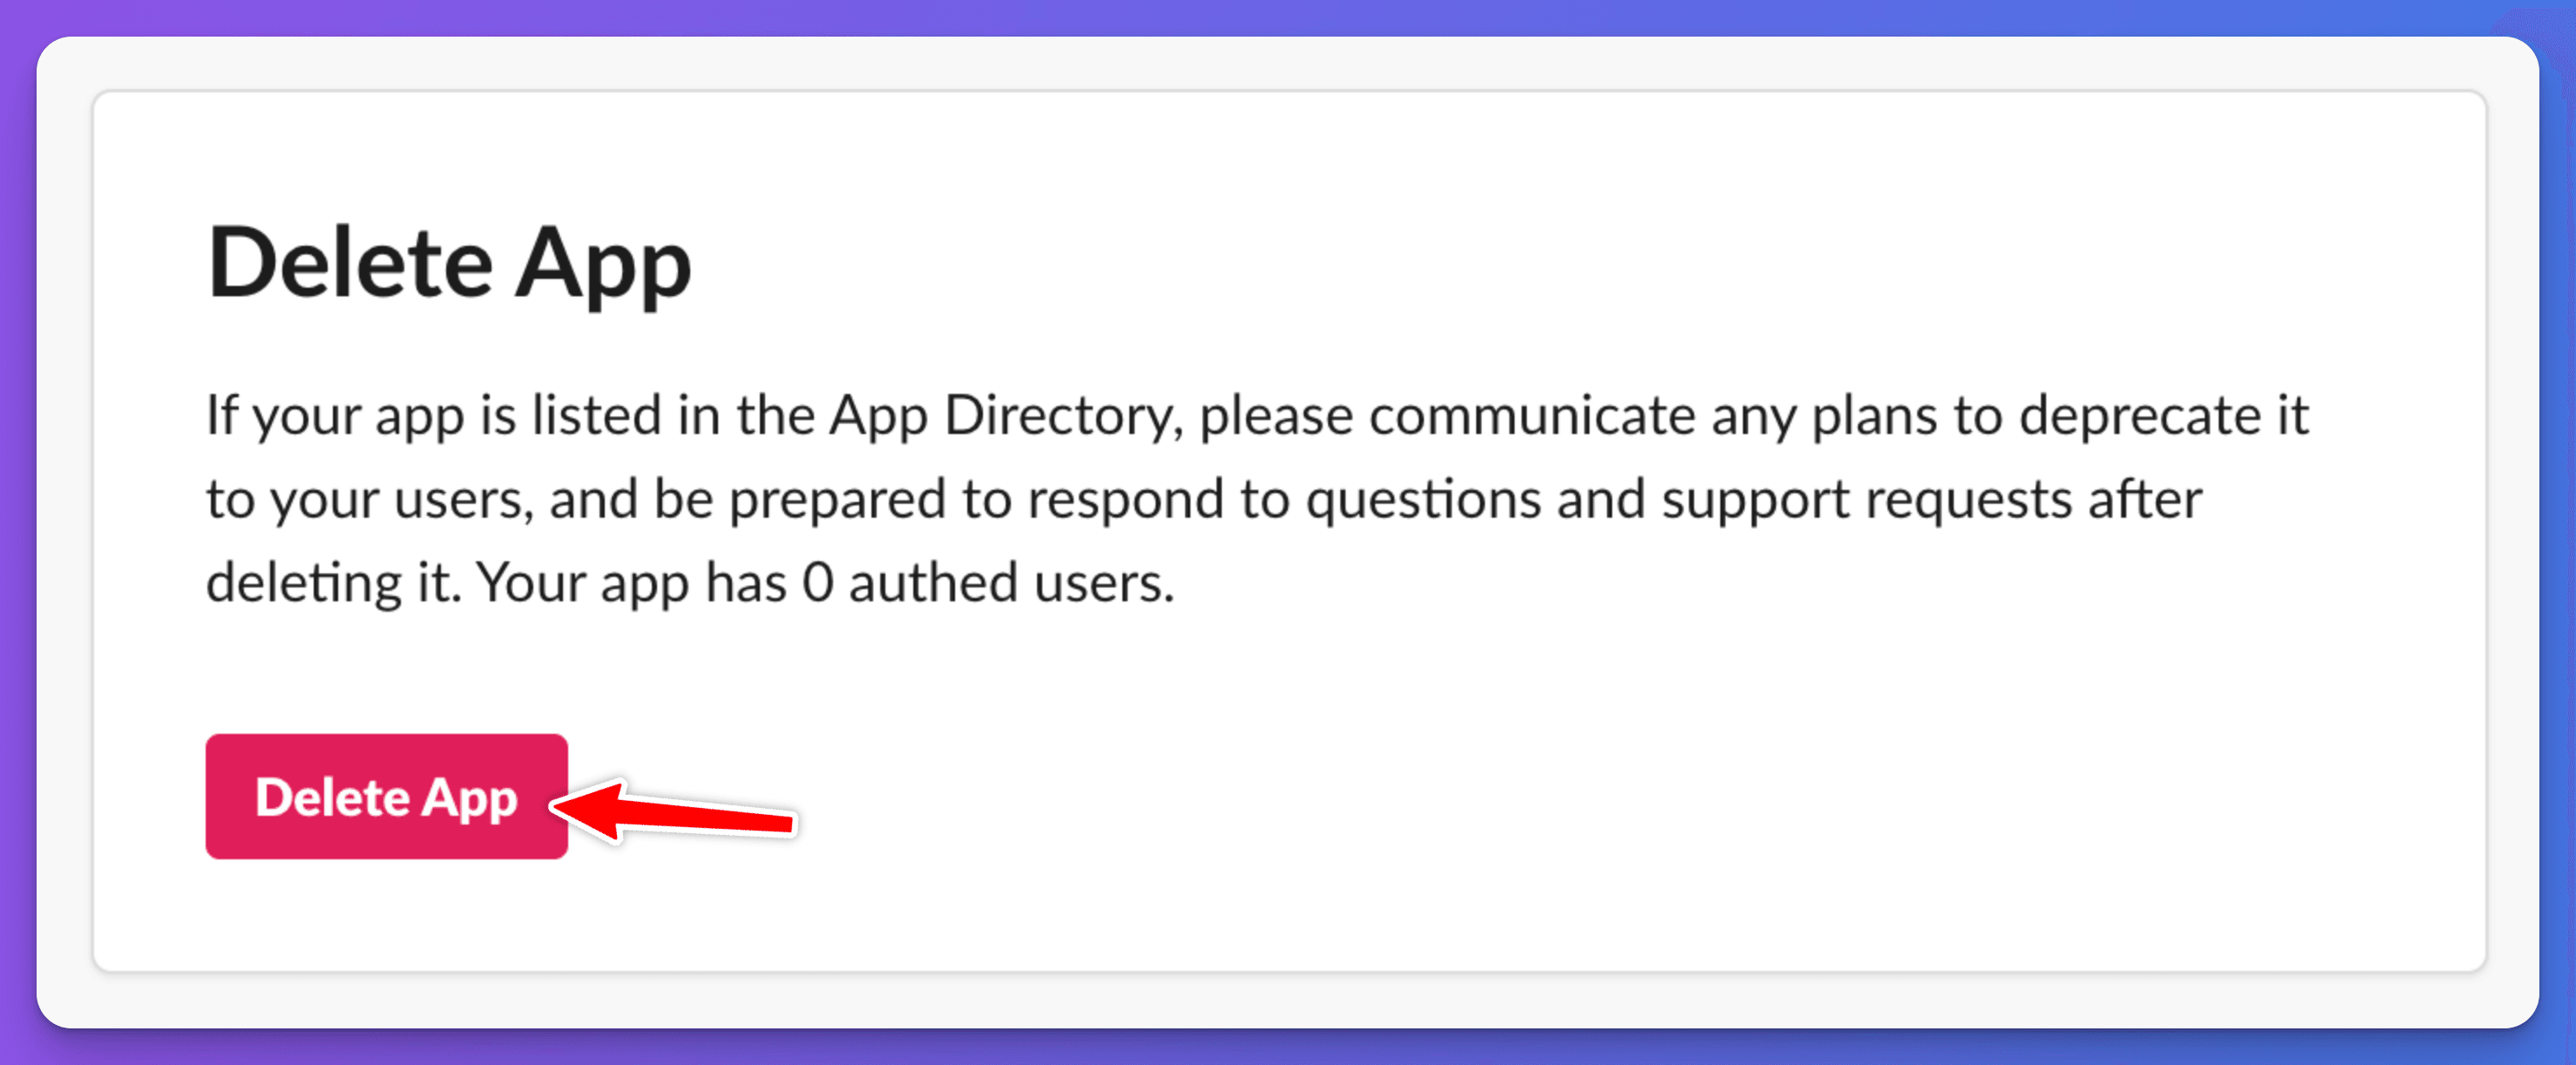
Make your changes to the Slack channel settings from your bot’s dashboard on Chat Thing, and click “Update settings”.

Click “Add to Slack” and go through the process of adding your bot to Slack again.