Introduction
Quickstart guide
You should know!
Here you will learn how to create your first custom Chat GPT bot using your own data!
Watch the video below, or read on to learn how to create your first AI bot.
1. Create your first bot
Before you start
Before you can create a bot, you will need to register for a free account
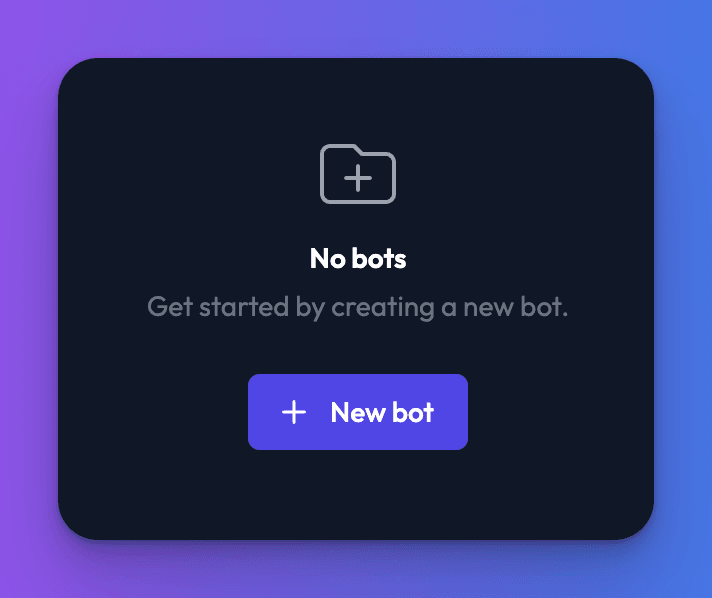
Once logged in, from the bots page, click the New bot button:
2. Enter your bot details
You will now be on the new bot form. Here you can enter some basic details about your bot.
Bot Name
You are required to give your bot a name. This will help you identify the bot in the dashboard, and will be displayed at your bot URL.
Bot description
You can add an optional description. This will be displayed beneath the bot name at your bot URL. Markdown is supported here if you want to add links or other formatting.
Bot first message
The first message is the message the bot will send to a user to start a chat.
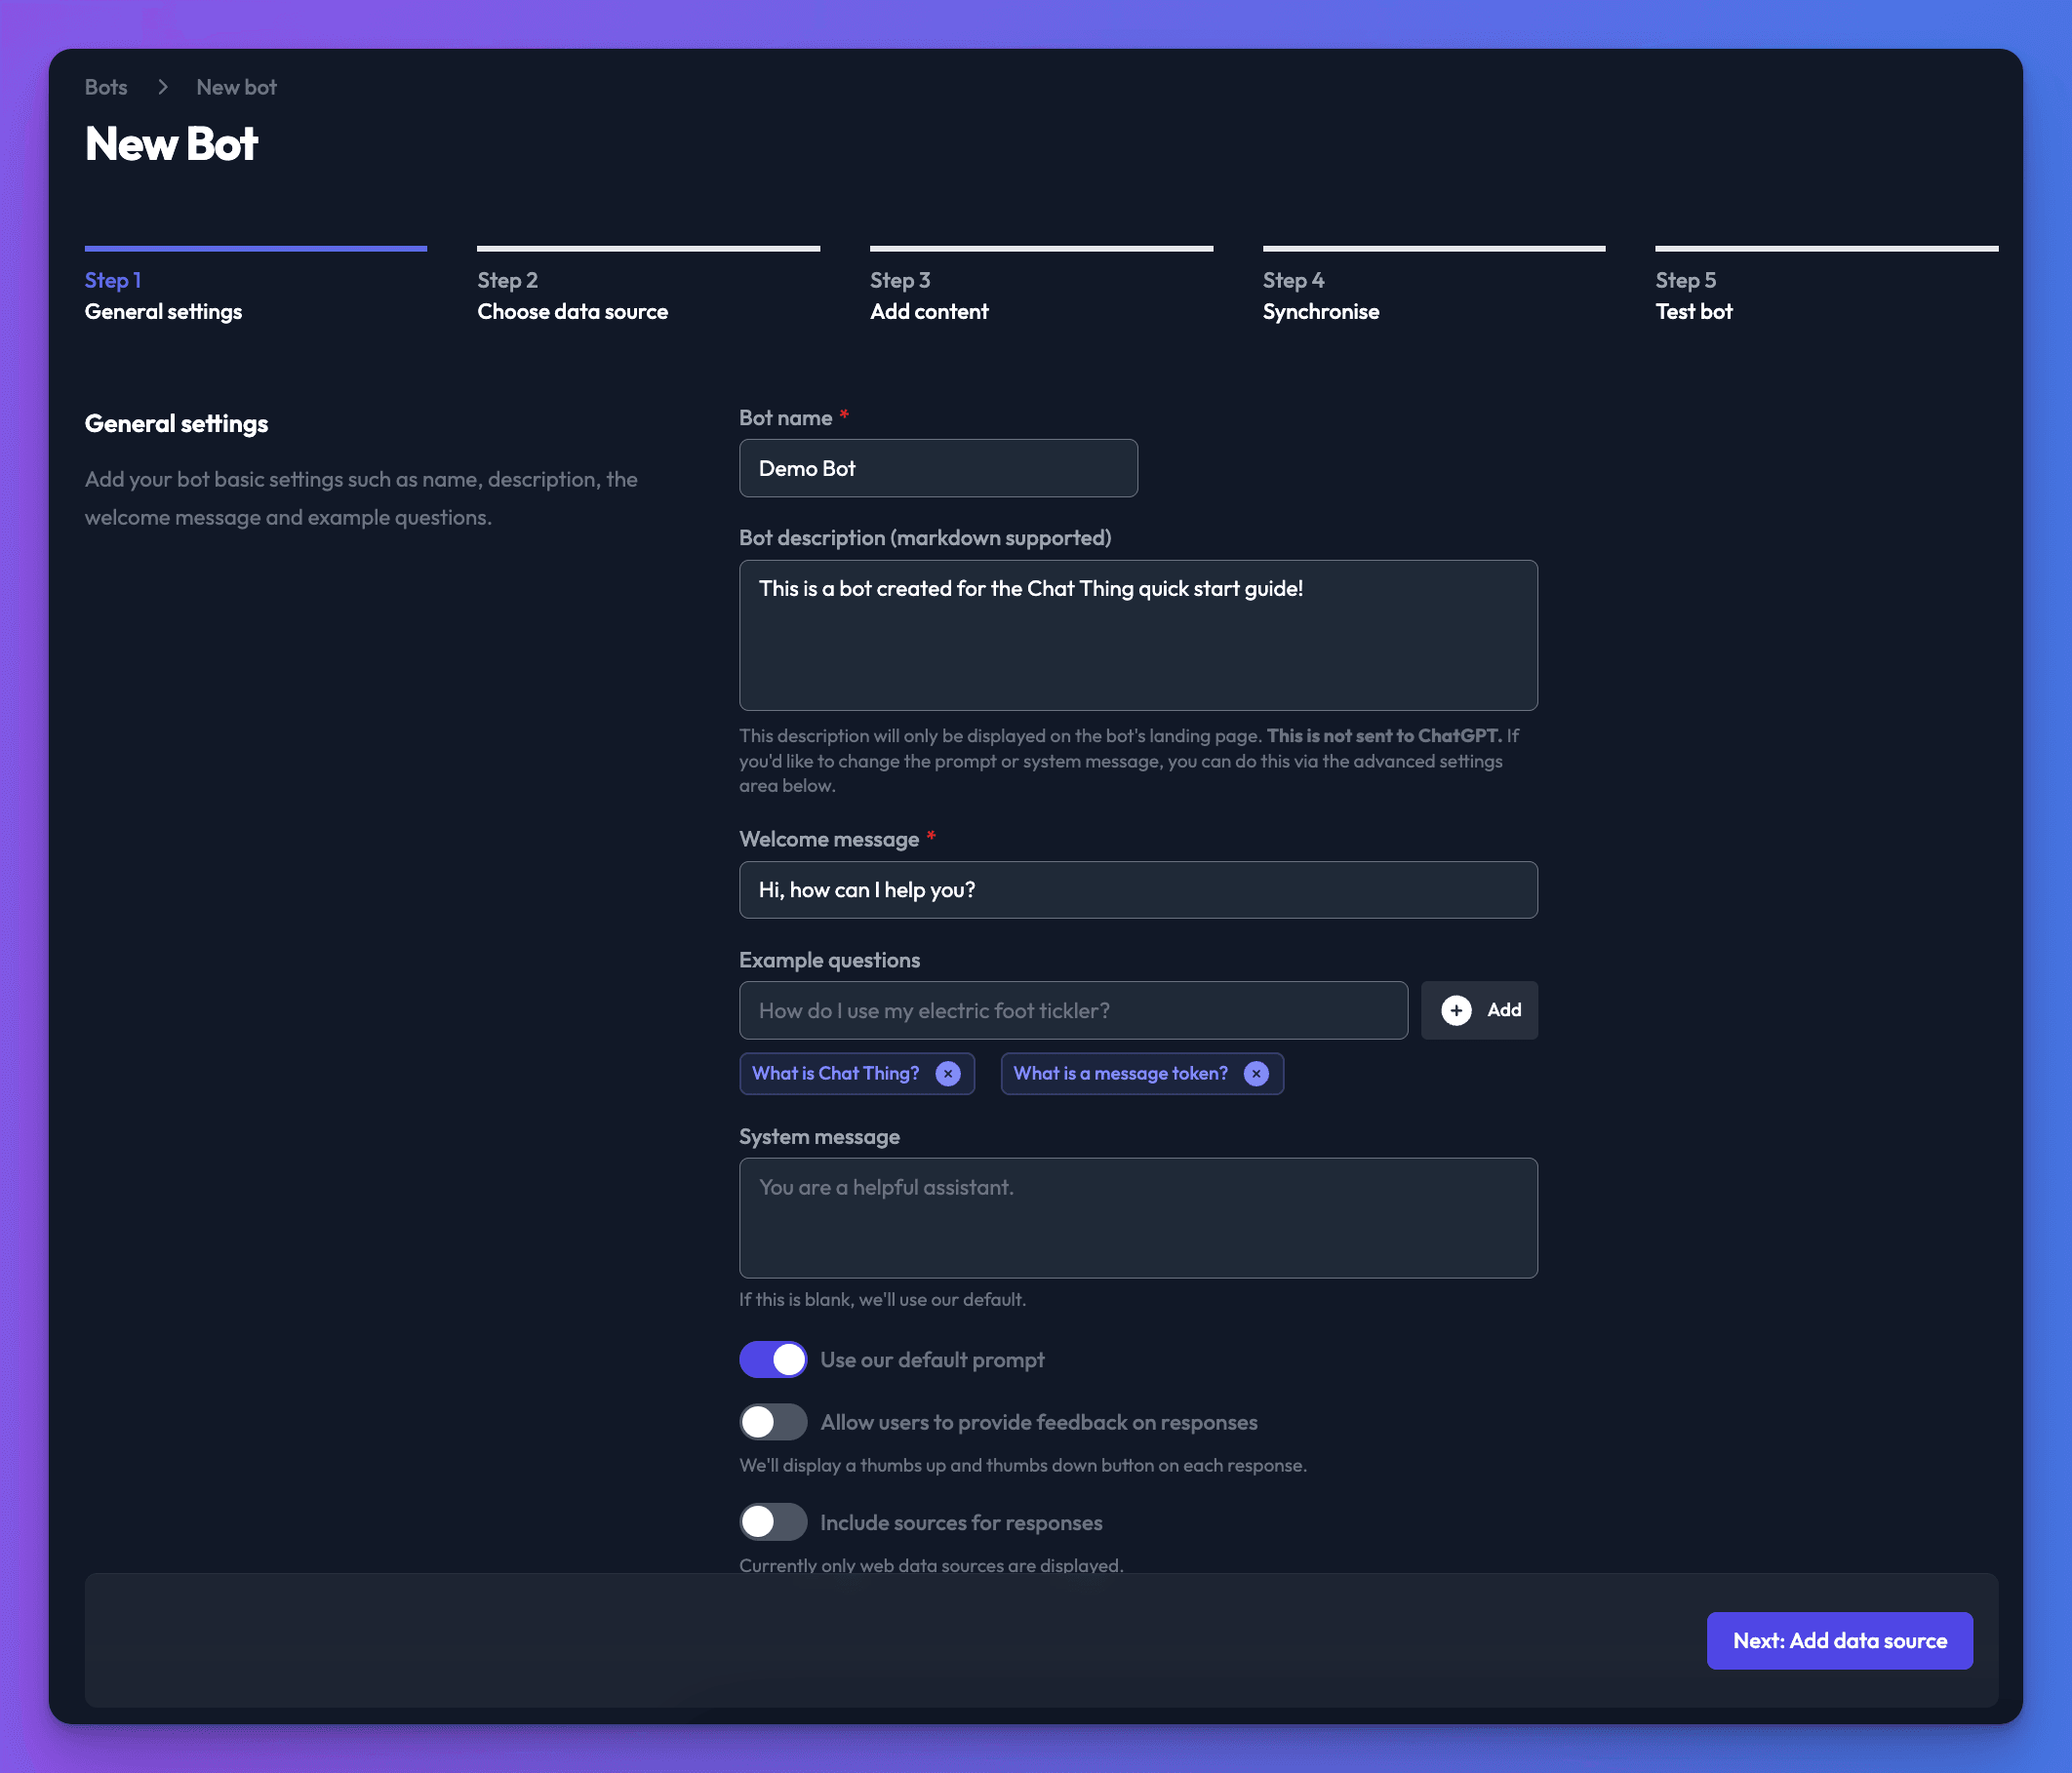
Example questions
You can help your bot users by adding example questions. These will be displayed in the chat window and act as a shortcut for asking common questions.
******************************When you are happy with your settings, click Next: Add data source to add some knowledge to your bot!******************************
3. Add your first data source
To make your bot useful, you will need to add a data source. Data sources act as the knowledge base and brain for your bot.
Find out more about data sources here:
To add a data source, choose the type of data source you would like to connect. Then, click Next: Add content.
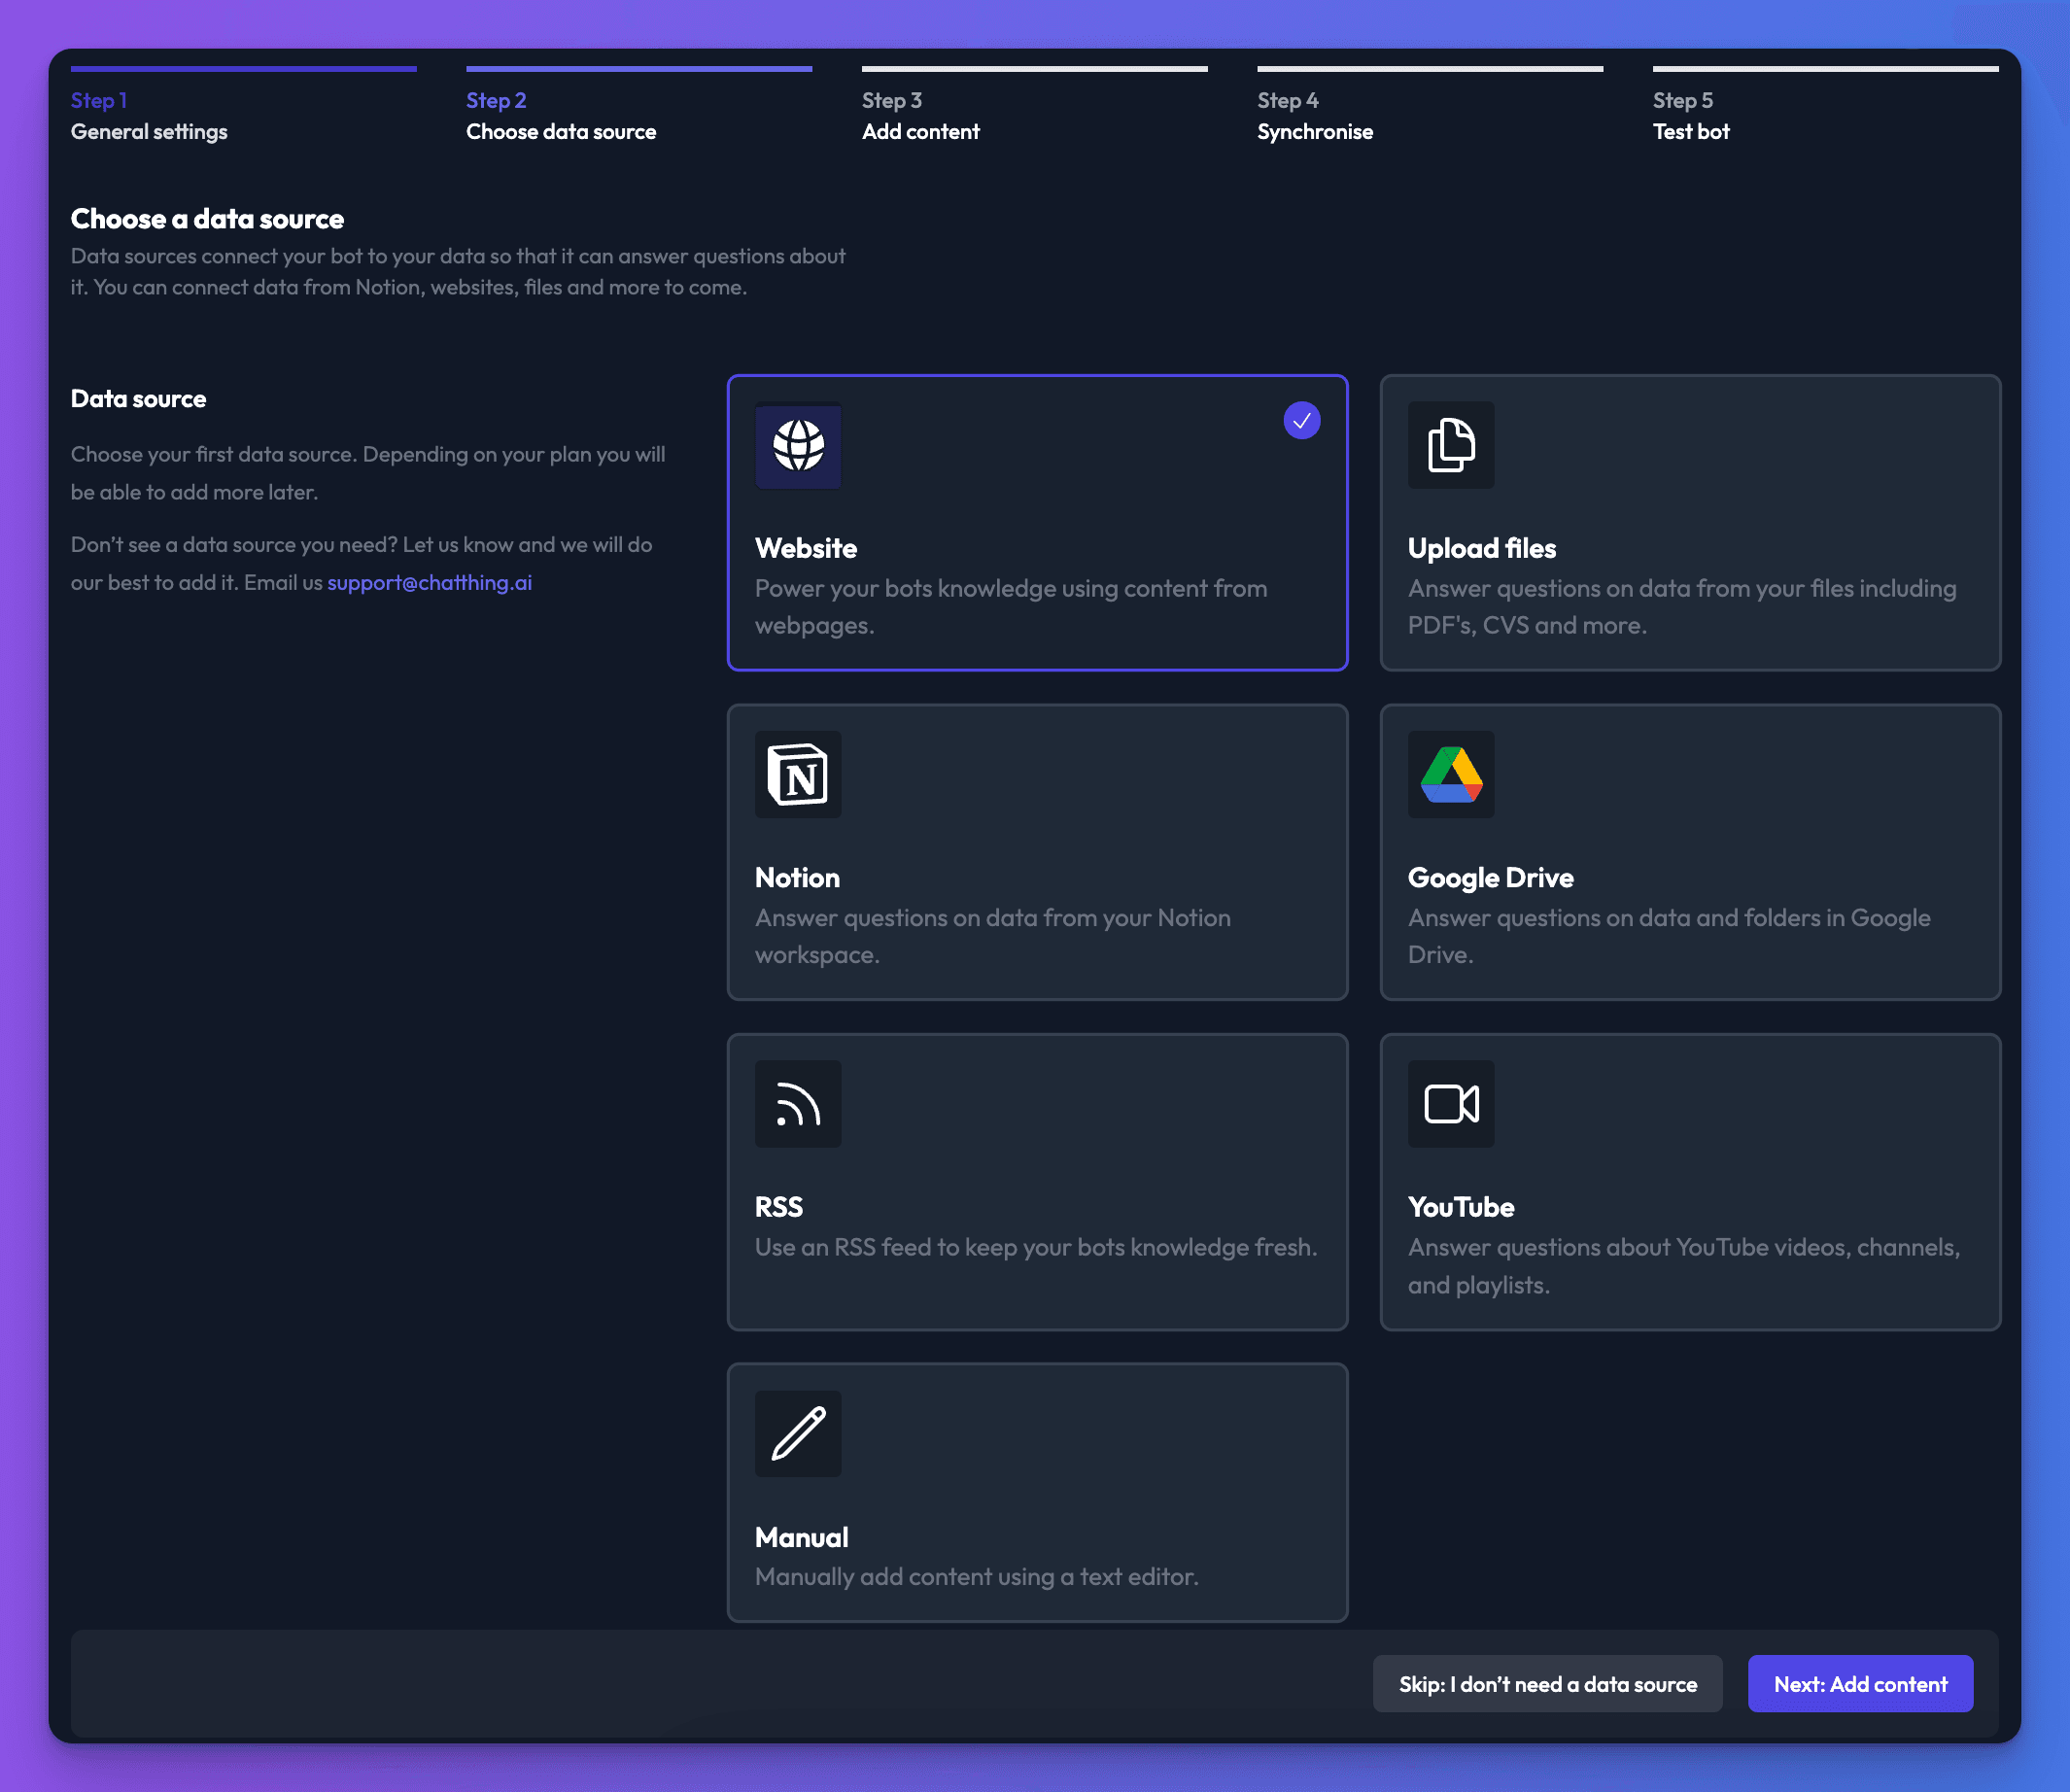
You can also skip this step if you don't need a data source. You can always add data sources later.
4. Add content to your data source
This step will vary depending on the data source selected in the previous step. Add the content you need and then, click Next: Synchronise.

5. Synchronise your data source
Depending on how big they are, data sources can take a while to synchronise. Their data will only be available for your bot to answer questions after they have synchronised.
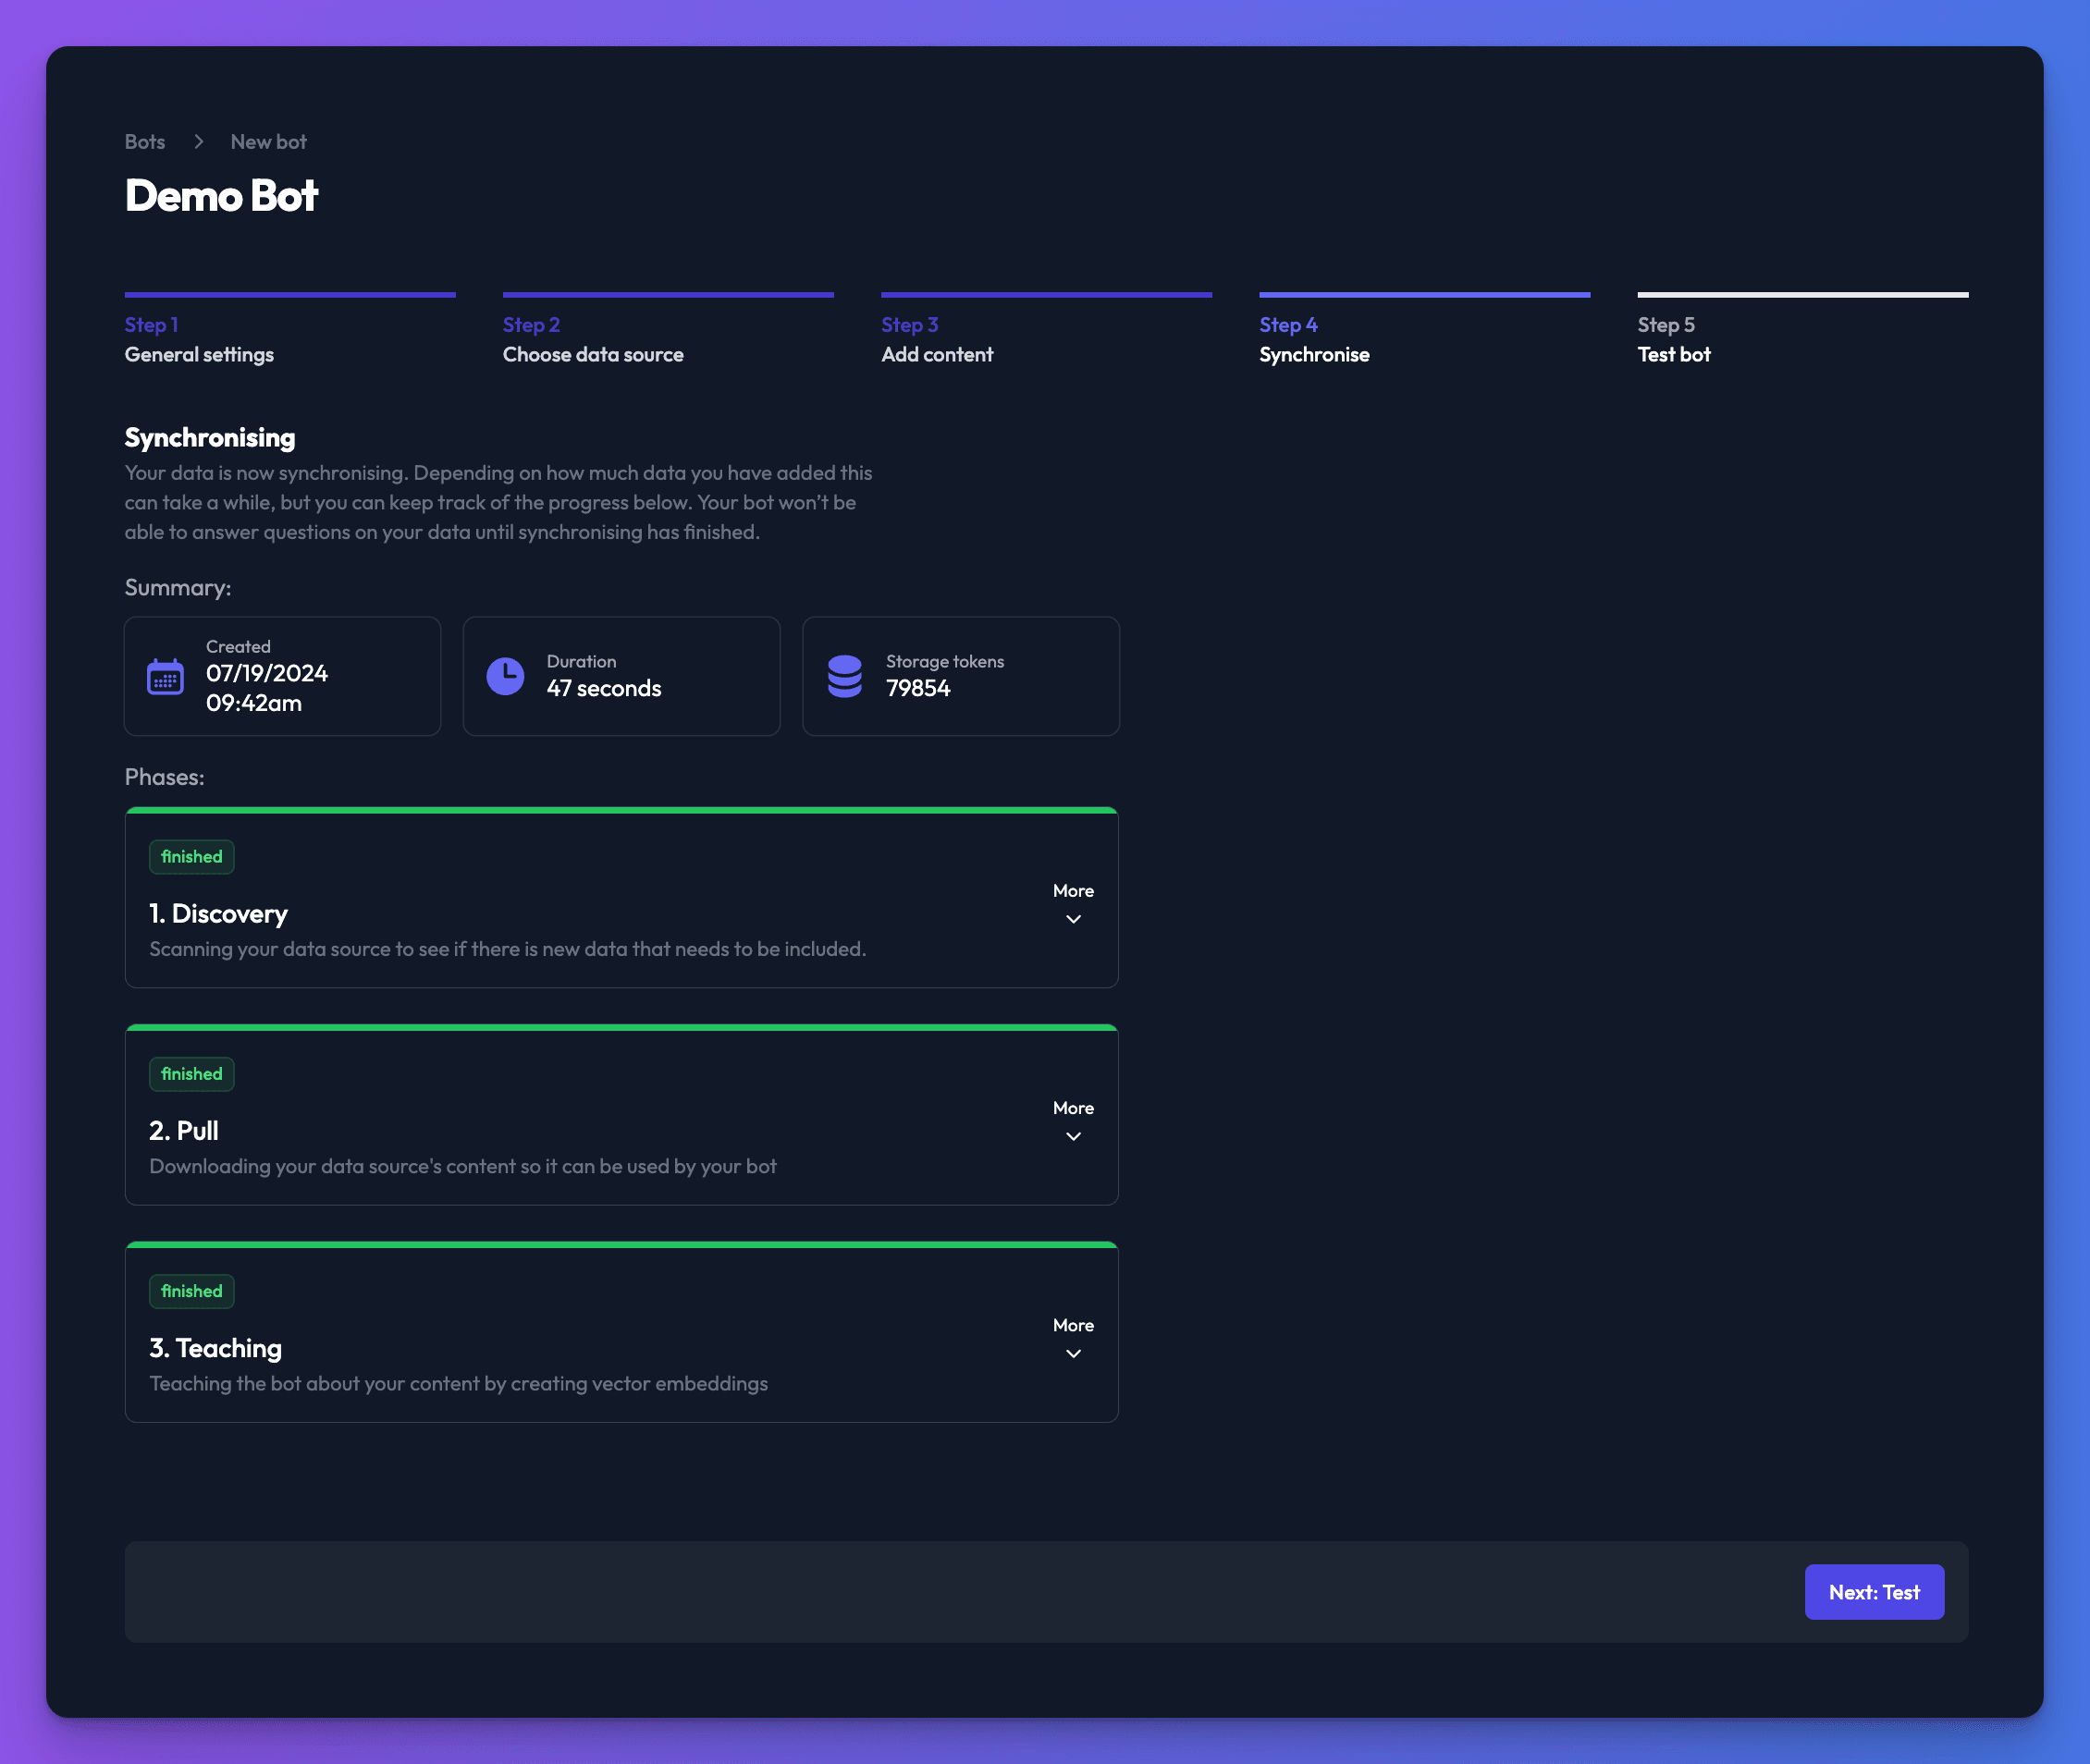
When your data sources are synchronised, you can test the bot. Clicking Next: Test will take you to the last step.
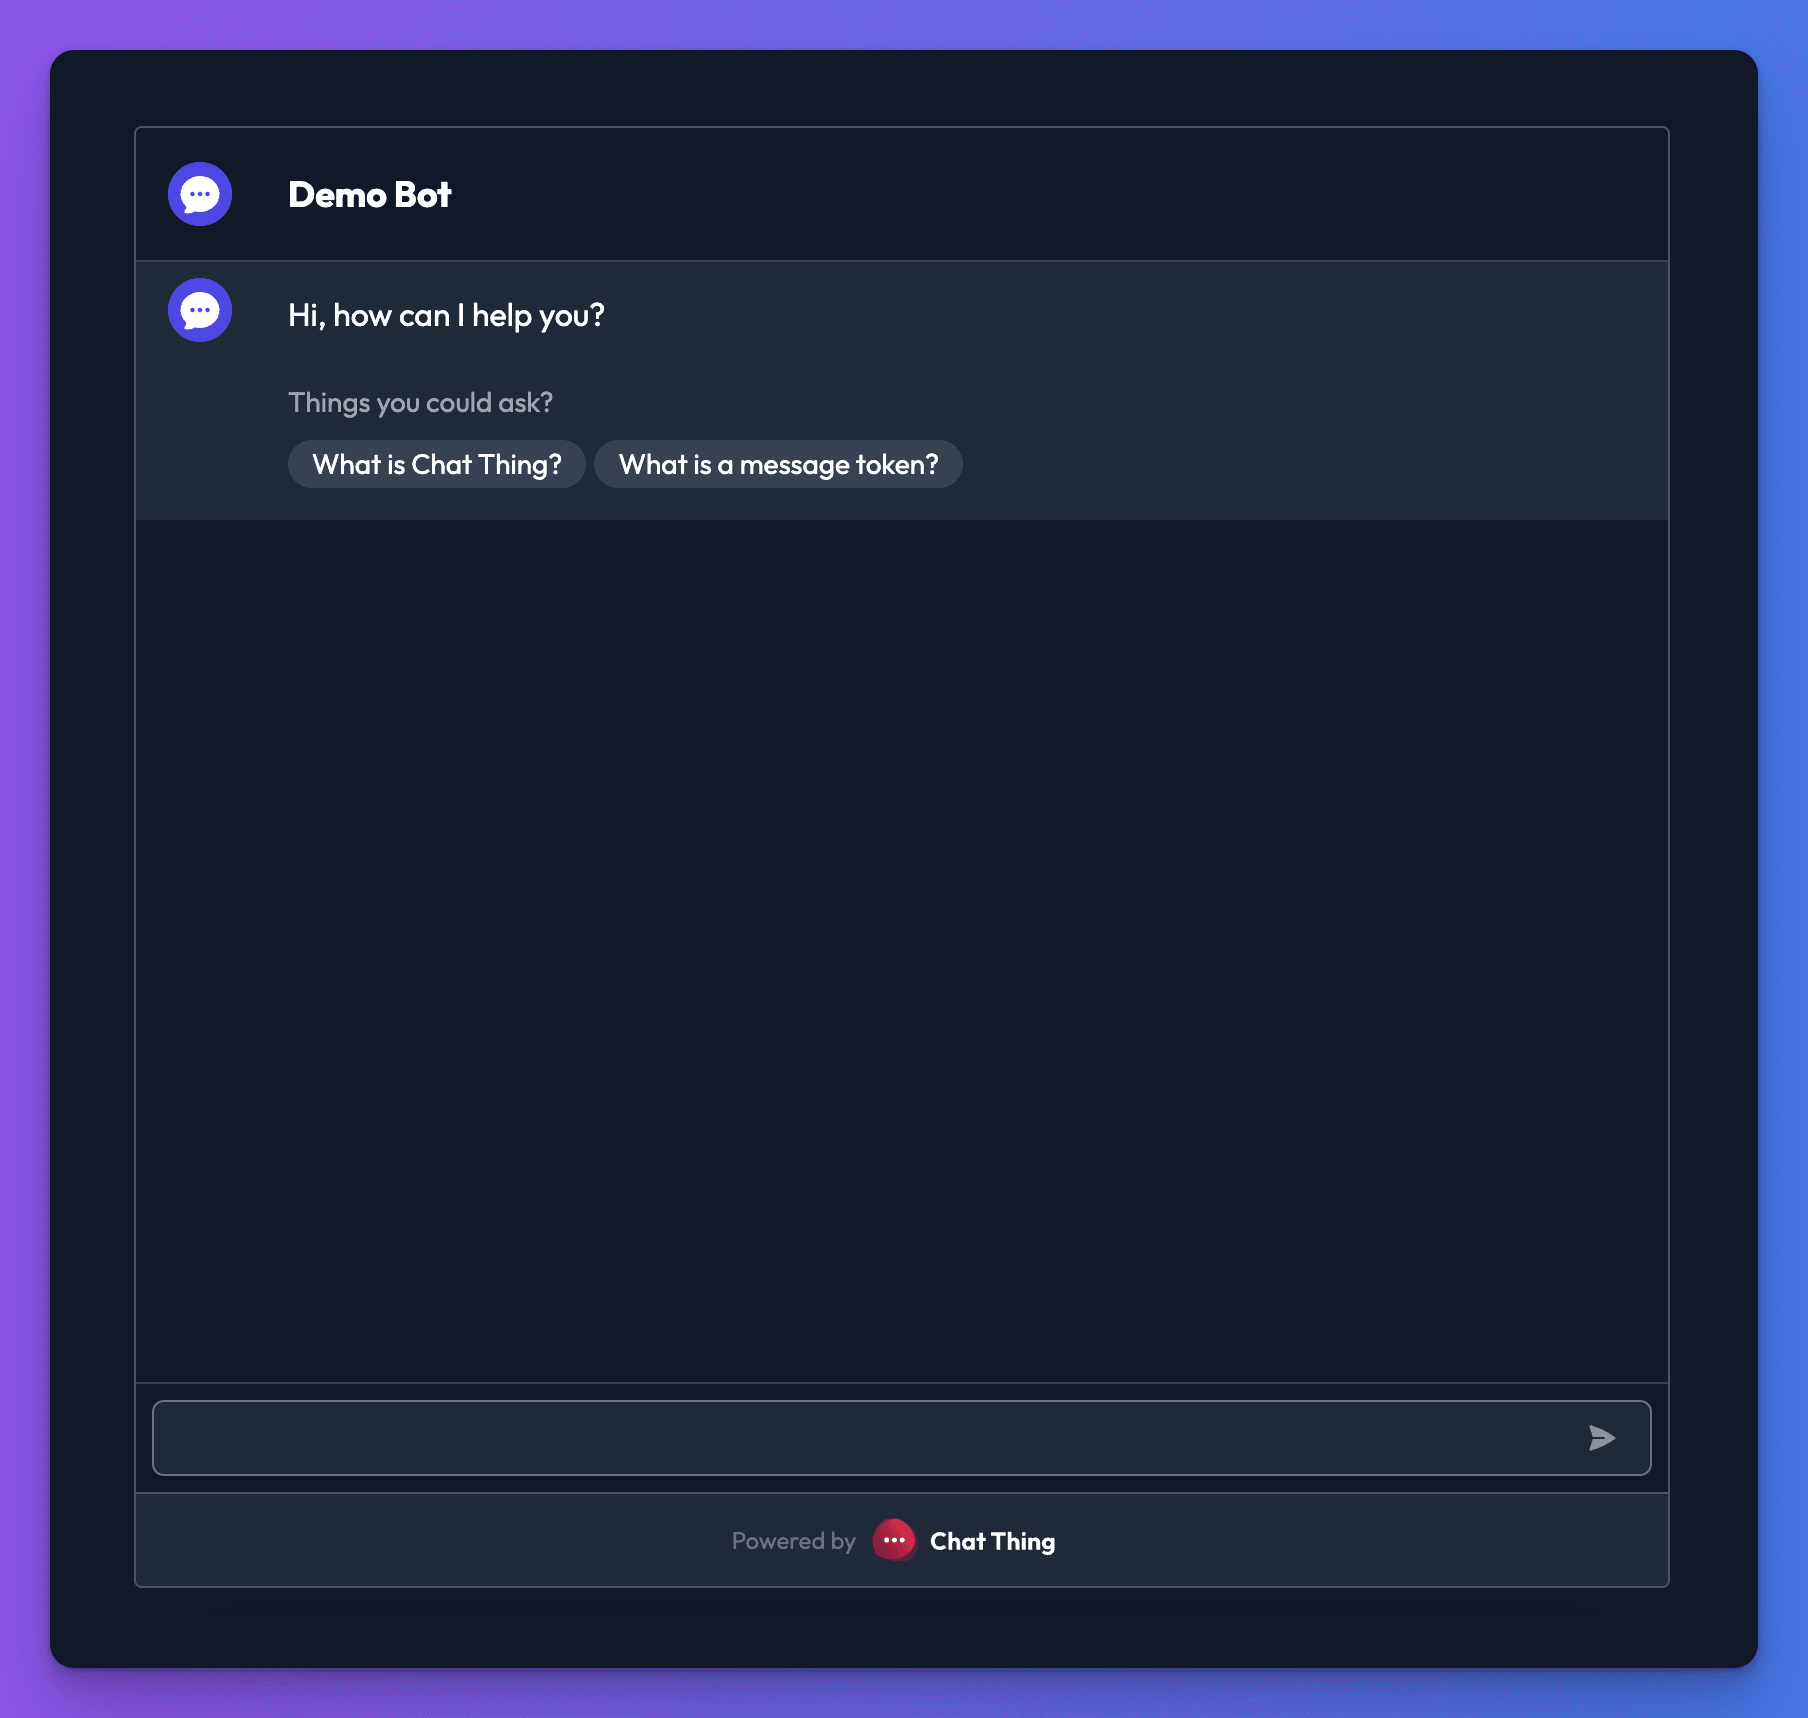
6. Test your bot!
Once you have added a data source and it has synchronised, it's time to test your bot. Try asking your bot questions!
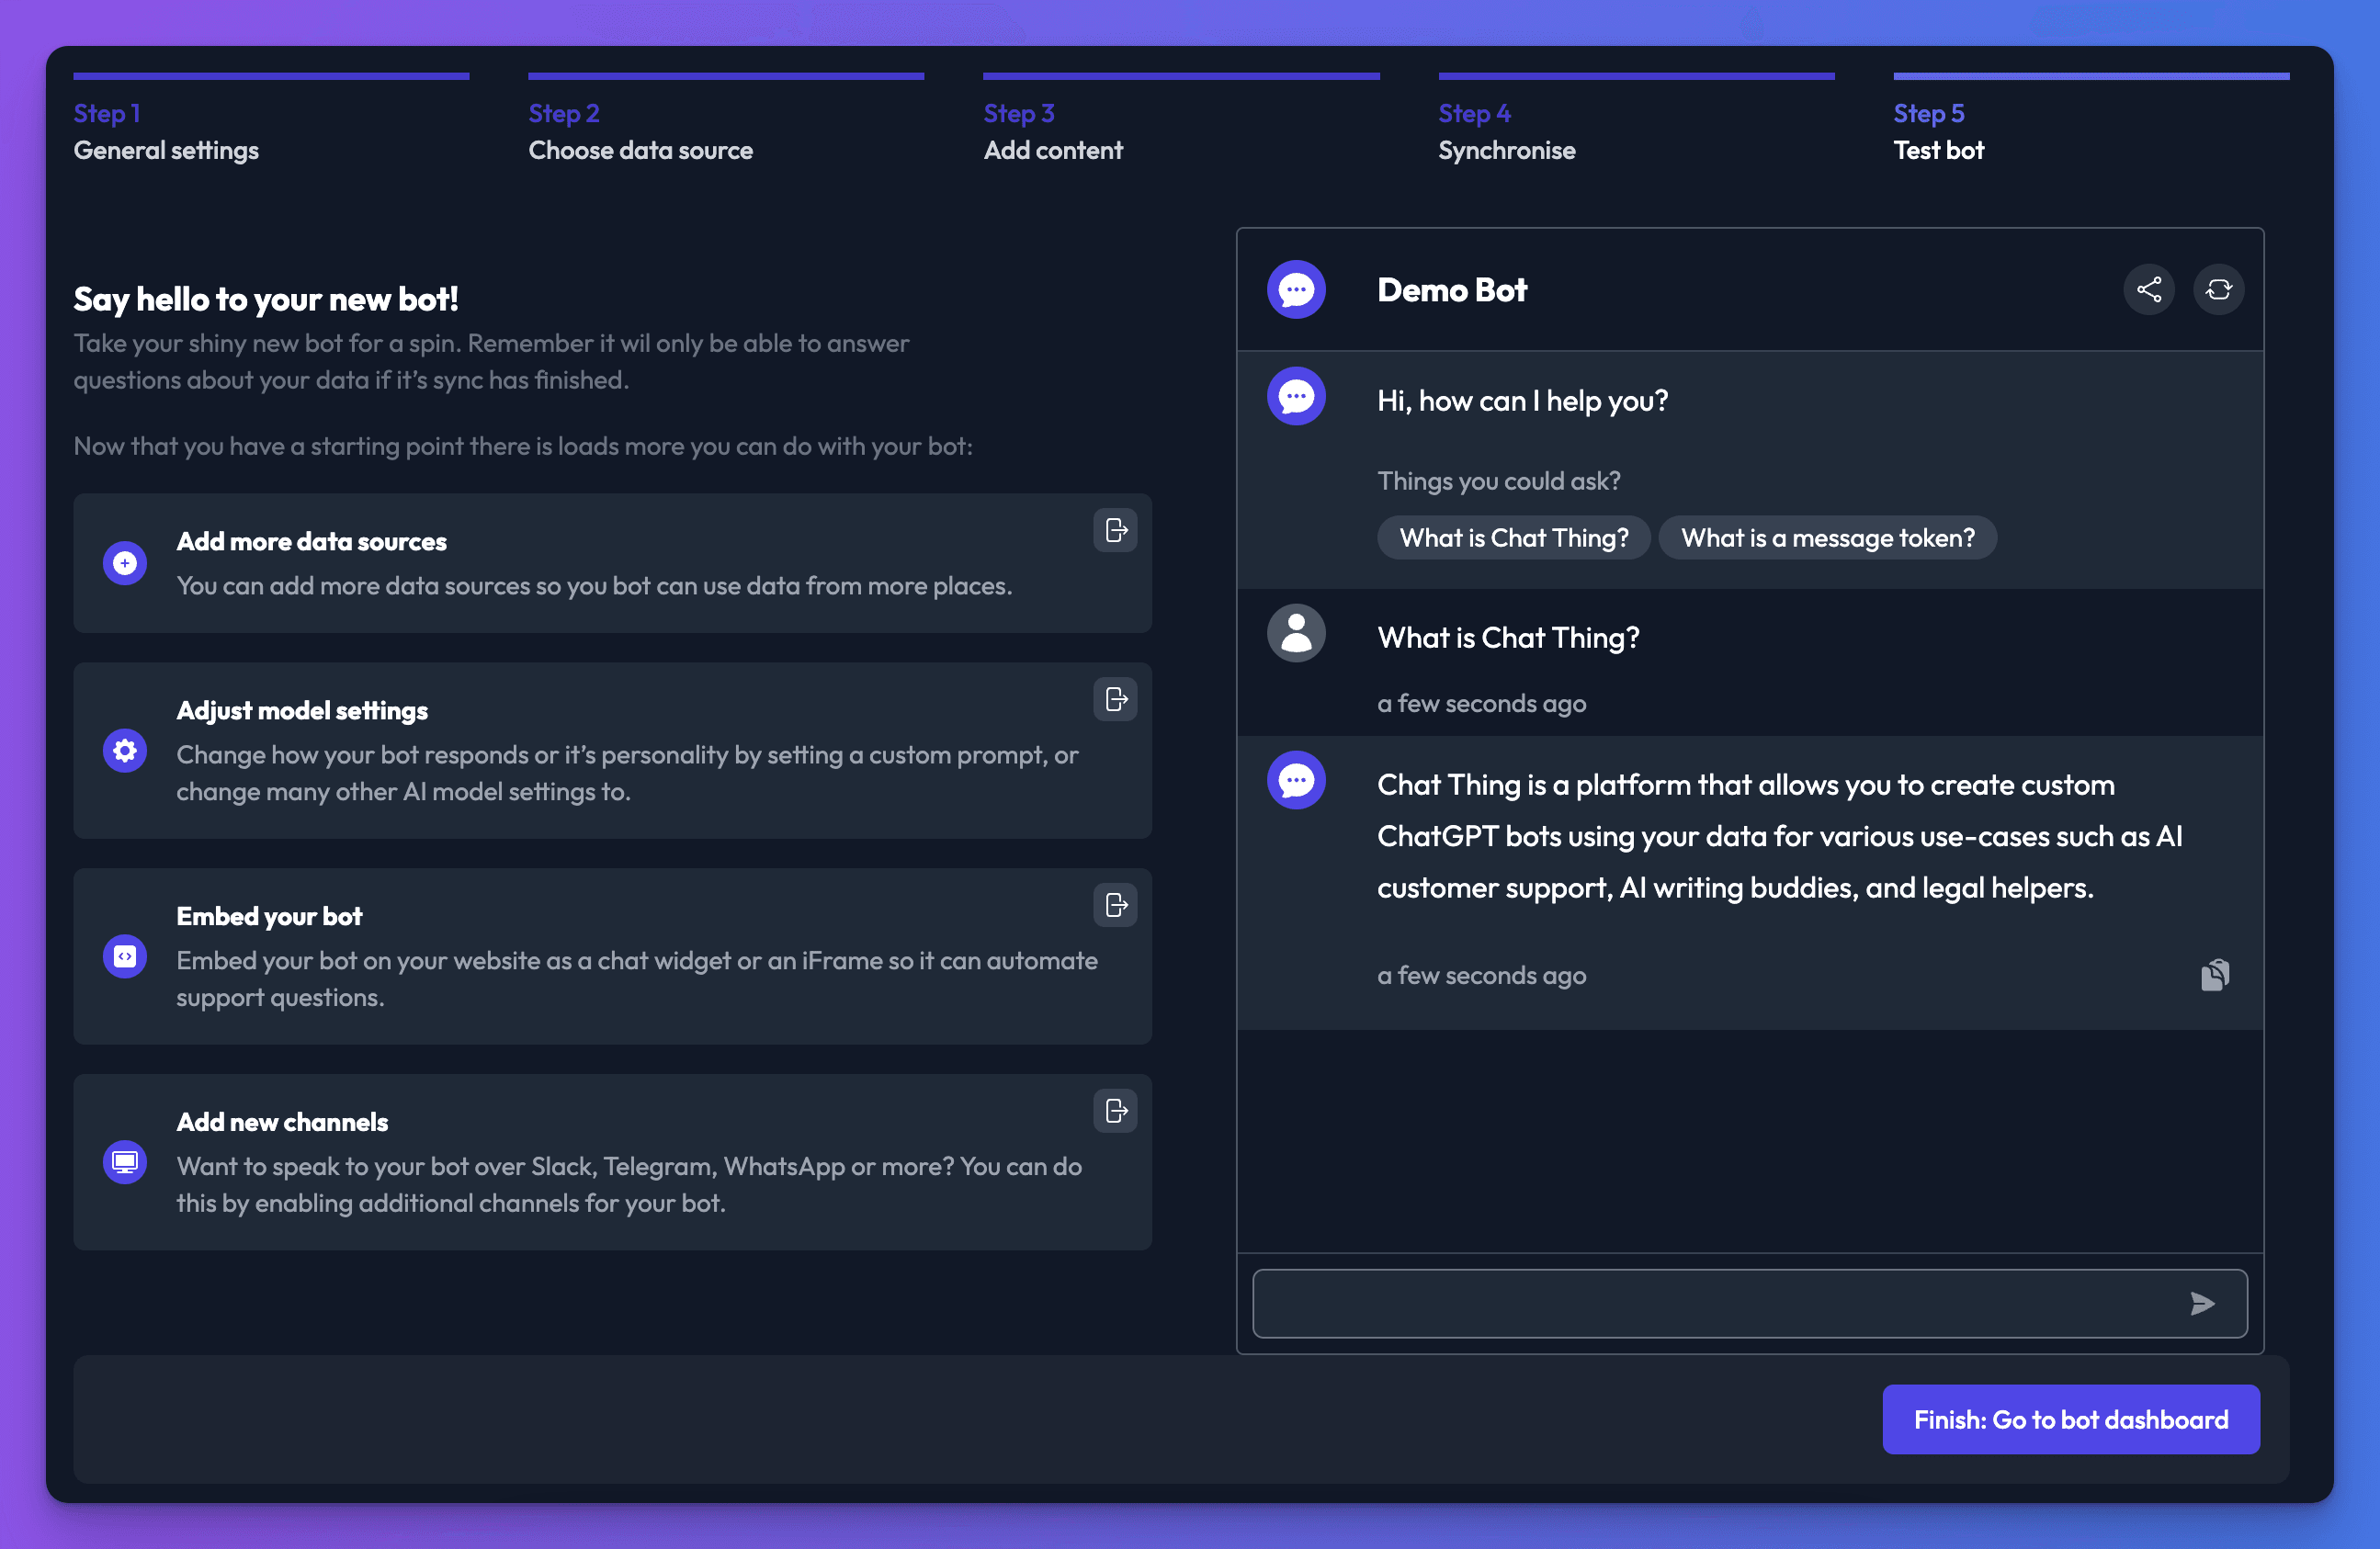
From here, you can go to your bot dashboard if you click Finish: Go to your bot dashboard. You can also use one of the quick links to add more data sources, adjust model settings, embed your bot or add new channels.
7. The bot dashboard
After creating your bot, you will be redirected to the bot dashboard. Here you will find basic information about your bot, such as the number of data sources, and the amount of storage and message tokens it has consumed this month.

On the Data sources tab, you will see the currently connected data sources, and on the Channels tab, you will find enabled channels.