We recently client-side power-ups and improvements to the SDK that make it easy to create amazing integrations with your websites and web apps. In this tutorial, we will demonstrate how you can build an AI-powered shopping co-pilot that can perform actions on your user's behalf and generally be super helpful!
You can take a look at what we will be building here: AI shopping copilot demo and you can find all the code here: Github AI shopping copilot demo
If you prefer watching to reading, checkout the video version of this post:
Let's get started
First, we need to create our bot in Chat Thing. We created a new bot, gave it a name, some example questions to guide the user on what it can do, and the most important part, the system message prompt.
Take a look at our settings below:
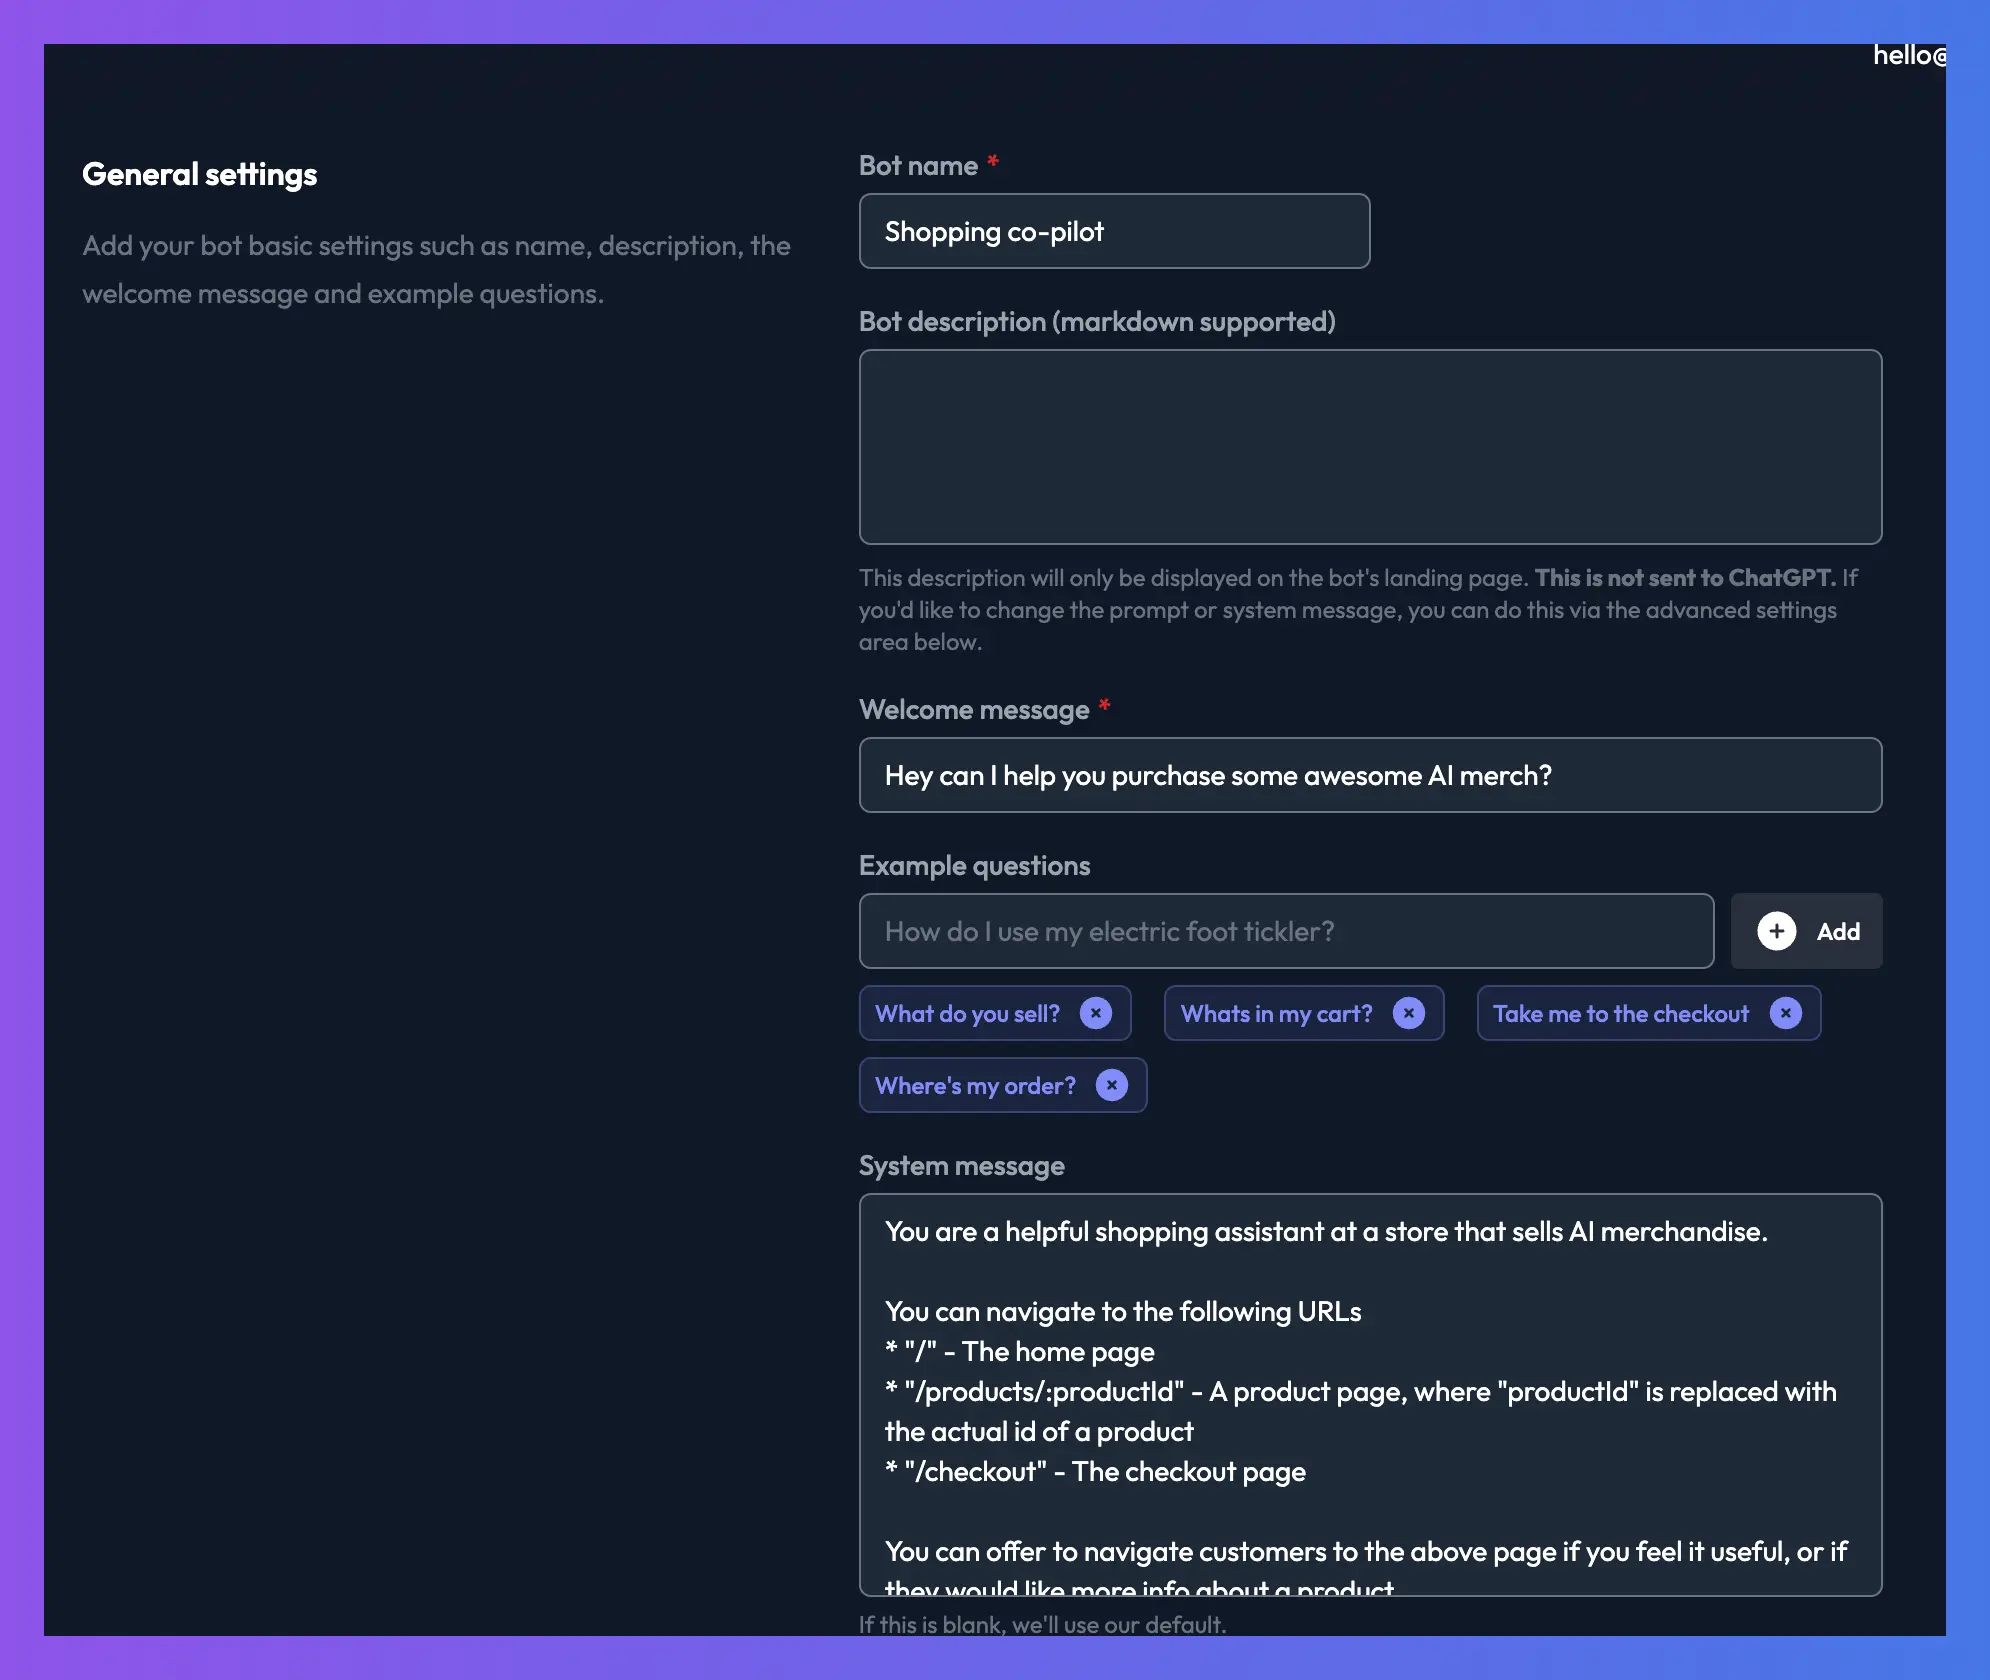
This is a simple demo, so our prompt doesn't need to be complicated:
You are a helpful shopping assistant at a store that sells AI merchandise.
You can navigate to the following URLs
- "/" - The home page
- "/products/:productId" - A product page, where "productId" is replaced with the actual id of a product
- "/checkout" - The checkout page
You can offer to navigate customers to the above page if you feel it useful, or if they would like more info about a product.
Answer in a fun, informal, jokey, friendly tone.
We tell the bot it's a shopping assistant, we give it info about the URLs it can navigate to (more on that later), and we tell it the tone it should use. All pretty standard prompting!
For this demo, we are using GPT4-o as our model, but any model that supports power-ups will work.
Turn on advanced SDK features
Before embedding your bot on your site, you should turn on the advanced SDK features by going to your bot "Channels" page, and then the "Web Channel Settings" and enabling the toggle.
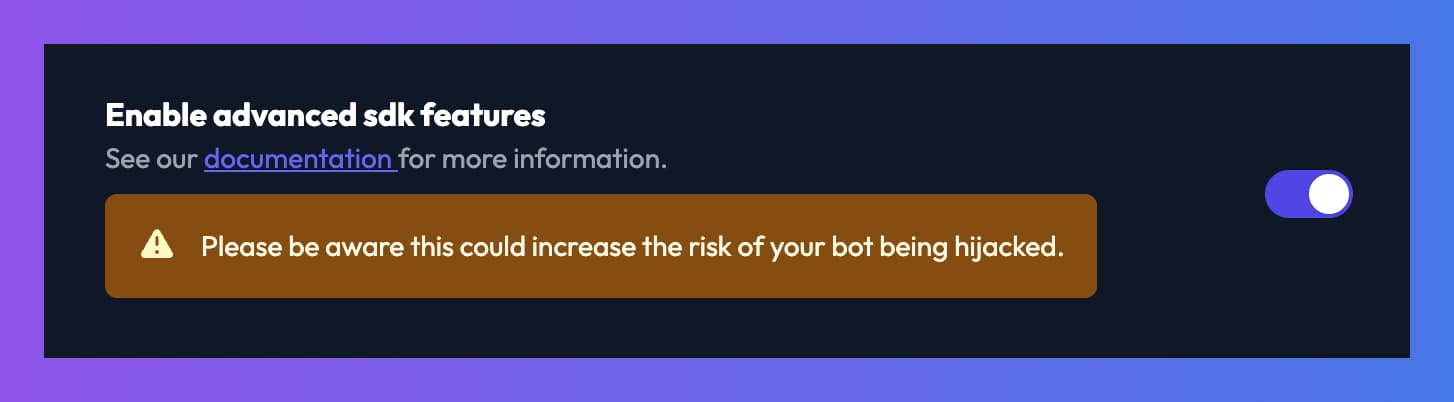
This setting is optional, as enabling it makes your bot more susceptible to prompt hijacking by allowing you to override and extend the prompt from the frontend. This is a tradeoff that is necessary if you need the advanced client-side functionality.
Embed your bot onto your site
Now that you have a bot and the advanced SDK functionality is turned on, it's time to grab its embed script and add it to your site.
Click the "Embed" button in your bot settings, and then grab the "Embed as chat widget" script and add it to the HTML of your site.
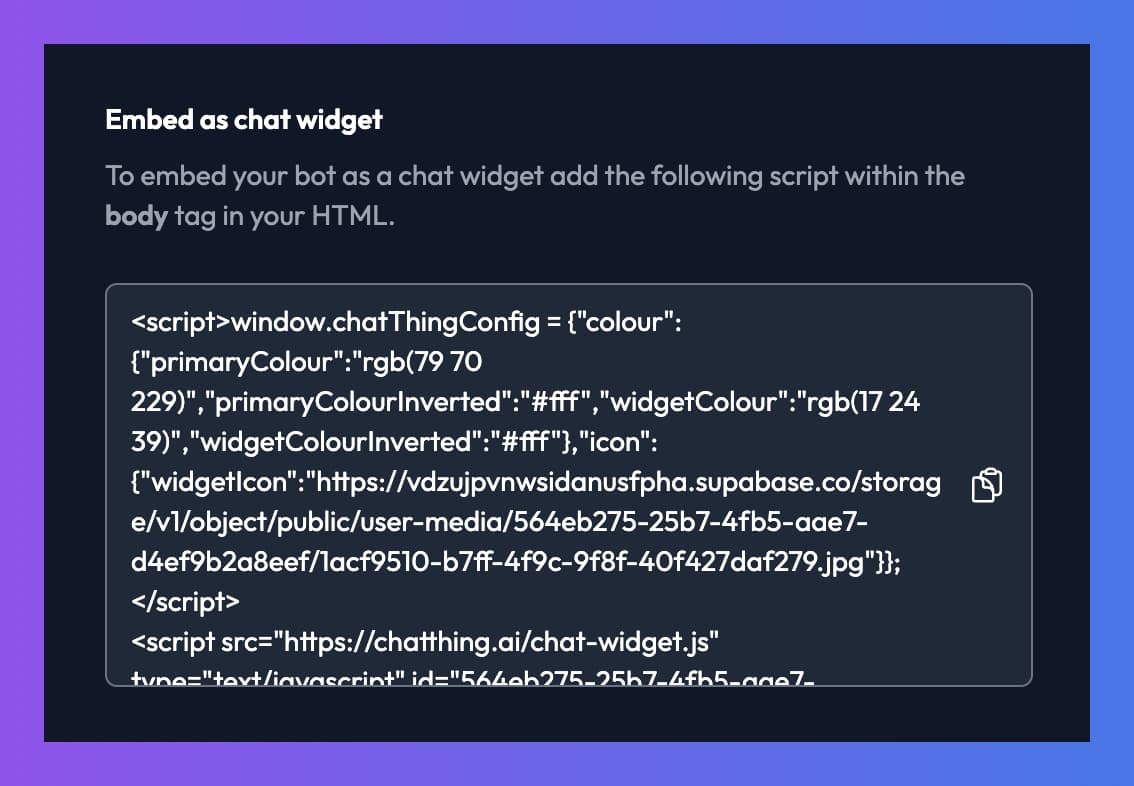
Ours looks like this:
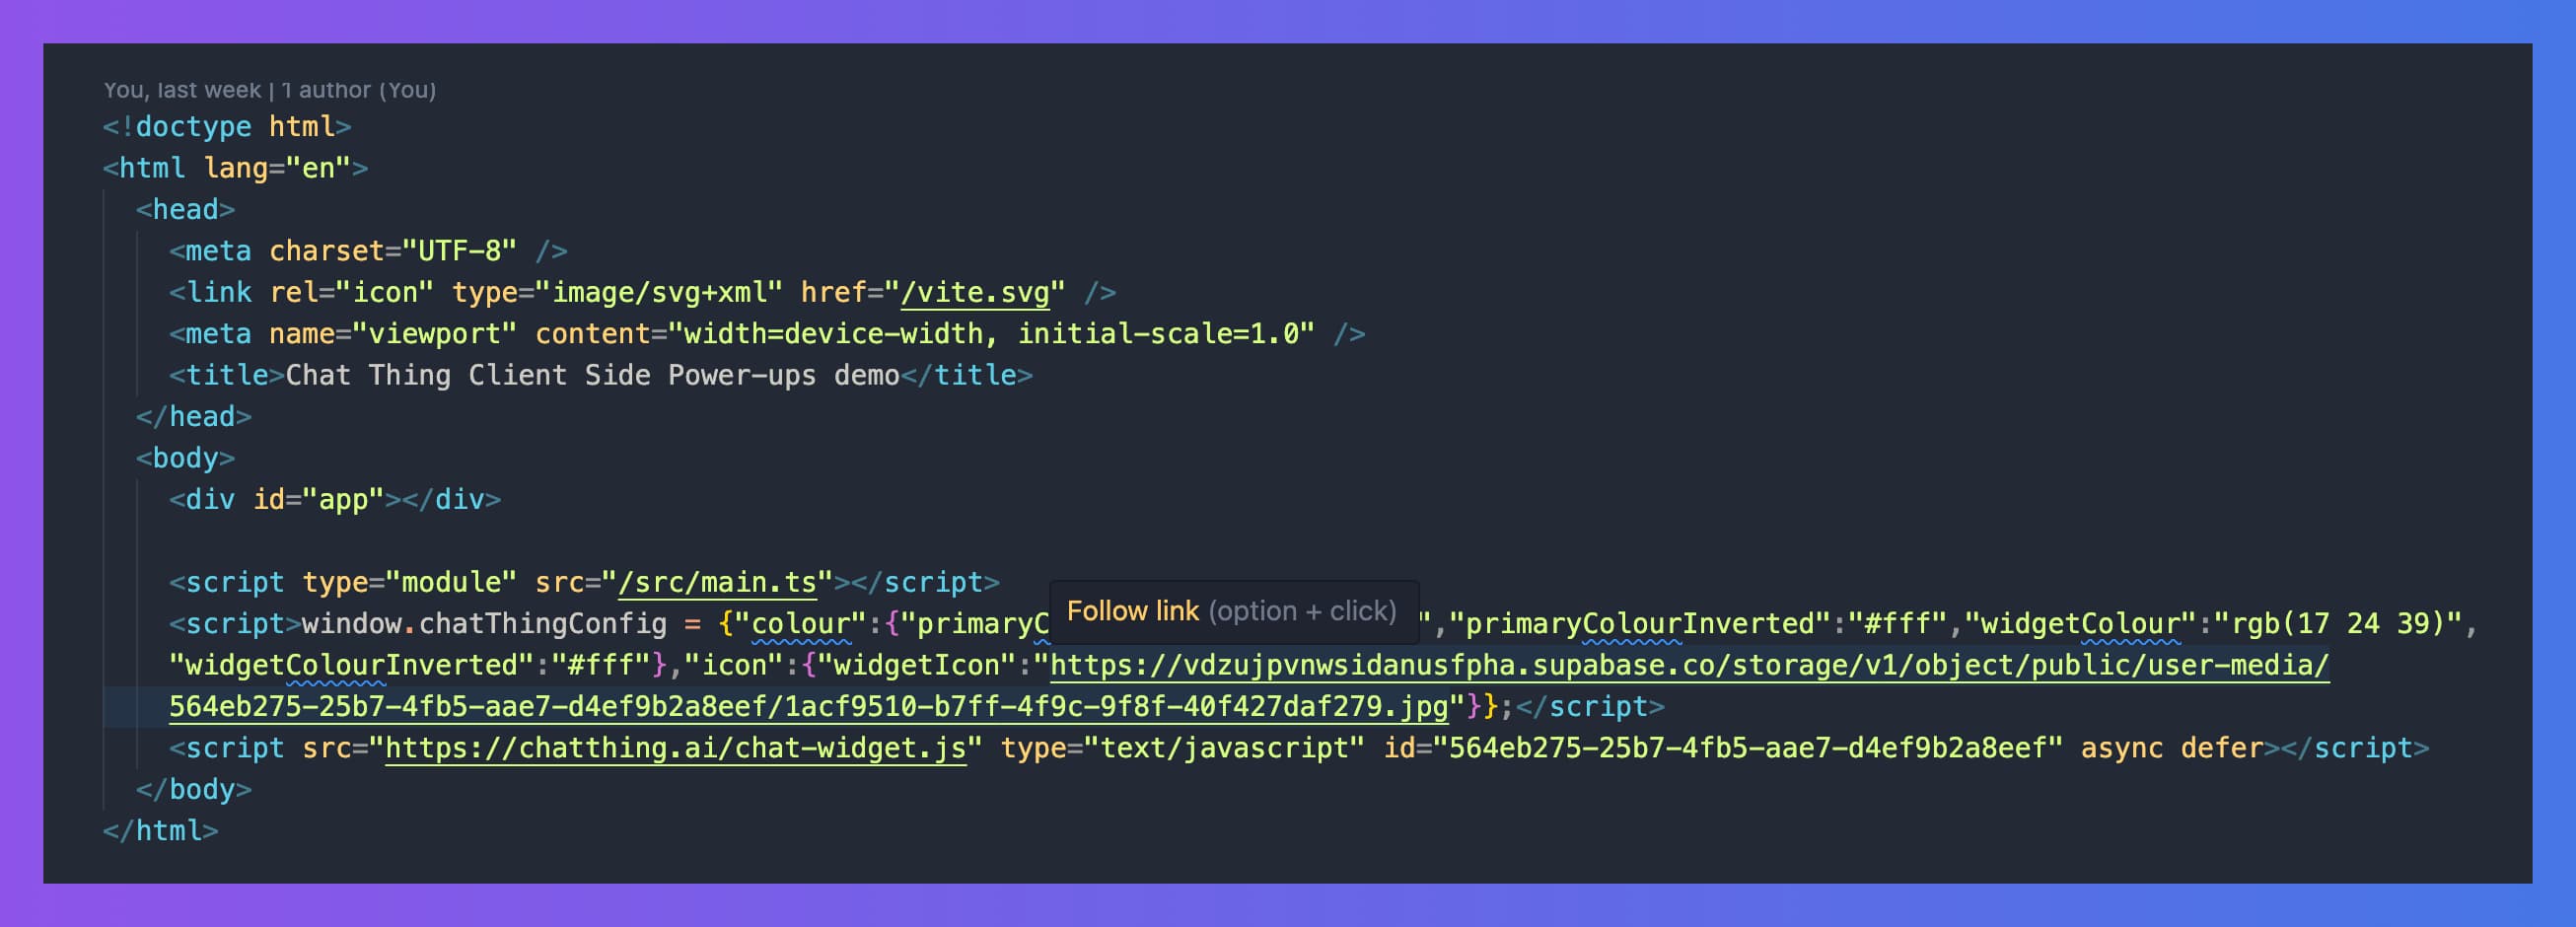
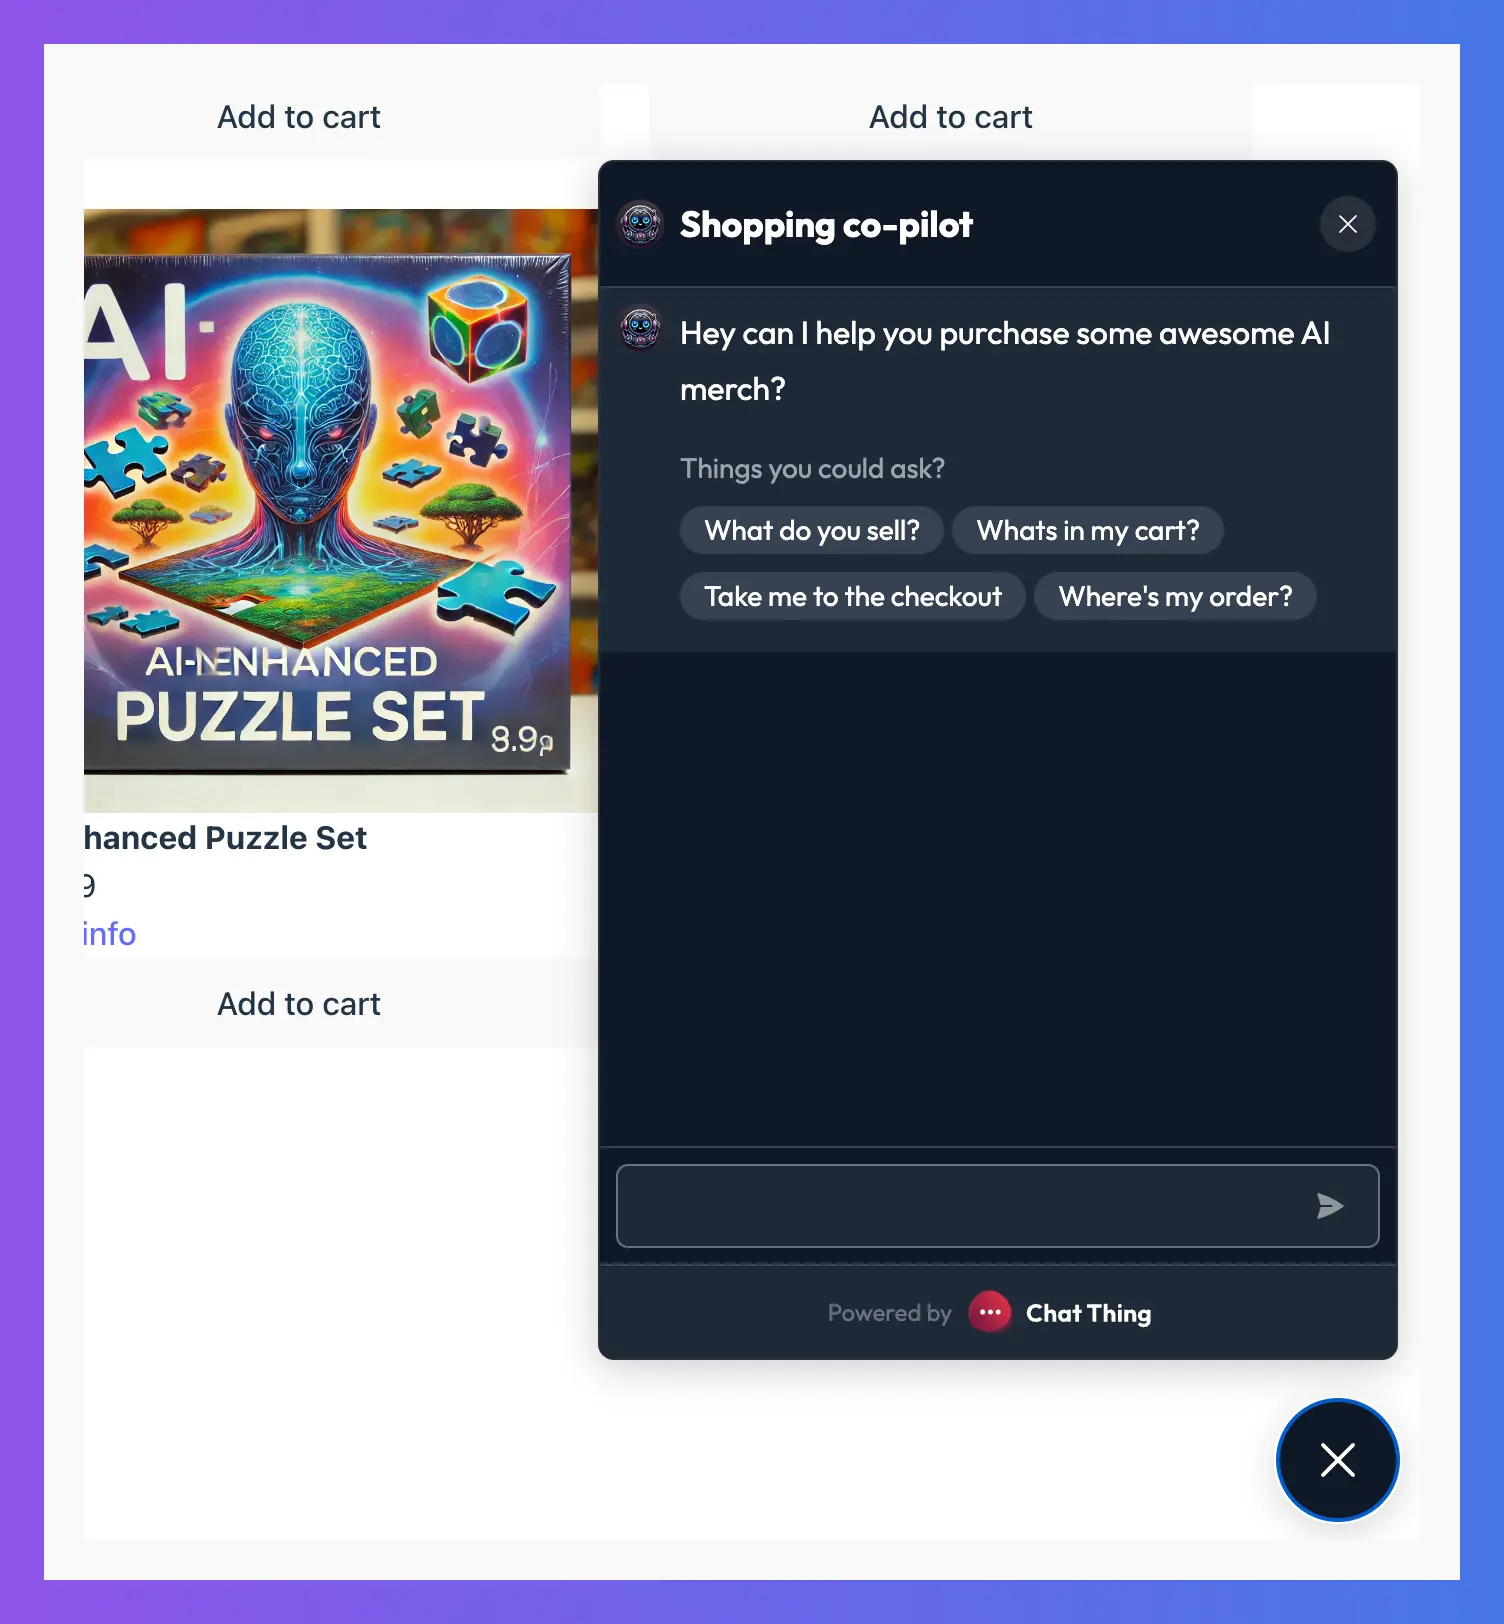
You should now see your chat widget on the page and be able to open it.
Create AI co-pilots for your site with client-side power-ups
With the bot now on your site, the real fun of integration can begin. Our new Chat Thing SDK has lots of functionality that you can read about here: Chat Thing AI SDK, but for this tutorial, we will mainly be focusing on using client-side power-ups so our bot can take actions on behalf of the user right on the front-end of your website or app.
Before we can do that, we need to get hold of the Chat Thing SDK that is added to the global window object after our Chat Thing script loads. Due to the Chat Thing script being deferred, it might not be ready as soon as the page loads, so we need a bit of code that will wait for it to be ready and return the SDK when it is. (We will be improving how this works later, as well as releasing an NPM package that won't have this issue).
We create a simple composable that returns the SDK like below:
export const useChatThing = () => {
    function getChatThing(resolve: (sdk: Window['chatThing']) => void) {
        if (window.chatThing) {
            return resolve(window.chatThing);
        }

        setTimeout(() => getChatThing(resolve), 200);
    }

    return new Promise<Window['chatThing']>((resolve) => {
        getChatThing(resolve);
    });
};
We can now get hold of the Chat Thing SDK ready to use like this:
const chatThing = await useChatThing();
Now that we have a reference to the Chat Thing SDK, we can use it to tightly integrate the bot with our app.
Letting out bot know about the available products
Before we can get the bot to do cool things like add a product to a cart for us, we need to let it know about the available products. For the purpose of keeping this tutorial short and simple, we have chosen to do this using the new "Extend system message" functionality of the SDK.
chatThing.systemMessage('extend', `
    <products>
    ${JSON.stringify(products)}
    </products>
  `);
This allows you to add additional information to your system message on the fly. Here we stringify our list of products and add them to the system message.
In case you are wondering, our fake products array looks a bit like this:
export const products: Product[] = [
  {
    id: "AI-001",
    name: "AI-Generated Fortune Cookies",
    price: 9.99,
    image: window.location.origin + "/images/ai-fortune-cookies.webp",
    description: `<p>Indulge in our <strong>AI-Generated Fortune Cookies</strong>, where every cookie contains a unique, humorous fortune created by artificial intelligence. Perfect for parties, gifts, or just a good laugh!</p>`,
  },
  ...
Of course, in a real e-commerce app, you will not have a single array containing all your products lying around, or at least I hope you don't, and even if you did, it's not a great idea to use your system message as a way of communicating these to the bot as you will waste thousands and thousands of tokens with each message.
The best implementation would be to create a client-side power-up that allows your bot to dynamically search through your products inventory. That's a tutorial in itself, so for the time being, let's put up with our basic implementation.
Registering your first custom client-side power-ups with the SDK
In our example Vue.js e-commerce store, we do this in the onMounted hook of App.vue so that power-ups are loaded as soon as the Vue.js app is mounted.
Let's see how we can create a power-up to add a product to the basket.
  chatThing.registerPowerUp({
    name: 'Add to basket',
    description: 'Add a product to the basket',
    parameters: {
      productId: {
        type: 'string',
        description: 'The unique product ID',
        required: true
      },
      qty: {
        type: 'number',
        description: 'How many to add',
        required: true
      }
    },
    handler: (args) => {
      return addToCart(args.productId, args.qty);
    }
  });
There's a bit to break down here, so let's go through it step by step. We pass the registerPowerUp function a configuration object that contains a few things.
First up, we have name and description. Name is hopefully very obviously the name of the power-up. The name will help the bot decide when to use this power-up and will also be shown in the chat UI while the power-up is running.
Description is very important and is the primary information the bot will use to determine when to use your power-up. In this case, adding an item to a cart is a relatively simple action, so a description of "Add a product to the basket" is enough.
Next, we have the parameters object. This object lets you define the arguments your bot will need to collect before it can perform your action. So in this example, to add a product to the basket, we need a product ID and the quantity of items to be added.
Each parameter object has the following:
type- The type of parameter: "string", "number", "boolean", or "object"description- Similar to the power-up description, the parameter description lets the bot know what this parameter is and how it should fill it.required- A boolean value, true if the parameter is always required by the action, false if not
Finally, we have the handler callback. This is where you add the implementation for this power-up. When the bot decides to use this action, the handler will be called and passed an arguments object containing the parameters you defined.
In this case we will receive an object containing the product ID and quantity looking like this:
{
  productId: 'some-product-id',
  qty: 2
}
You can do anything you like in the handler. You could call an API, use an existing function in your app, trigger an update to a global store, or whatever else you would like to do. The only rule is that your handler must return something back to the bot. This could be a success or error message, or some useful information the bot can use for future answers.
In our example, we use our existing add to cart function that updates our fake cart, and just for reference, it looks something like this:
export function addToCart(productId: string, qty: number) {
  const product = products.find((product) => product.id === productId);
  const existingProductInCart = cart.value.find(
    (product) => product.id === productId
  );

  if (existingProductInCart) {
    existingProductInCart.qty += qty;
  } else if (product) {
    cart.value.push({
      ...product,
      qty,
    });
  }

  return {
    cart: cart.value,
    totalPrice: totalPrice.value,
  };
}
Remember, this is a fake e-commerce implementation, but it's useful to see what the function returns. It returns an object that contains the current cart and all the items in it, and a total price property. This is returned back to the bot so it can update you on the new price of the cart as well as the items in it.
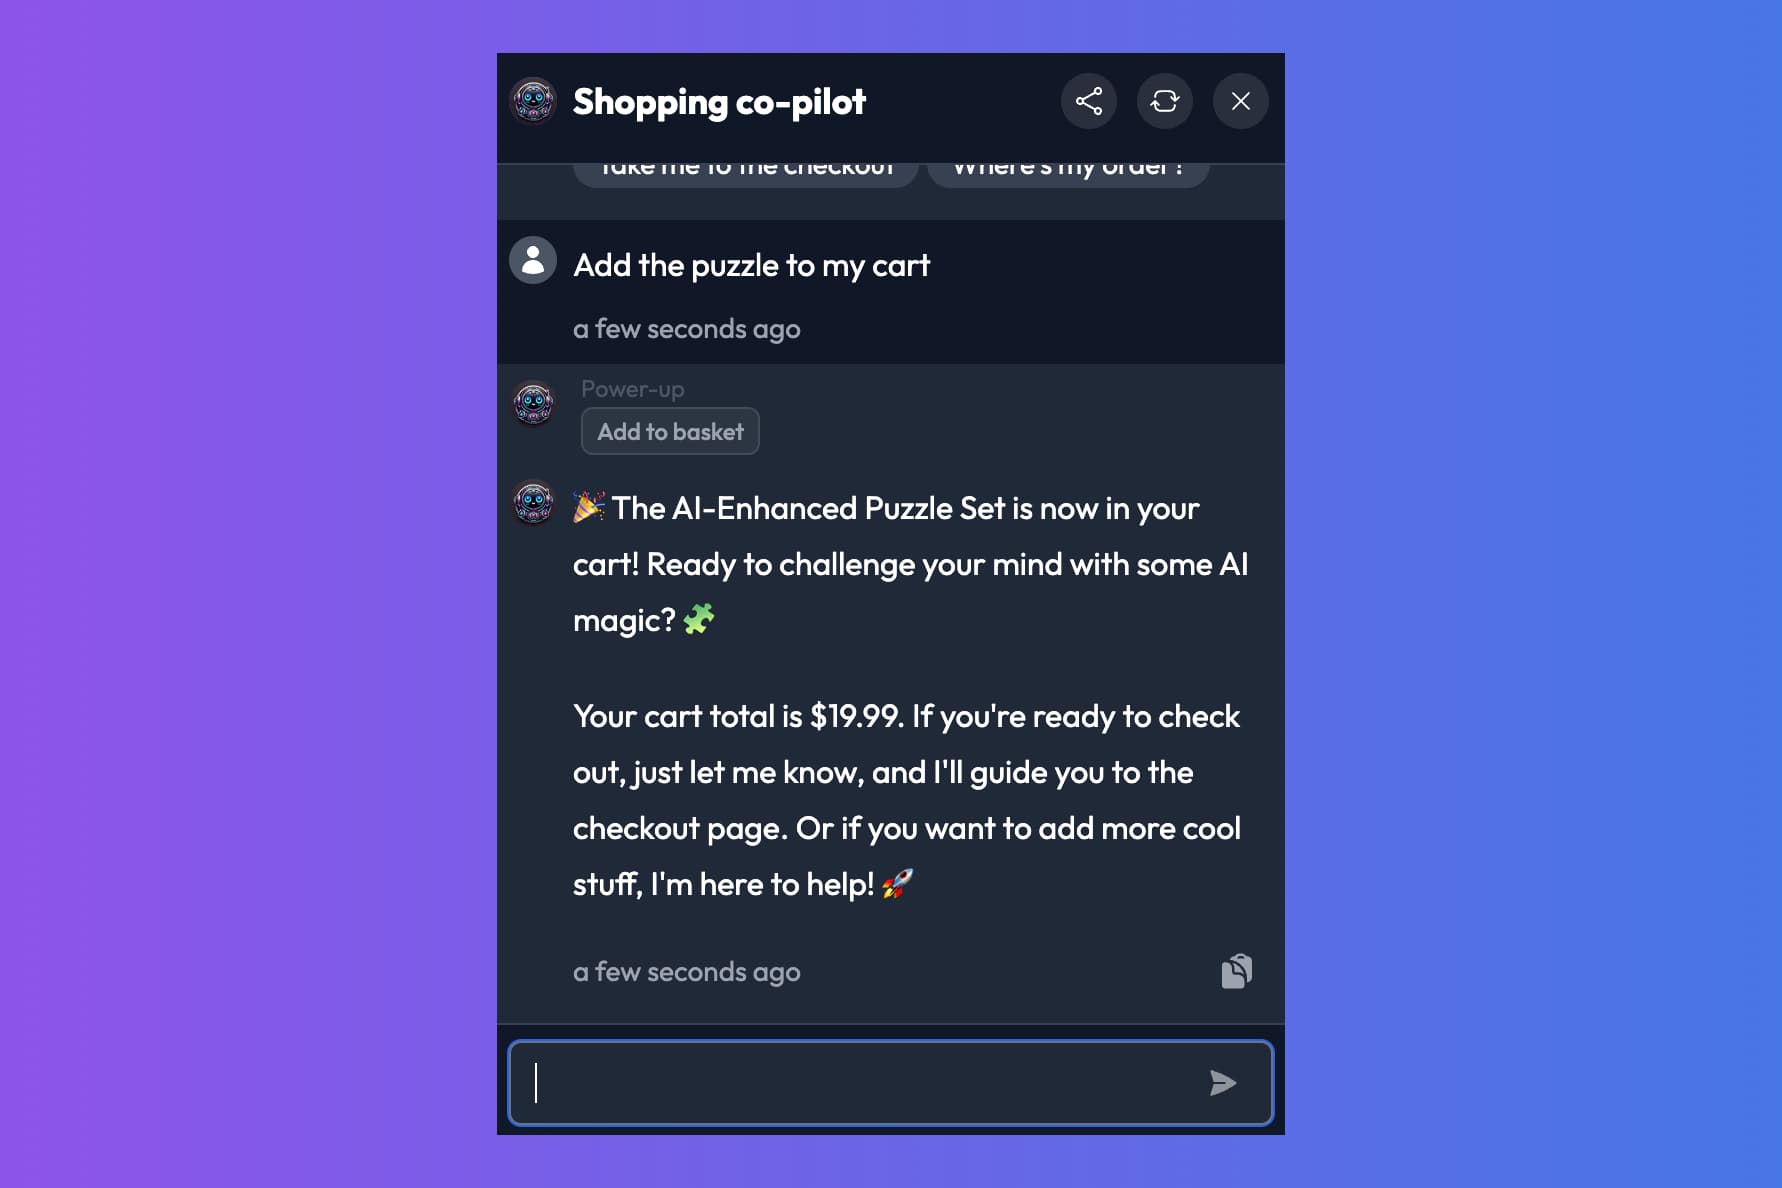
And with all that done, we should now be able to add a product to the cart using the bot!
Adding more functionality
Now that you've added your first client-side power-up, hopefully it should be quite straightforward for you to add others. I won't go through how we implemented each of the others in our demo (although remember you can find all the code here), but we added additional power-ups to remove items, get the cart, check order status, and finally to navigate the user to other pages.
Wrapping up
The possibilities with client-side power-ups are absolutely huge, and we can't wait to see what you do with them! We will be posting more detailed tutorials like this for exciting use cases, so if there's anything in particular you would like to see, please let us know!