Power-ups
Email Power-ups
Just want to send notification emails?
If you only need your bot to email a fixed set of recipients (e.g. lead capture or support hand-off alerts), the simpler Send email power-up doesn't require connecting an inbox. The power-ups on this page are for bots that need to read, reply, and manage email from a real connected account.
Email power-ups overview
The email power-ups allow your bot to interact with a real email inbox - reading messages, sending emails, listing folders, and updating message status (read/unread, starred). They are powered by Nylas, which connects to your email provider (Gmail, Outlook, etc.) via OAuth.
There are four email power-ups:
- Email: Get Messages - Retrieve messages from the inbox with filters (date range, sender, folder, unread status)
- Email: Send Message - Send emails on behalf of the connected account, with support for CC and replies
- Email: Get Folders - List all folders/labels in the email account (useful for filtering messages by folder)
- Email: Update Message - Mark messages as read/unread, starred/unstarred, or move them between folders
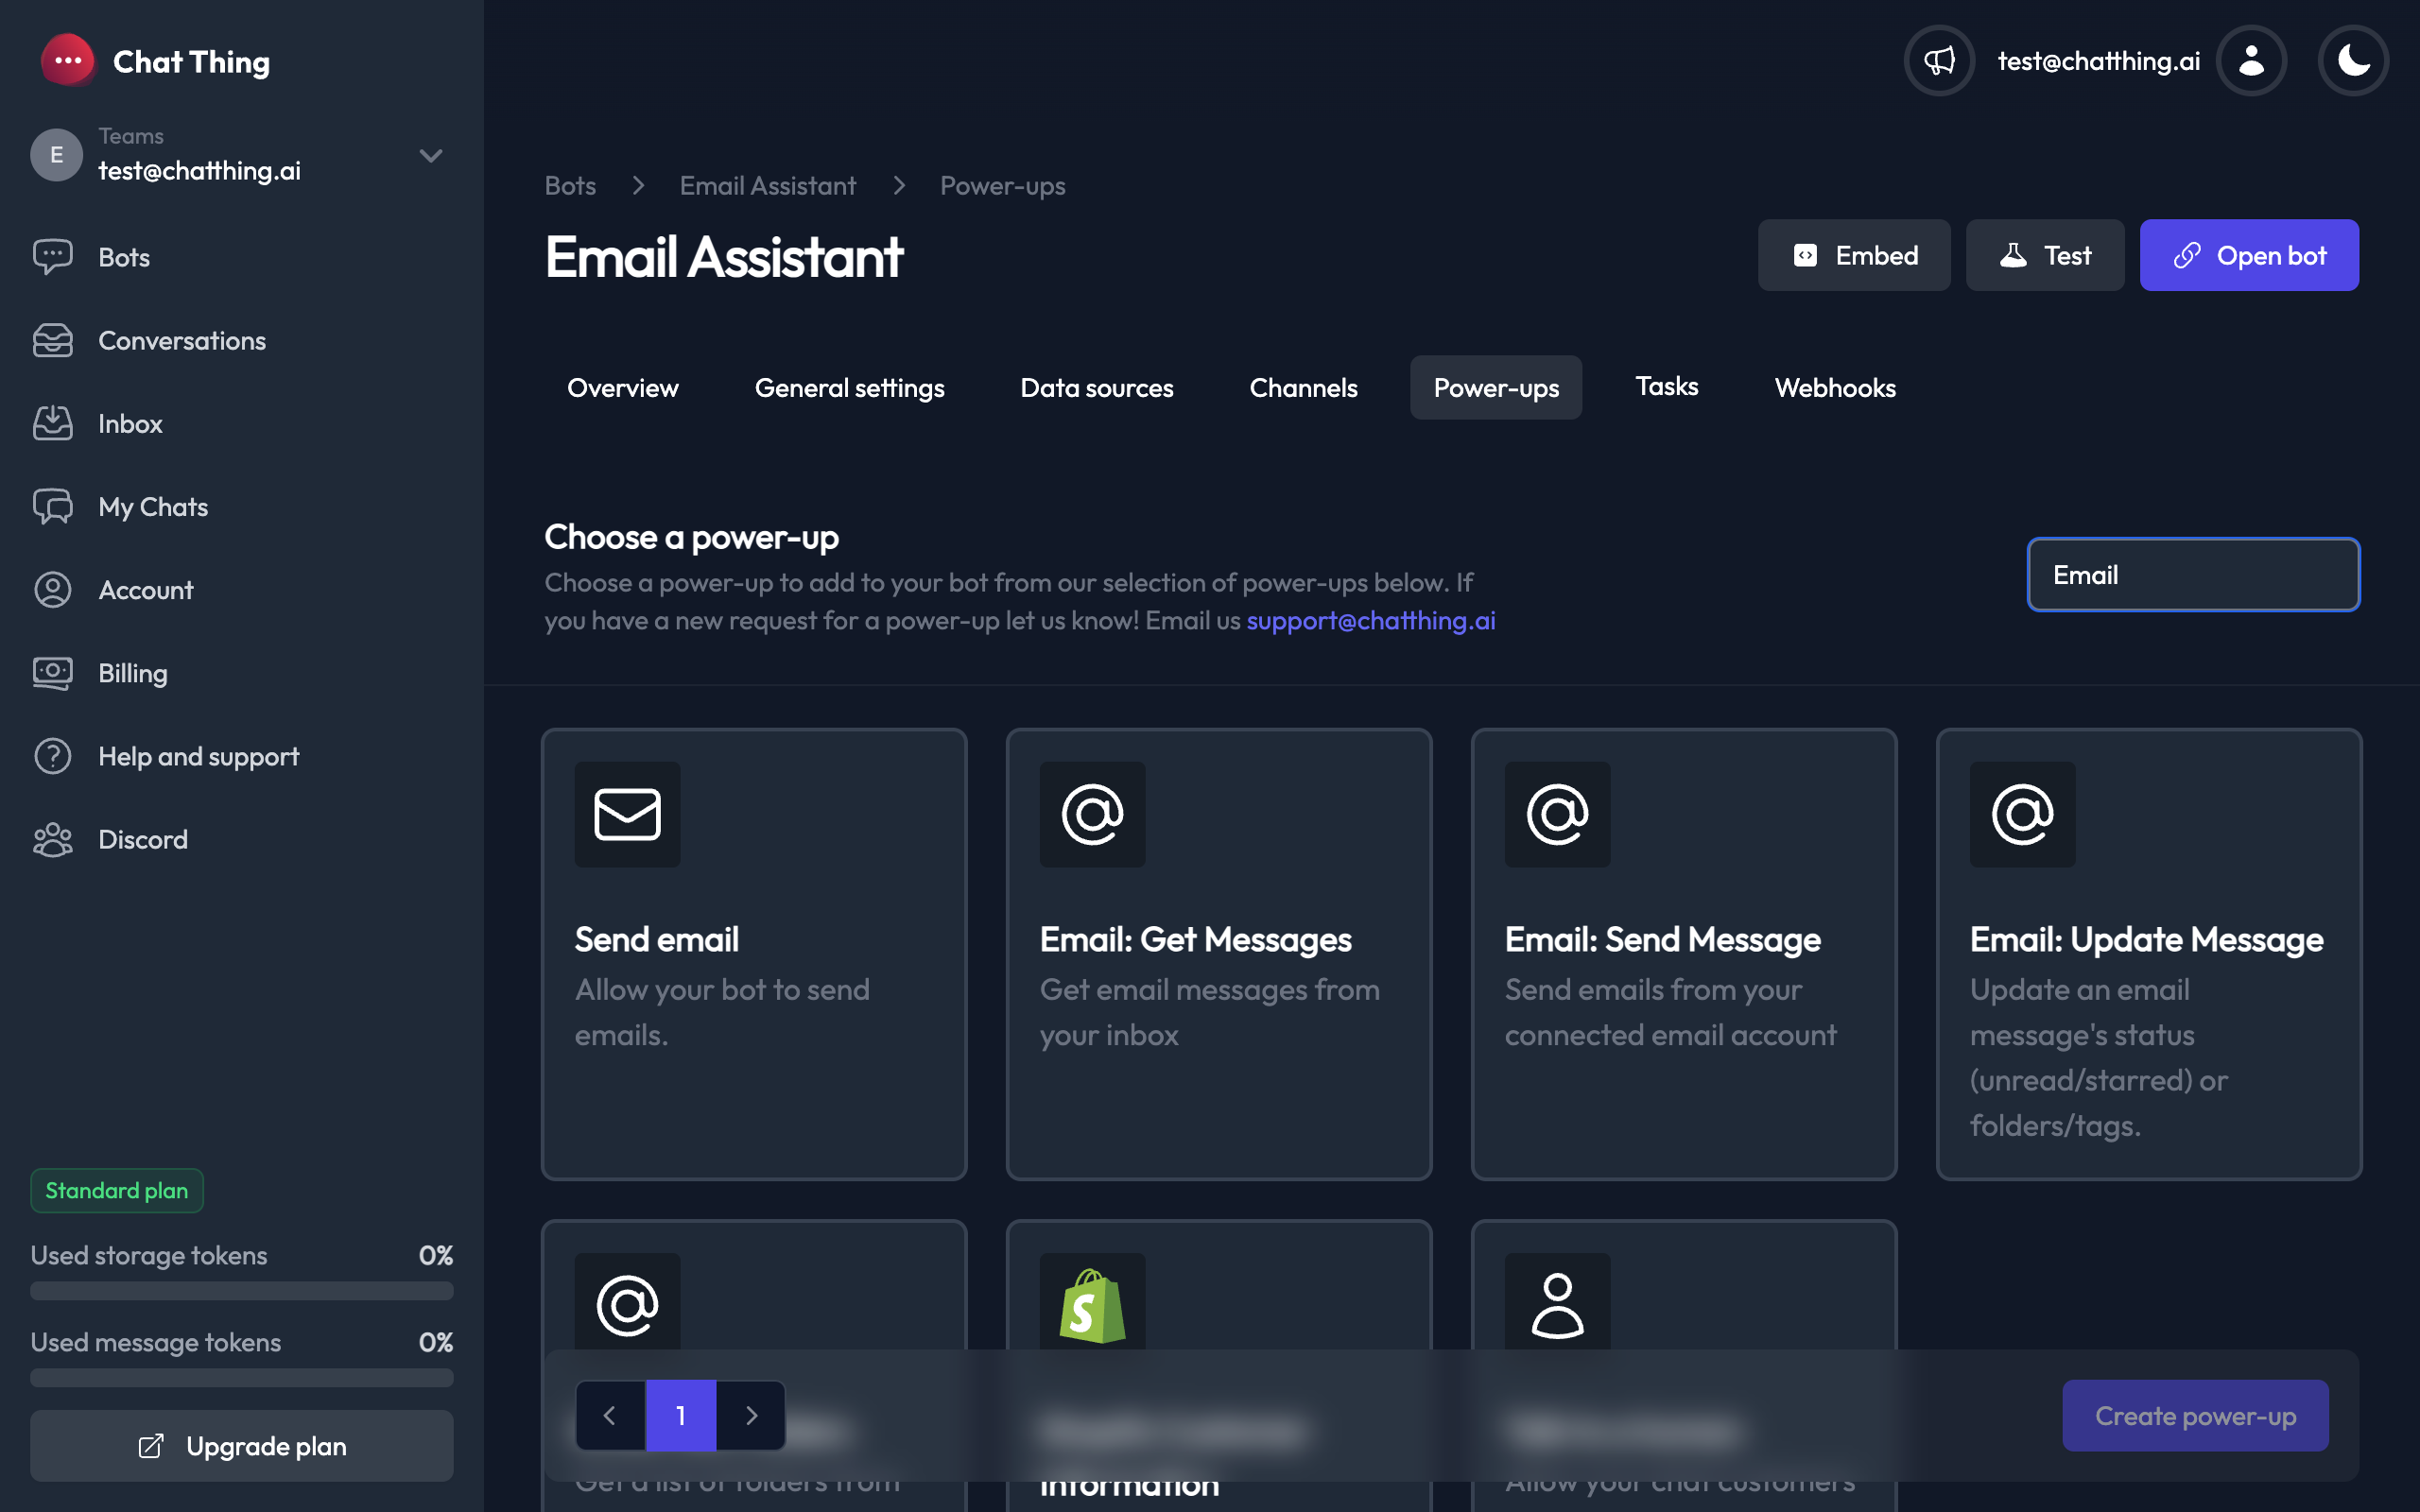
Adding an email power-up to your bot
From your bot's dashboard, navigate to the Power-ups tab. Click New power-up and search for "Email" to find the four email power-ups. Select the one you want and click Create power-up.
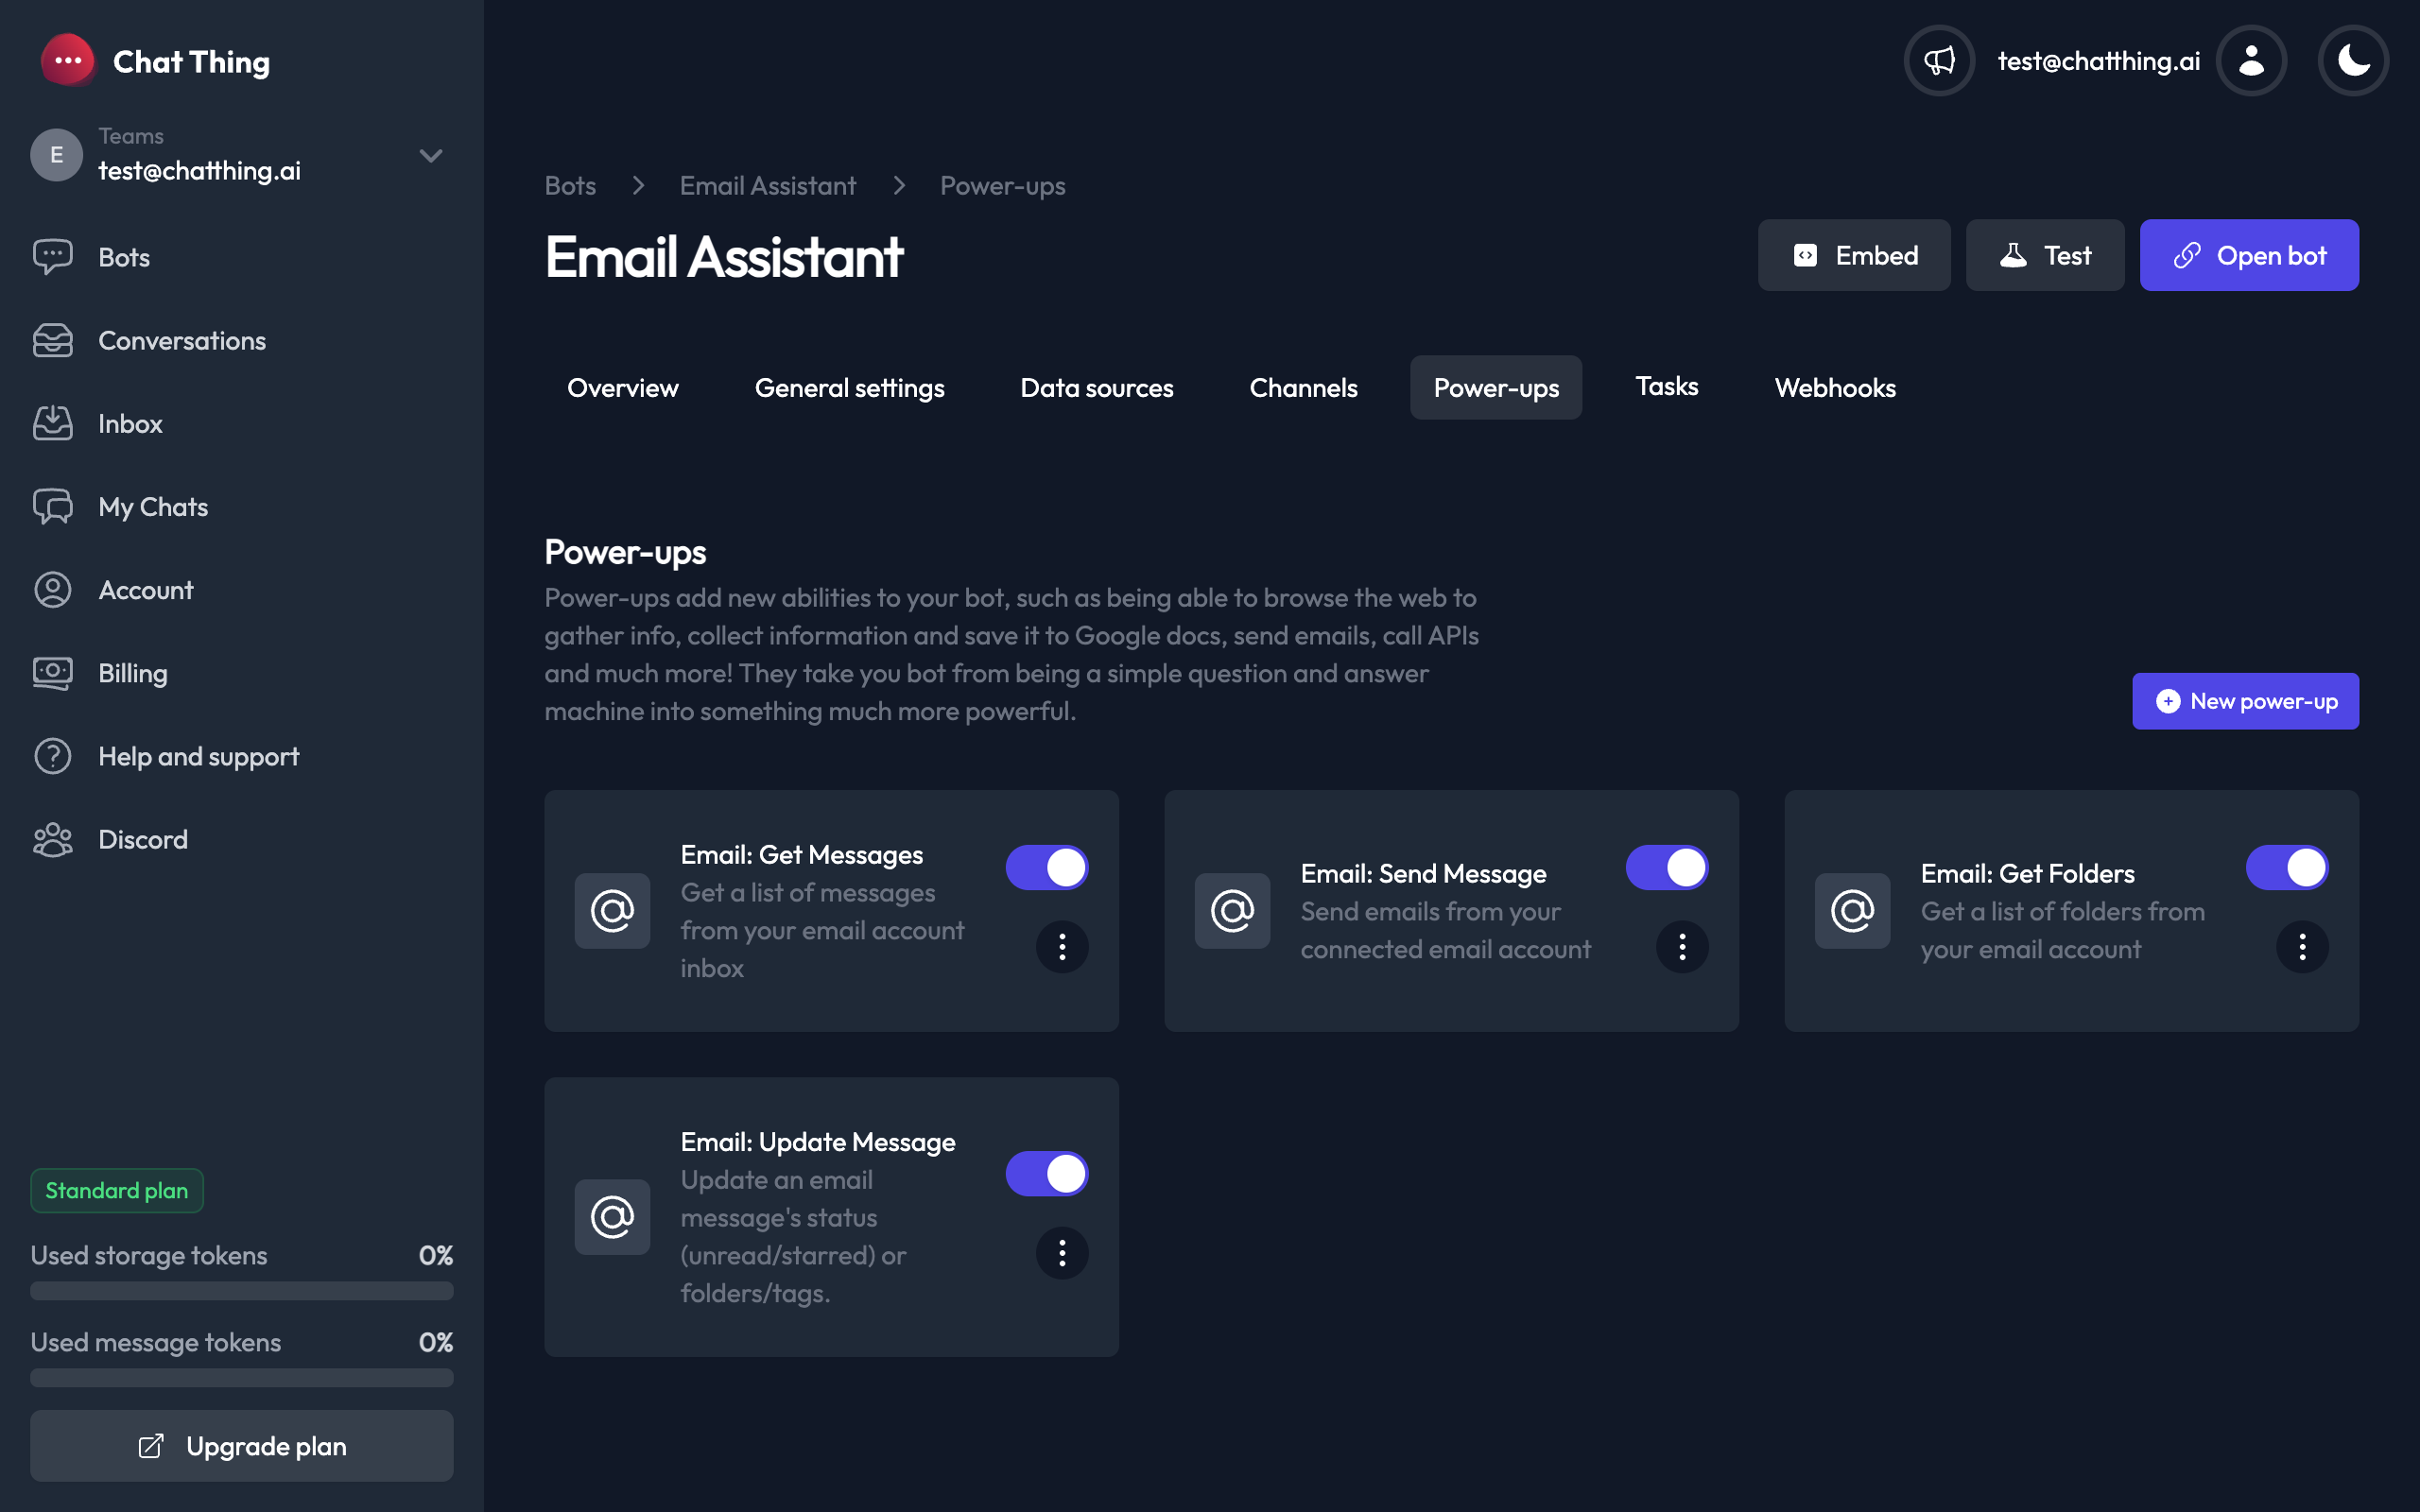
Once created, your email power-ups will appear on the Power-ups tab:
Connecting an email provider
Before using any email power-up, you need to connect an email provider. This is done through Nylas OAuth.
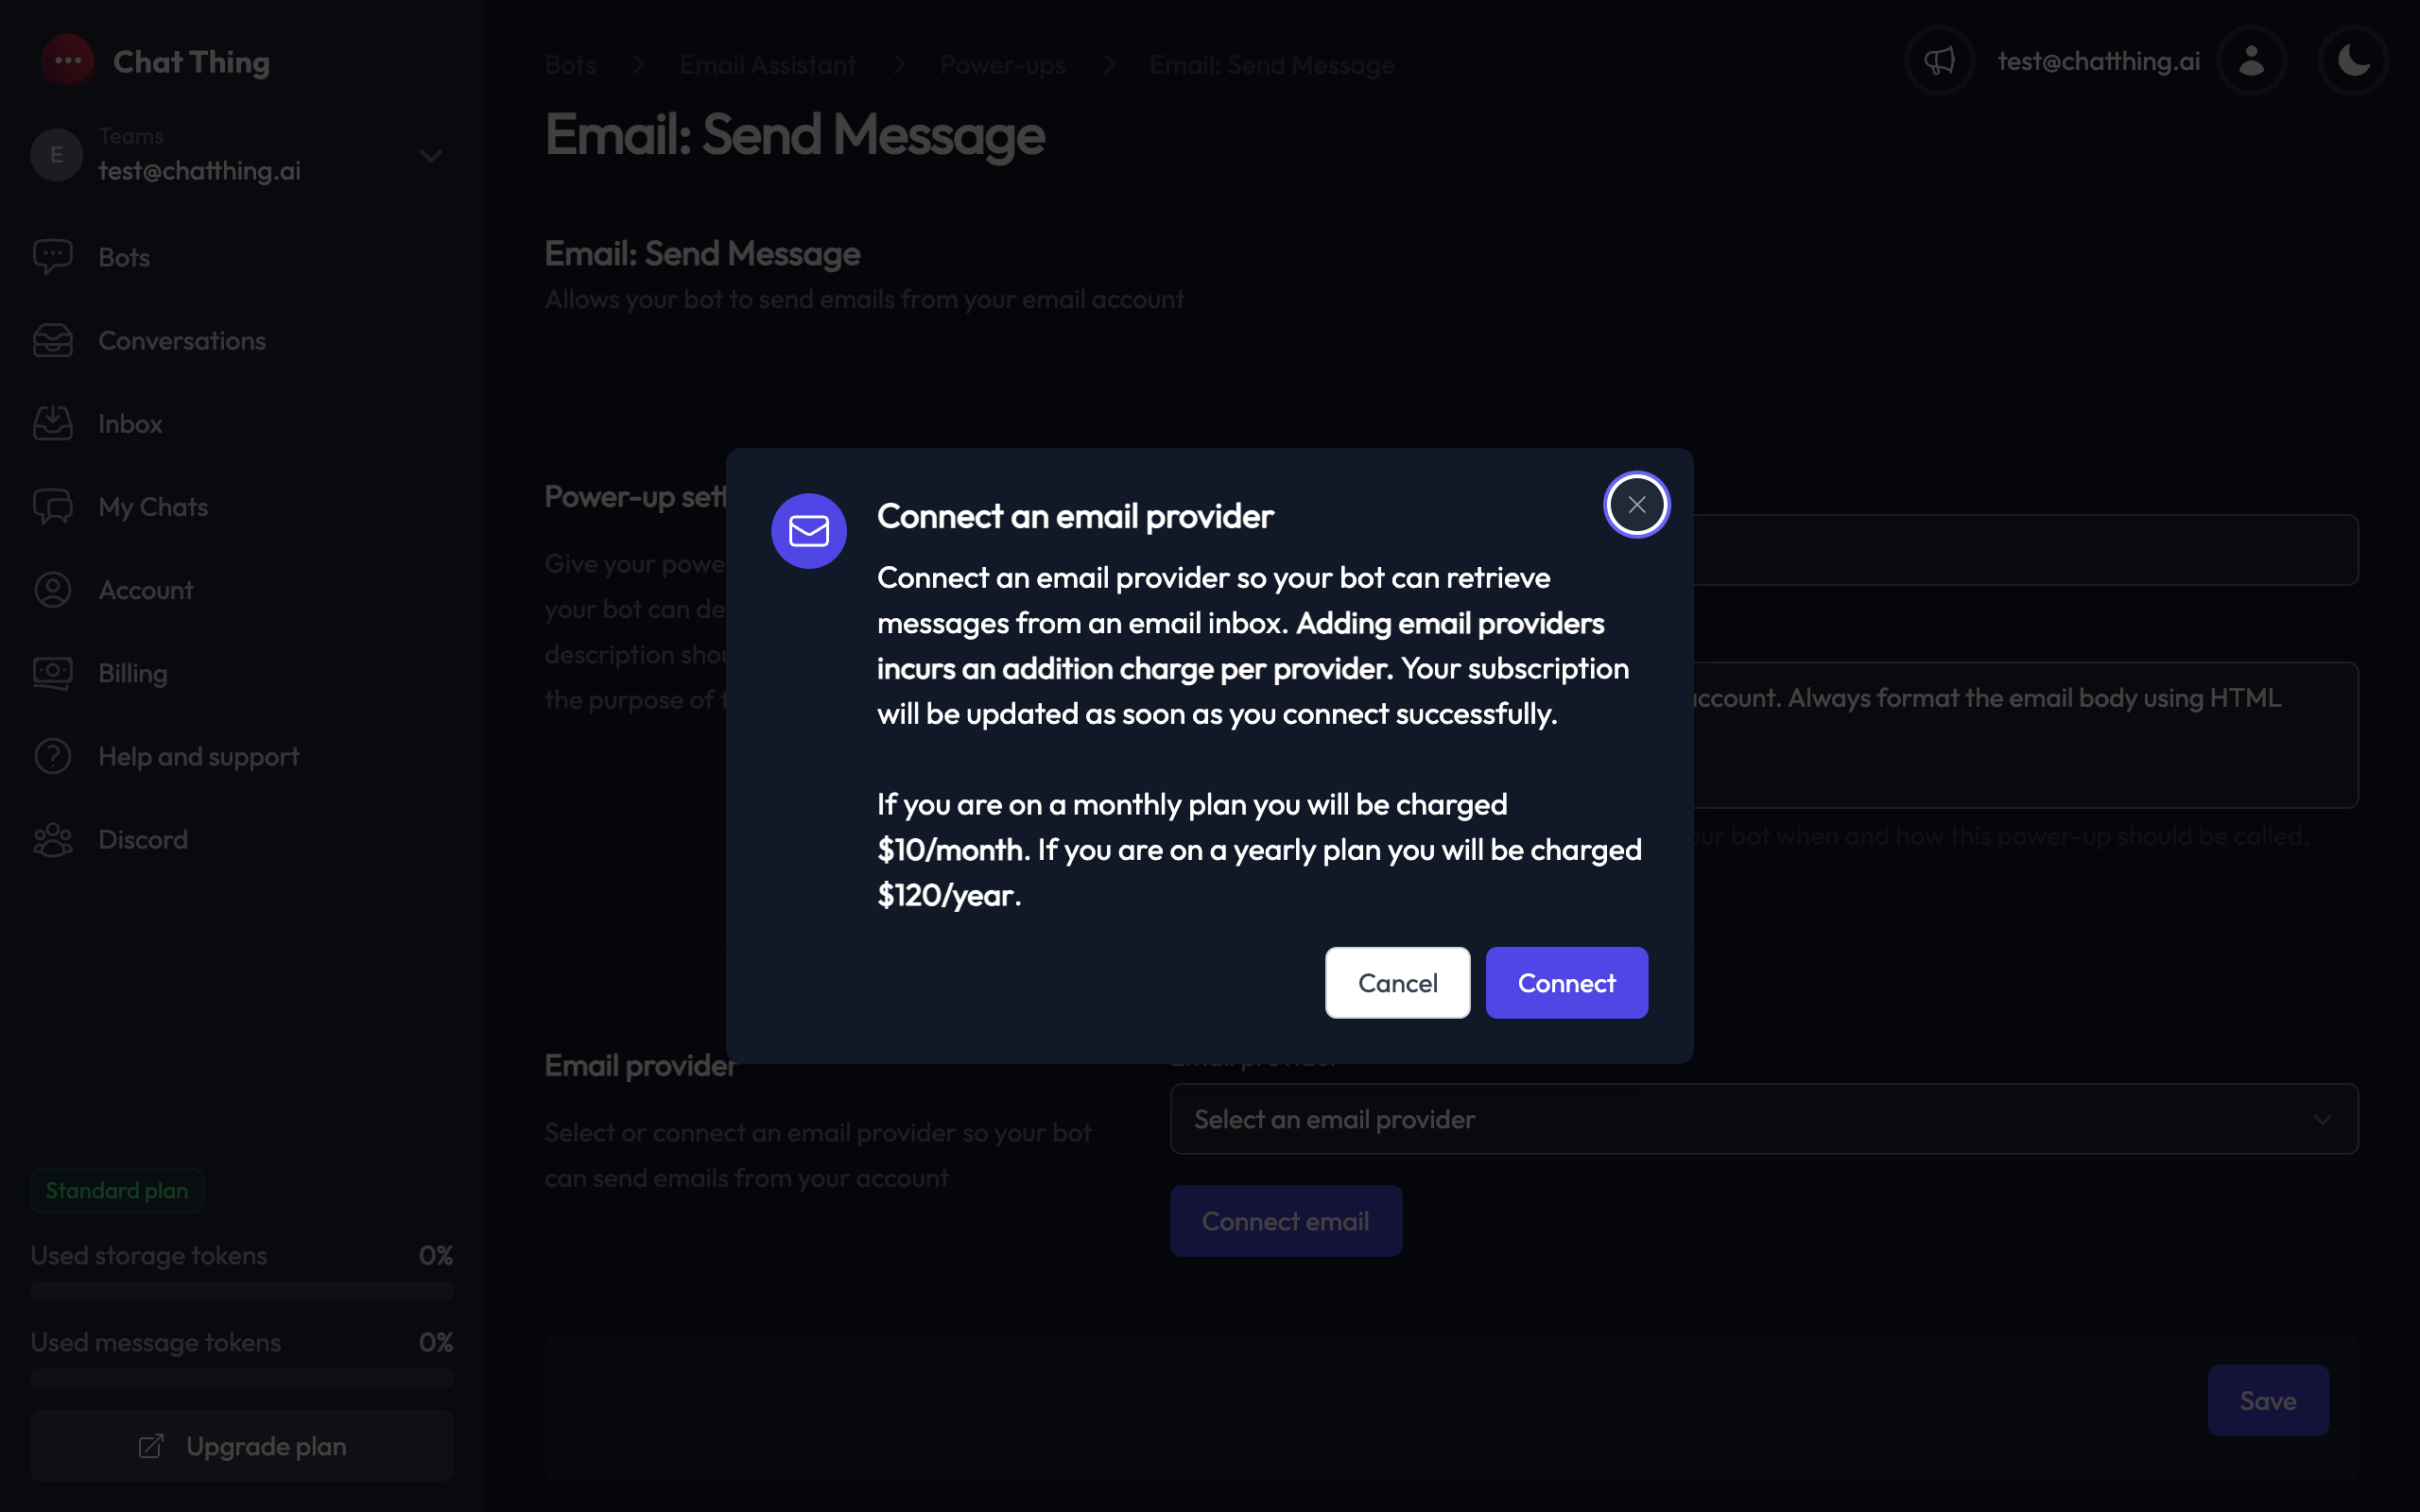
Pricing
Adding an email provider incurs an additional charge on your subscription:
- Monthly plan: $10/month per connected email provider
- Yearly plan: $120/year per connected email provider
Your subscription is updated automatically when you connect a provider.
How to connect
- Navigate to any email power-up's settings page
- Click the Connect email button
- A confirmation dialog will appear explaining the pricing - click Connect to proceed
- A popup window will open for Nylas authentication - sign in with your email provider (Gmail, Outlook, etc.)
- Once authenticated, the popup will close automatically and your provider will appear in the email provider dropdown
You can connect multiple email providers to the same team. Each provider is billed separately.
Email: Get Messages
This power-up allows your bot to search and retrieve messages from the connected email inbox.
Configuring Email: Get Messages
After creating the power-up you will see the settings screen:
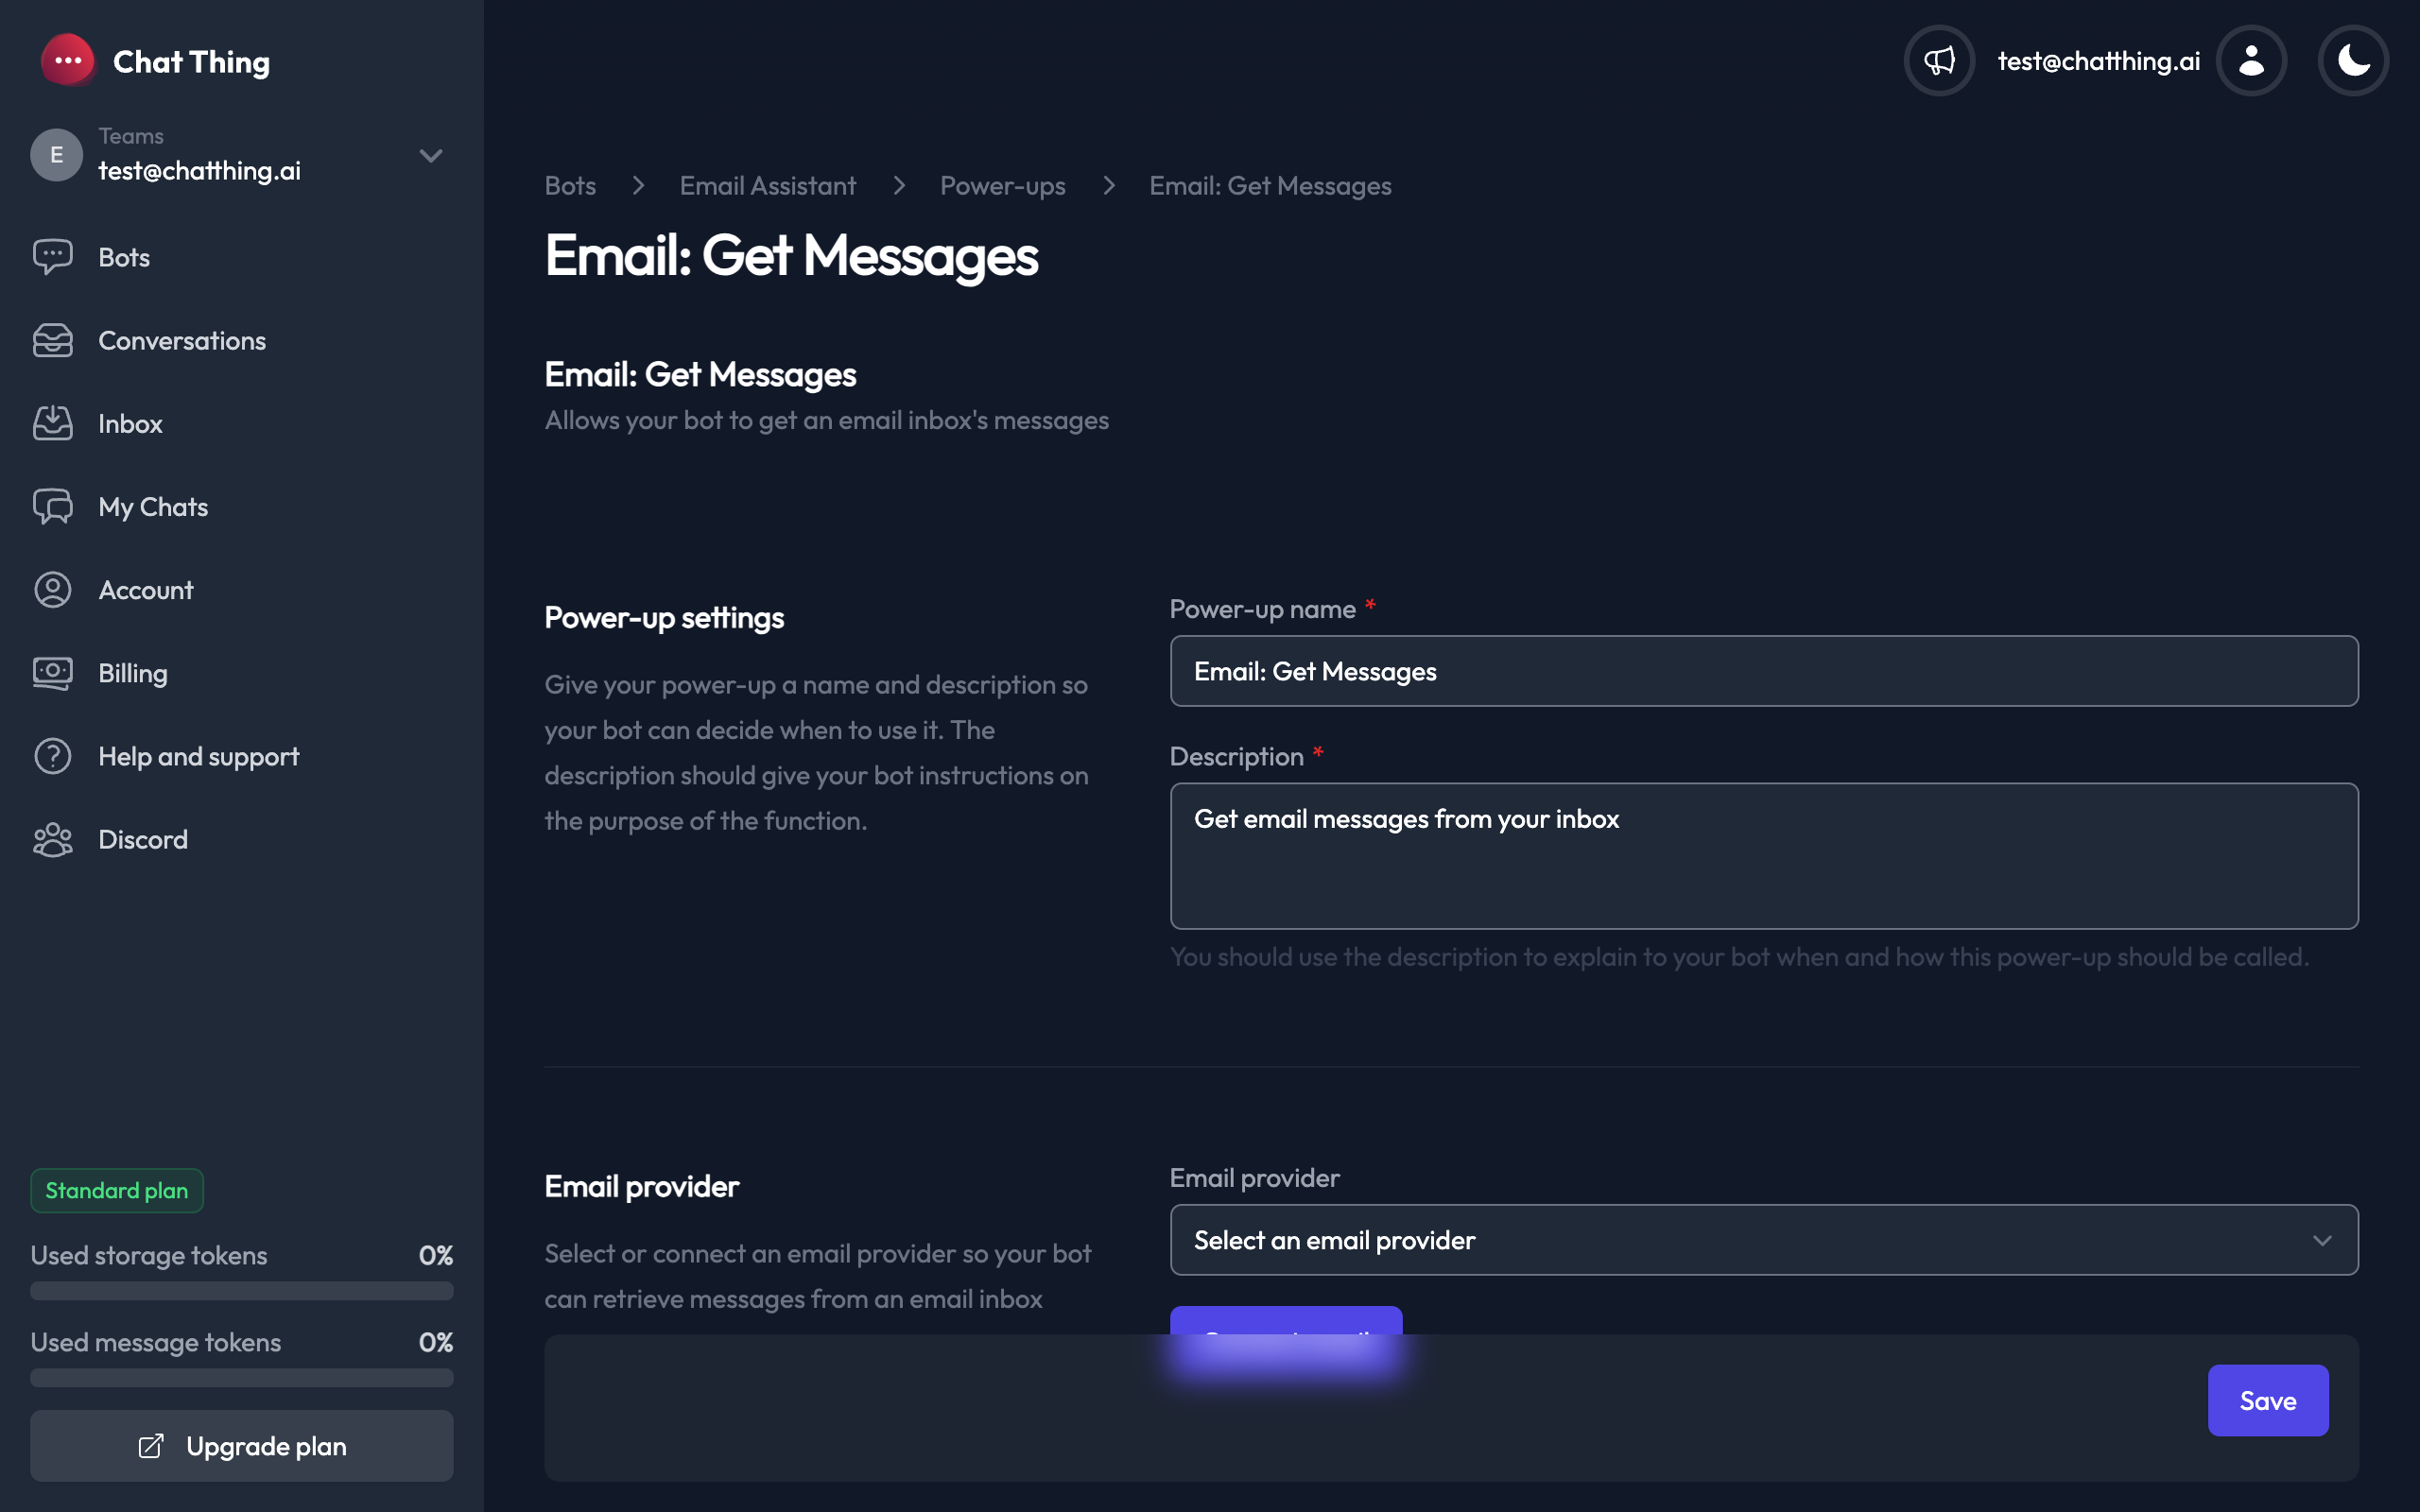
- Power-up name - A name your bot uses to identify this power-up
- Description - Instructions for your bot on when and how to use this power-up. Be specific about what kinds of queries the bot should handle (e.g. "Search the inbox for emails matching a user's query. You can filter by sender, date range, and folder.")
- Email provider - Select which connected email account to read from
How it works
Your bot can filter messages by:
- Sender (
from) - Filter by sender email address - Recipient (
to) - Filter by recipient email address - Folder - Filter by folder/label ID (use the Get Folders power-up to find folder IDs)
- Date range - Filter by
receivedBeforeandreceivedAftertimestamps - Limit - Control how many messages to return (default: 10)
- Pagination - Use the
pagetoken to fetch additional results
The bot receives message data including subject, sender, recipients, date, a text snippet, the full body (stripped of HTML), and read/starred status.
Email: Send Message
This power-up allows your bot to compose and send emails from the connected email account.
Configuring Email: Send Message
After creating the power-up you will see the settings screen. Notice the default description instructs your bot to use HTML formatting:
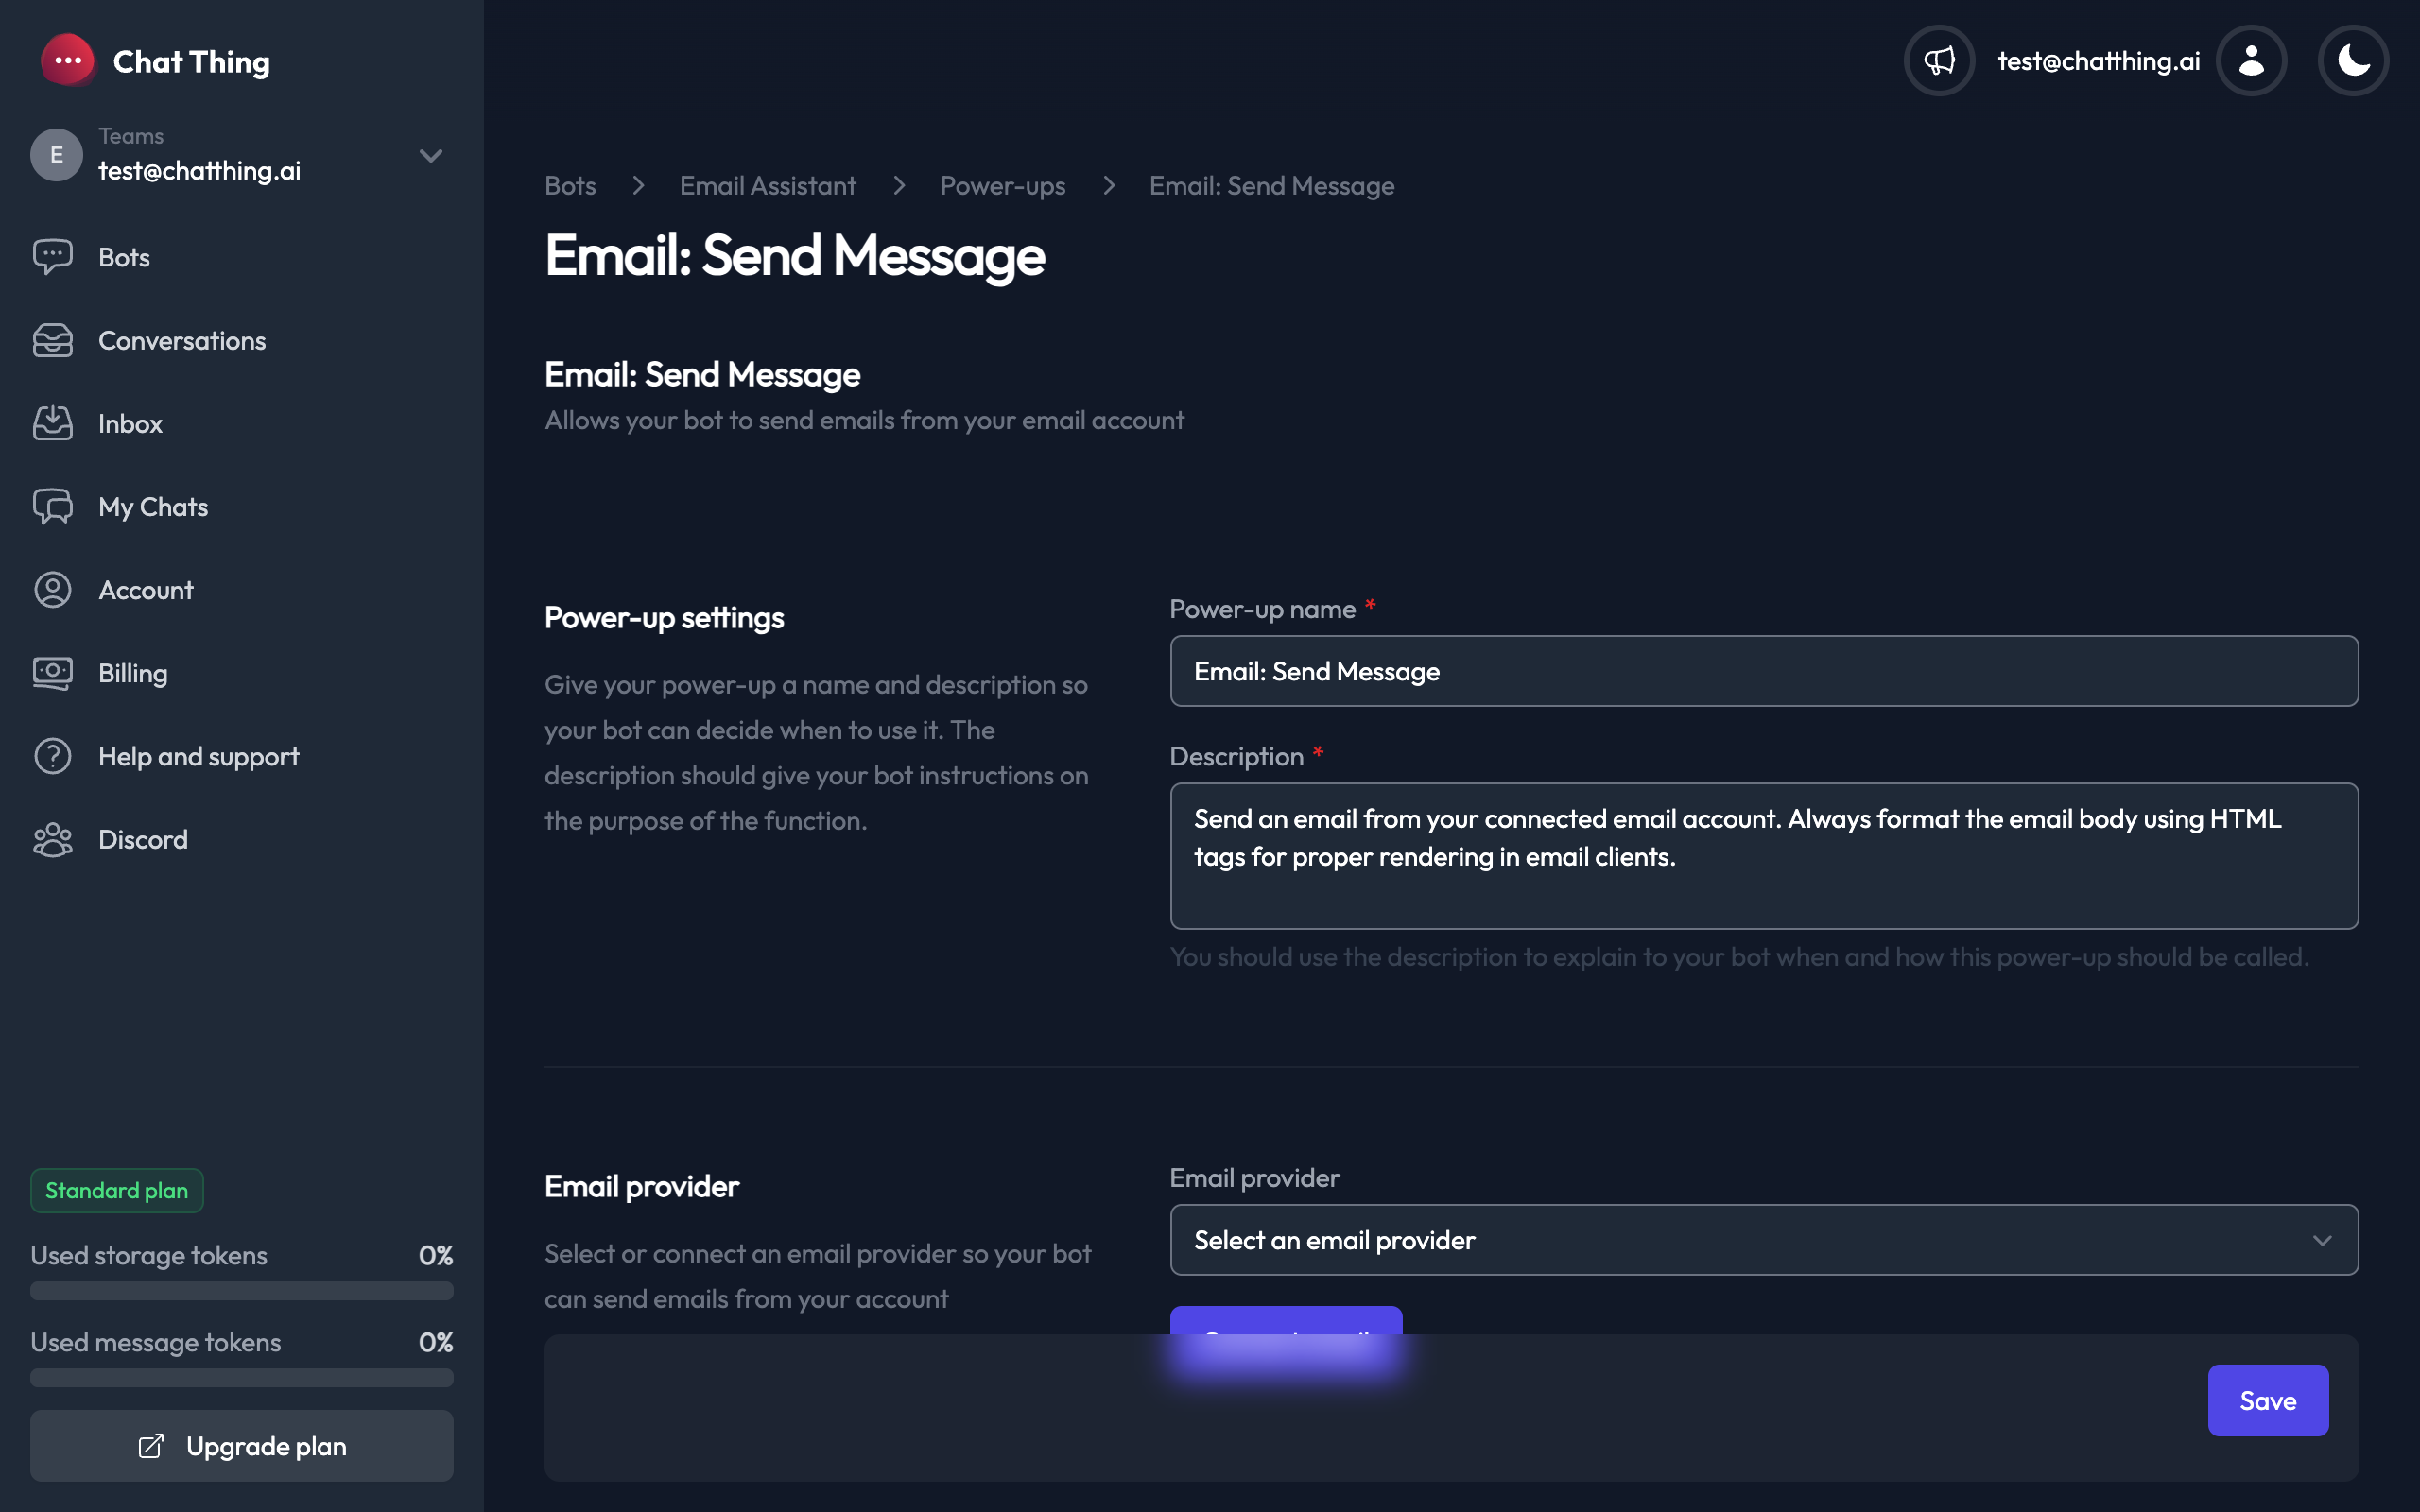
- Power-up name - A name your bot uses to identify this power-up
- Description - Instructions for your bot. The default description encourages the bot to use HTML formatting for email bodies, which is recommended for proper rendering in email clients.
- Email provider - Select which connected email account to send from
How it works
The bot can send emails with:
- To - One or more recipient email addresses (required)
- Subject - The email subject line (required)
- Body - The email body content (required). Use HTML tags (
<p>,<br>,<strong>, etc.) for proper formatting. - CC - Optional CC recipients
- Reply to message ID - Optional message ID to send as a reply to an existing thread
HTML formatting tip
For best results, instruct your bot (via the description field) to always format email bodies using HTML. Plain text emails may not render line breaks correctly in some email clients.
Email: Get Folders
This power-up allows your bot to list all folders and labels in the connected email account.
Configuring Email: Get Folders
There is not a huge amount to configure for this one. It has the standard power-up name and description settings, along with the email provider selector.
When to use it
This power-up is most useful in combination with Email: Get Messages. The bot can first retrieve the list of folders to get folder IDs, then use those IDs to filter messages by folder.
For example, a user might ask "Show me emails in my Promotions folder" - the bot would first call Get Folders to find the folder ID for "Promotions", then call Get Messages filtered to that folder.
Email: Update Message
This power-up allows your bot to update the status of email messages.
Configuring Email: Update Message
Like the other email power-ups, this has the standard power-up name, description, and email provider settings.
How it works
The bot can update a message by its ID:
- Mark as read/unread - Toggle the unread status
- Star/unstar - Toggle the starred status
- Move to folders - Move the message to one or more folders
This is often used in combination with Email: Get Messages. For example, the user could say "Mark all unread emails from Chris as read" - the bot would first retrieve the matching messages, then update each one.
Tips and known limitations
- IMAP sync delay - Nylas syncs with your email provider via IMAP. Newly received emails and newly created folders may take a few minutes to appear in power-up results. This is an inherent limitation of the IMAP sync process.
- Date format for queries - When filtering messages by date, the bot should use standard date formats (e.g.,
2024-01-15or2024-01-15T10:30:00). These are automatically converted to Unix timestamps for the Nylas API. - HTML email bodies - Always instruct your bot to use HTML formatting when sending emails to ensure proper rendering across email clients.
- Folder IDs - Folder IDs are provider-specific. Use the Get Folders power-up to discover the correct folder IDs for filtering or moving messages.
- Multiple providers - You can connect multiple email accounts and assign different providers to different power-ups, allowing a single bot to manage multiple inboxes.
Just need to send notifications?
If your bot only needs to send emails to a small set of preconfigured addresses (e.g. lead capture, support hand-off, simple alerts), the Send email power-up is a lighter-weight alternative - no inbox connection or per-provider add-on required.