---
title: "Use a custom domain for your chat widget"
description: "Serve your bot's widget and embed from a domain you own, such as chat.example.com, with the Custom Domain add-on. Covers DNS records and verification."
canonical_url: "https://chatthing.ai/docs/channels/website/custom-domain"
last_updated: "2026-09-25"
---
# Use a custom domain for your chat widget
Serve your bot's chat widget, iframe embed and bot page from a domain you control, such as `chat.example.com`, instead of Chat Thing's domains.
> **Paid add-on**
>
> Custom domains need the **Custom Domain** add-on ($25 a month), bought from **Billing**. Each add-on gives your team one custom domain, which you set up on one bot. Domains are counted across the whole team, so two bots with their own domains need two add-ons. See [Add-ons](https://chatthing.ai/docs/account/add-ons).
>
> **Who can do this:** [team owners and admins](https://chatthing.ai/docs/account/teams#what-each-role-can-do) add the domain. Only the owner can buy the add-on in **Billing**.
## Before you start
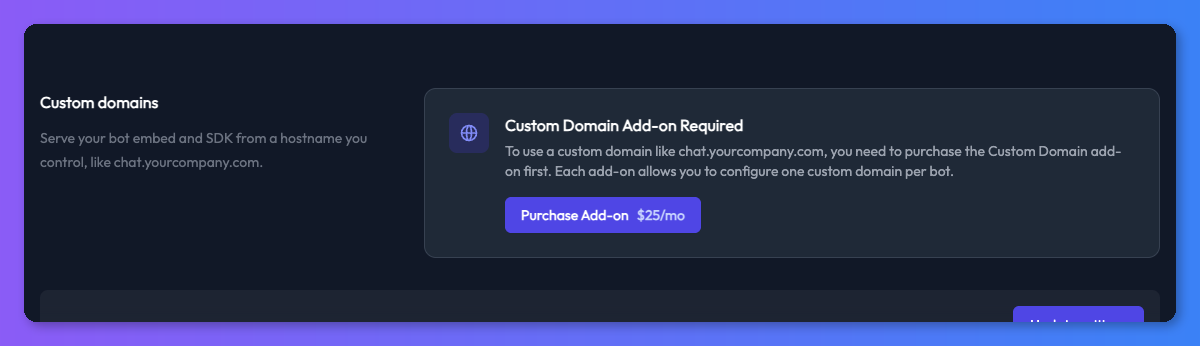
- Buy the Custom Domain add-on from **Billing**. Without it, the **Custom domains** section of the web channel settings shows **Custom Domain Add-on Required** and a **Purchase Add-on** button.
- Choose a subdomain you own, such as `chat.example.com`, and make sure you can add DNS records for it with your domain or DNS provider.
## Steps
1. Open your bot and select the **Channels** tab.
2. Click the settings (cog) icon on the **Web** card.
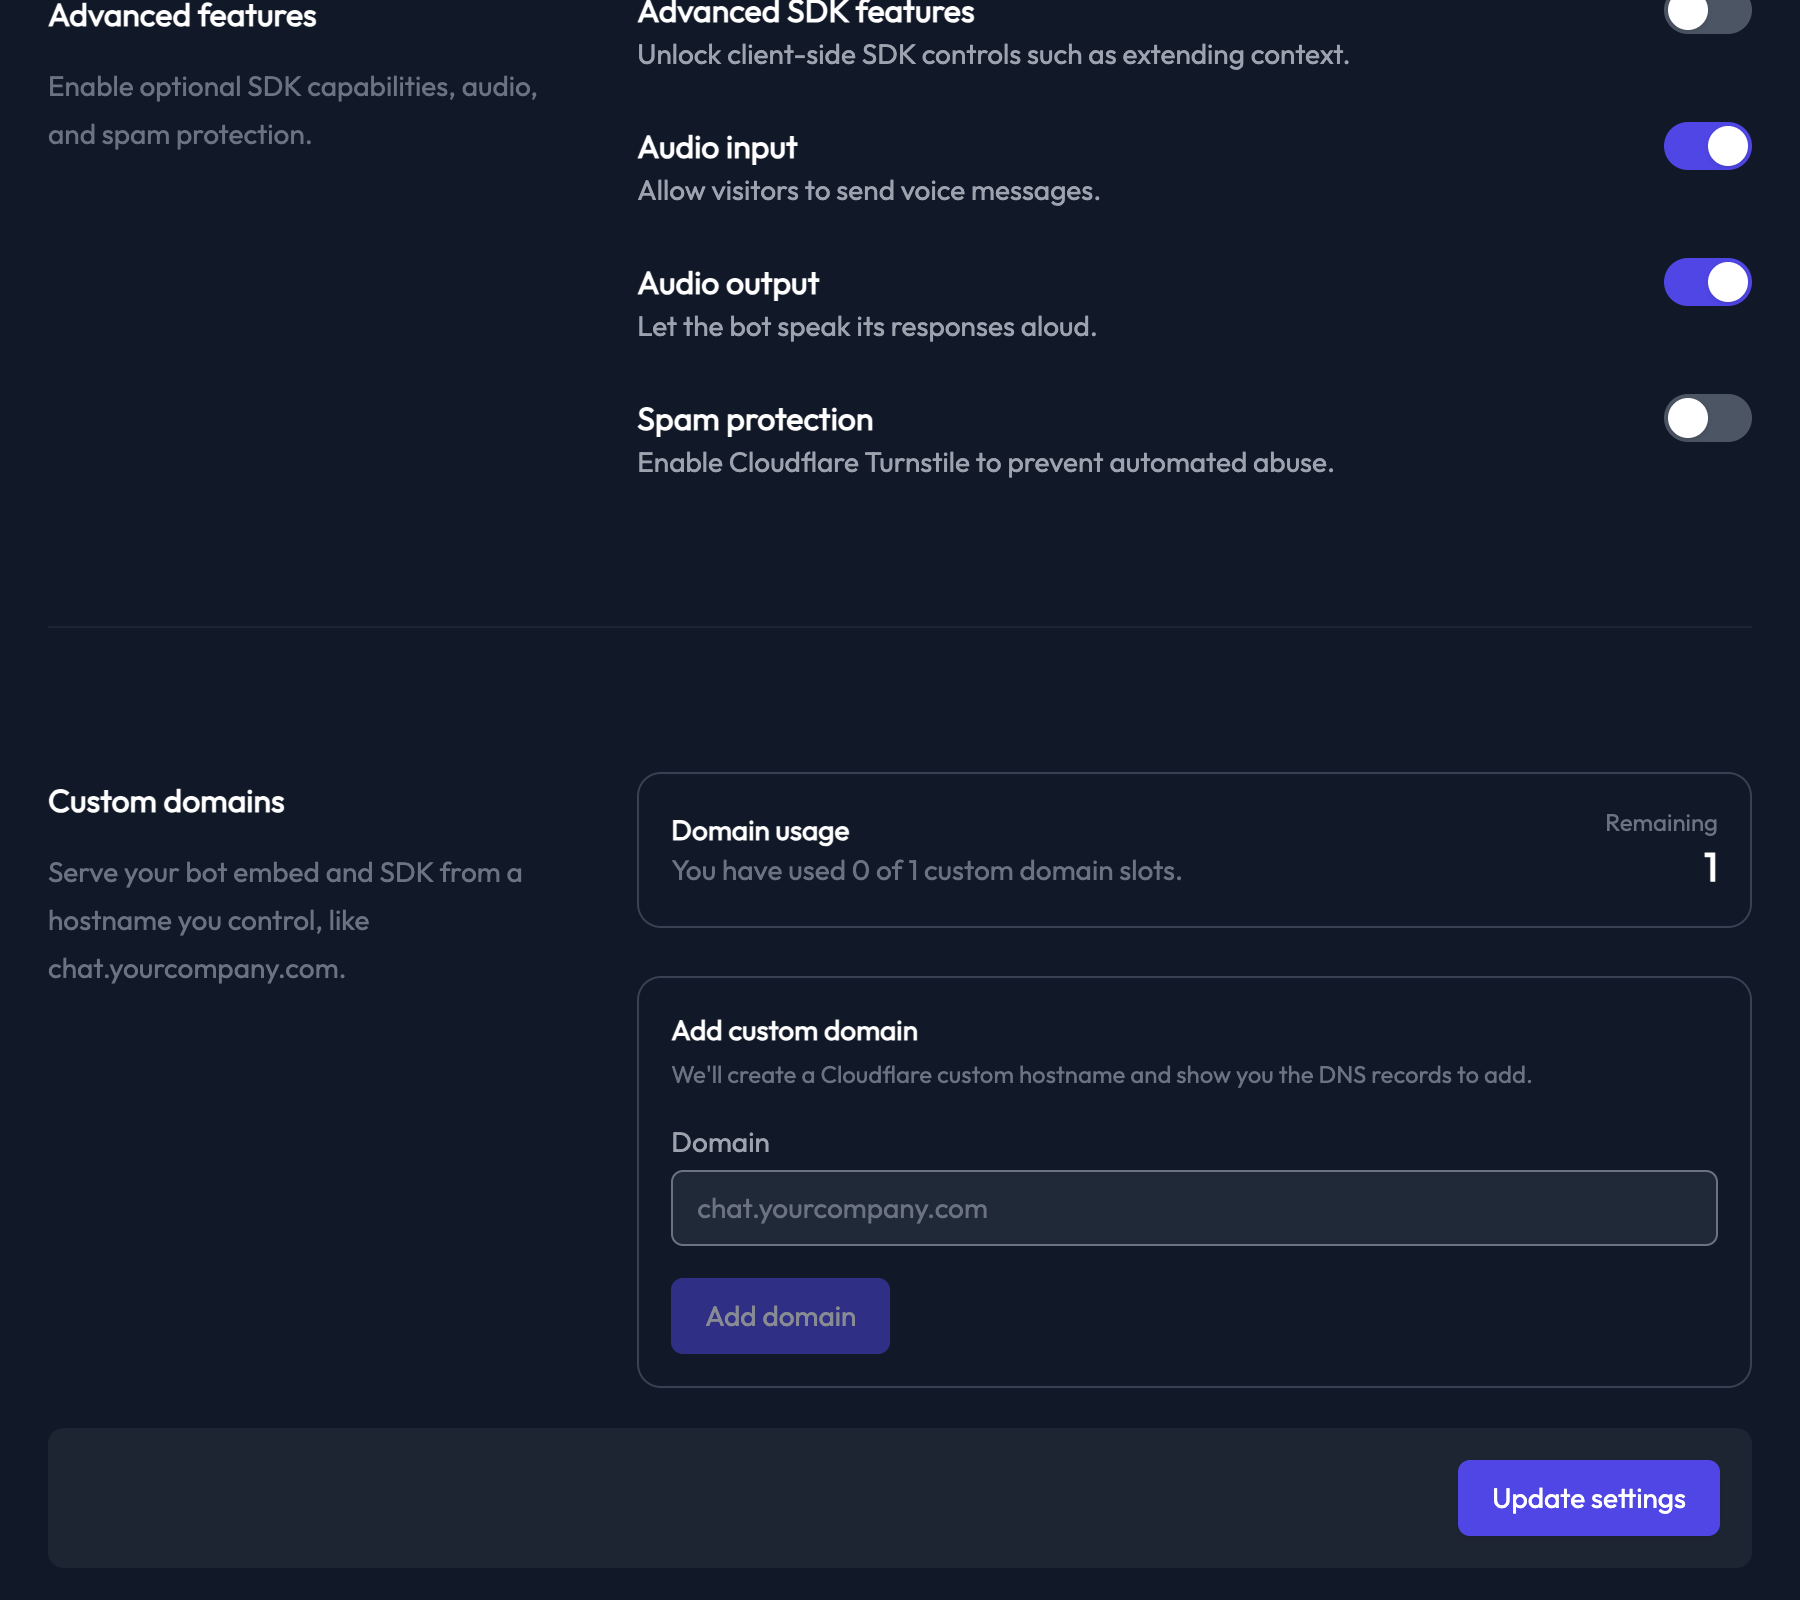
3. Scroll to the **Custom domains** section.
4. Under **Add custom domain**, enter your domain in the **Domain** field, for example `chat.example.com`.
5. Click **Add domain**. Chat Thing creates the domain and shows the DNS records to add. The certificate record can take a few moments to generate.
6. Add these three records at your DNS provider, copying the values from the **DNS configuration** panel:
| Record | Type | Name | Value |
| --- | --- | --- | --- |
| 1. Certificate validation | TXT | Shown in the panel (usually `_acme-challenge.` followed by your domain) | Shown in the panel |
| 2. Hostname ownership | TXT | Shown in the panel | Shown in the panel |
| 3. Routing | CNAME | Your domain, such as `chat.example.com` | `embed.chatthing.ai` |
7. Wait a few minutes for the DNS changes to take effect, then click **Verify DNS**.
8. When the domain shows **Active**, copy the new embed code from the **Usage** panel (or from **Embed** on the bot's dashboard) and replace the old code on your website.
## Domain statuses
| Status | Meaning |
| --- | --- |
| **Pending** | The domain has been added and is waiting for its DNS records |
| **DNS pending** | Records have been found, but the certificate is still being issued |
| **Active** | The domain is ready to use |
| **Failed** | Verification failed. Check your DNS records and click **Verify DNS** again. |
## Embed code with a custom domain
Once the domain is active, the **Embed** dialog has a **Domain** choice so you can copy code for either **Default (chatthing.ai)** or your own domain. The code uses your domain everywhere:
```html
```
```html
```
## Remove a domain
Click **Remove** next to the domain. This frees the slot so you can use it for another domain. Update any embed code that uses the removed domain first, or the chat will stop loading on those pages.
## Check it works
Open `https://YOUR_DOMAIN/bots/YOUR_BOT_ID` in your browser. The bot's page should load over HTTPS on your domain. Then check the widget on your website.
## Troubleshooting
### Verification keeps failing
- Check all three records are added exactly as shown, with no extra spaces or quotes.
- Some DNS providers add your domain to the end of the record name automatically. If the panel shows a full name such as `_acme-challenge.chat.example.com` and your provider adds the domain for you, enter only the part before your domain.
- DNS changes can take a while to spread. Wait a few minutes and click **Verify DNS** again.
### I can't add another domain
The **Domain usage** panel shows how many of your custom domain slots are used. When they're all used, the **Add domain** button is disabled. Buy another Custom Domain add-on from **Billing**, or remove a domain you no longer need.
## Related
- [Add more tokens, bots or seats with add-ons](https://chatthing.ai/docs/account/add-ons): Raise one limit on your paid plan without upgrading - extra message tokens, storage tokens, bots, data sources, team members or custom domains.
- [Remove the "Powered by Chat Thing" branding](https://chatthing.ai/docs/channels/website/branding): Hide the "Powered by Chat Thing" footer from your chat widget, embedded chat, bot page and shared chats. Available on Standard, Pro and Enterprise.
- [Add the chat widget to your website](https://chatthing.ai/docs/channels/website/install): Copy your bot's embed code and paste it into your site as a chat widget or embedded chat, with steps for WordPress, Shopify, Webflow, Wix and more.